Our First Paperchase Project!

paper chase paper train tutorial

We’re so excited to share our news that we are now going to be working with high street stationers, Paperchase, on their recently launched blog, The Journal. We are probably the two biggest fans of Paperchase out there (we both recently bought a whole load of matching stationery from there… losers!) so to be working with them makes us really happy.

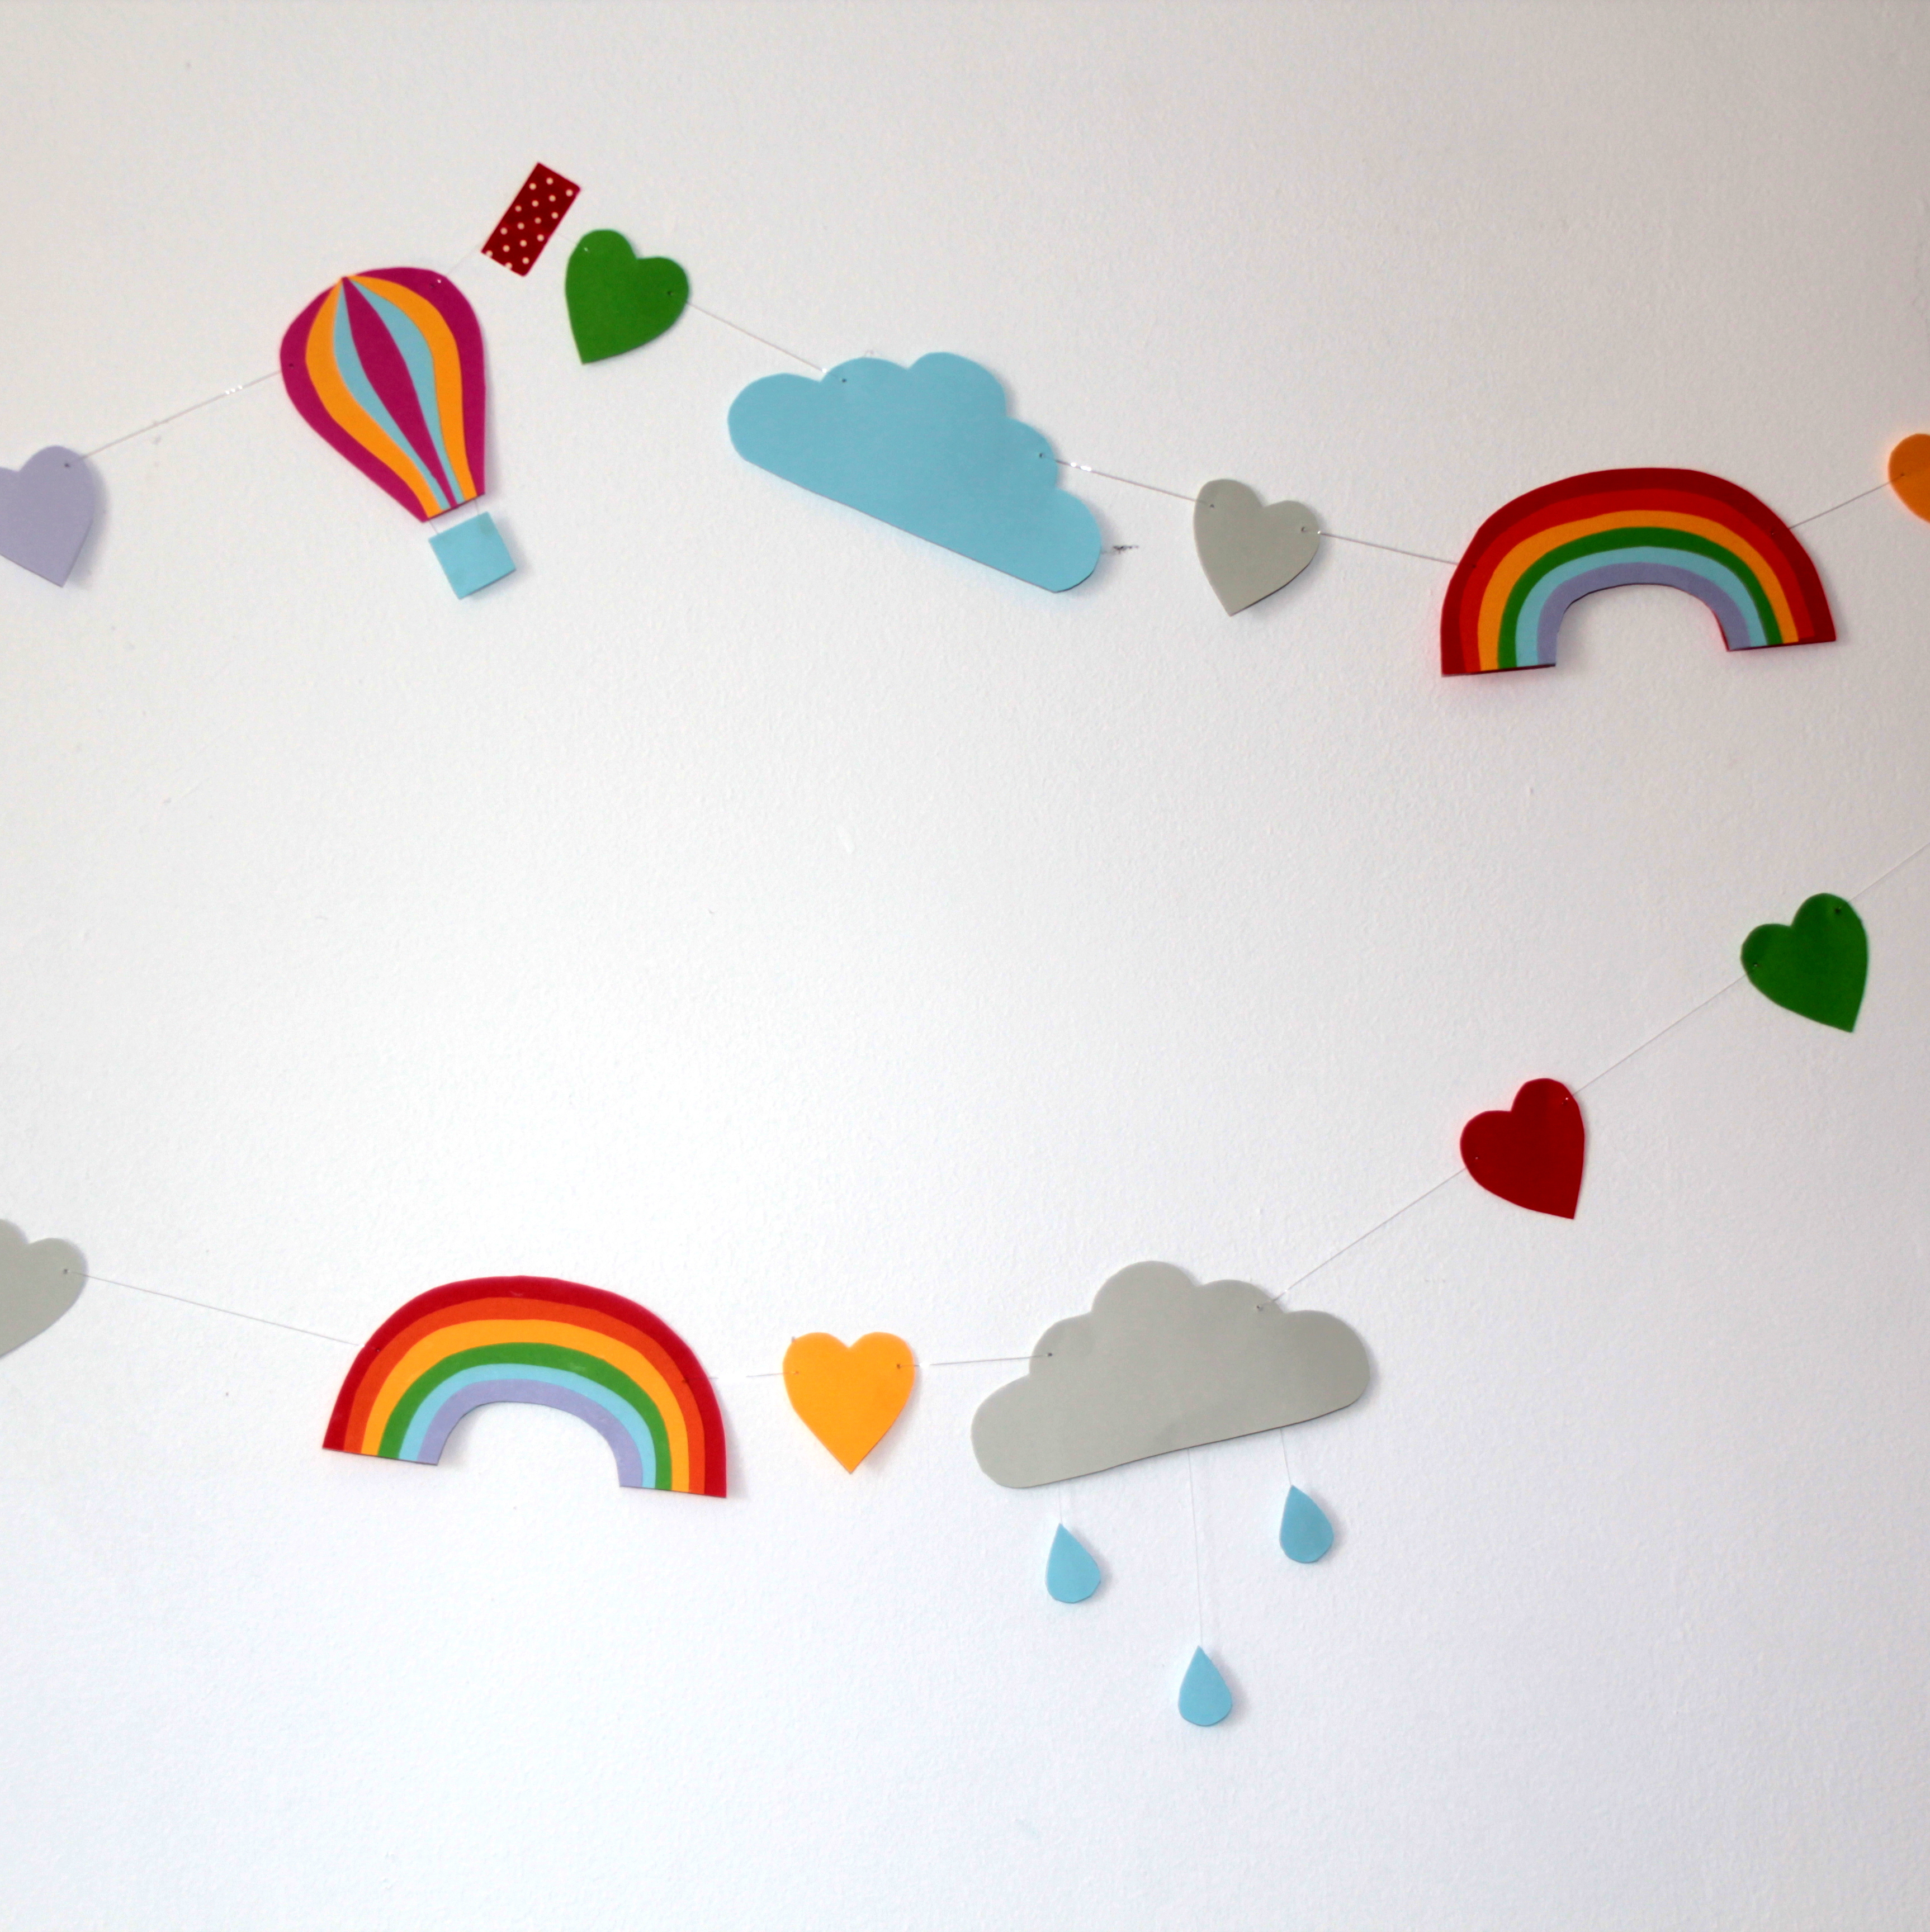
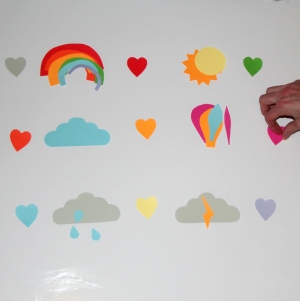
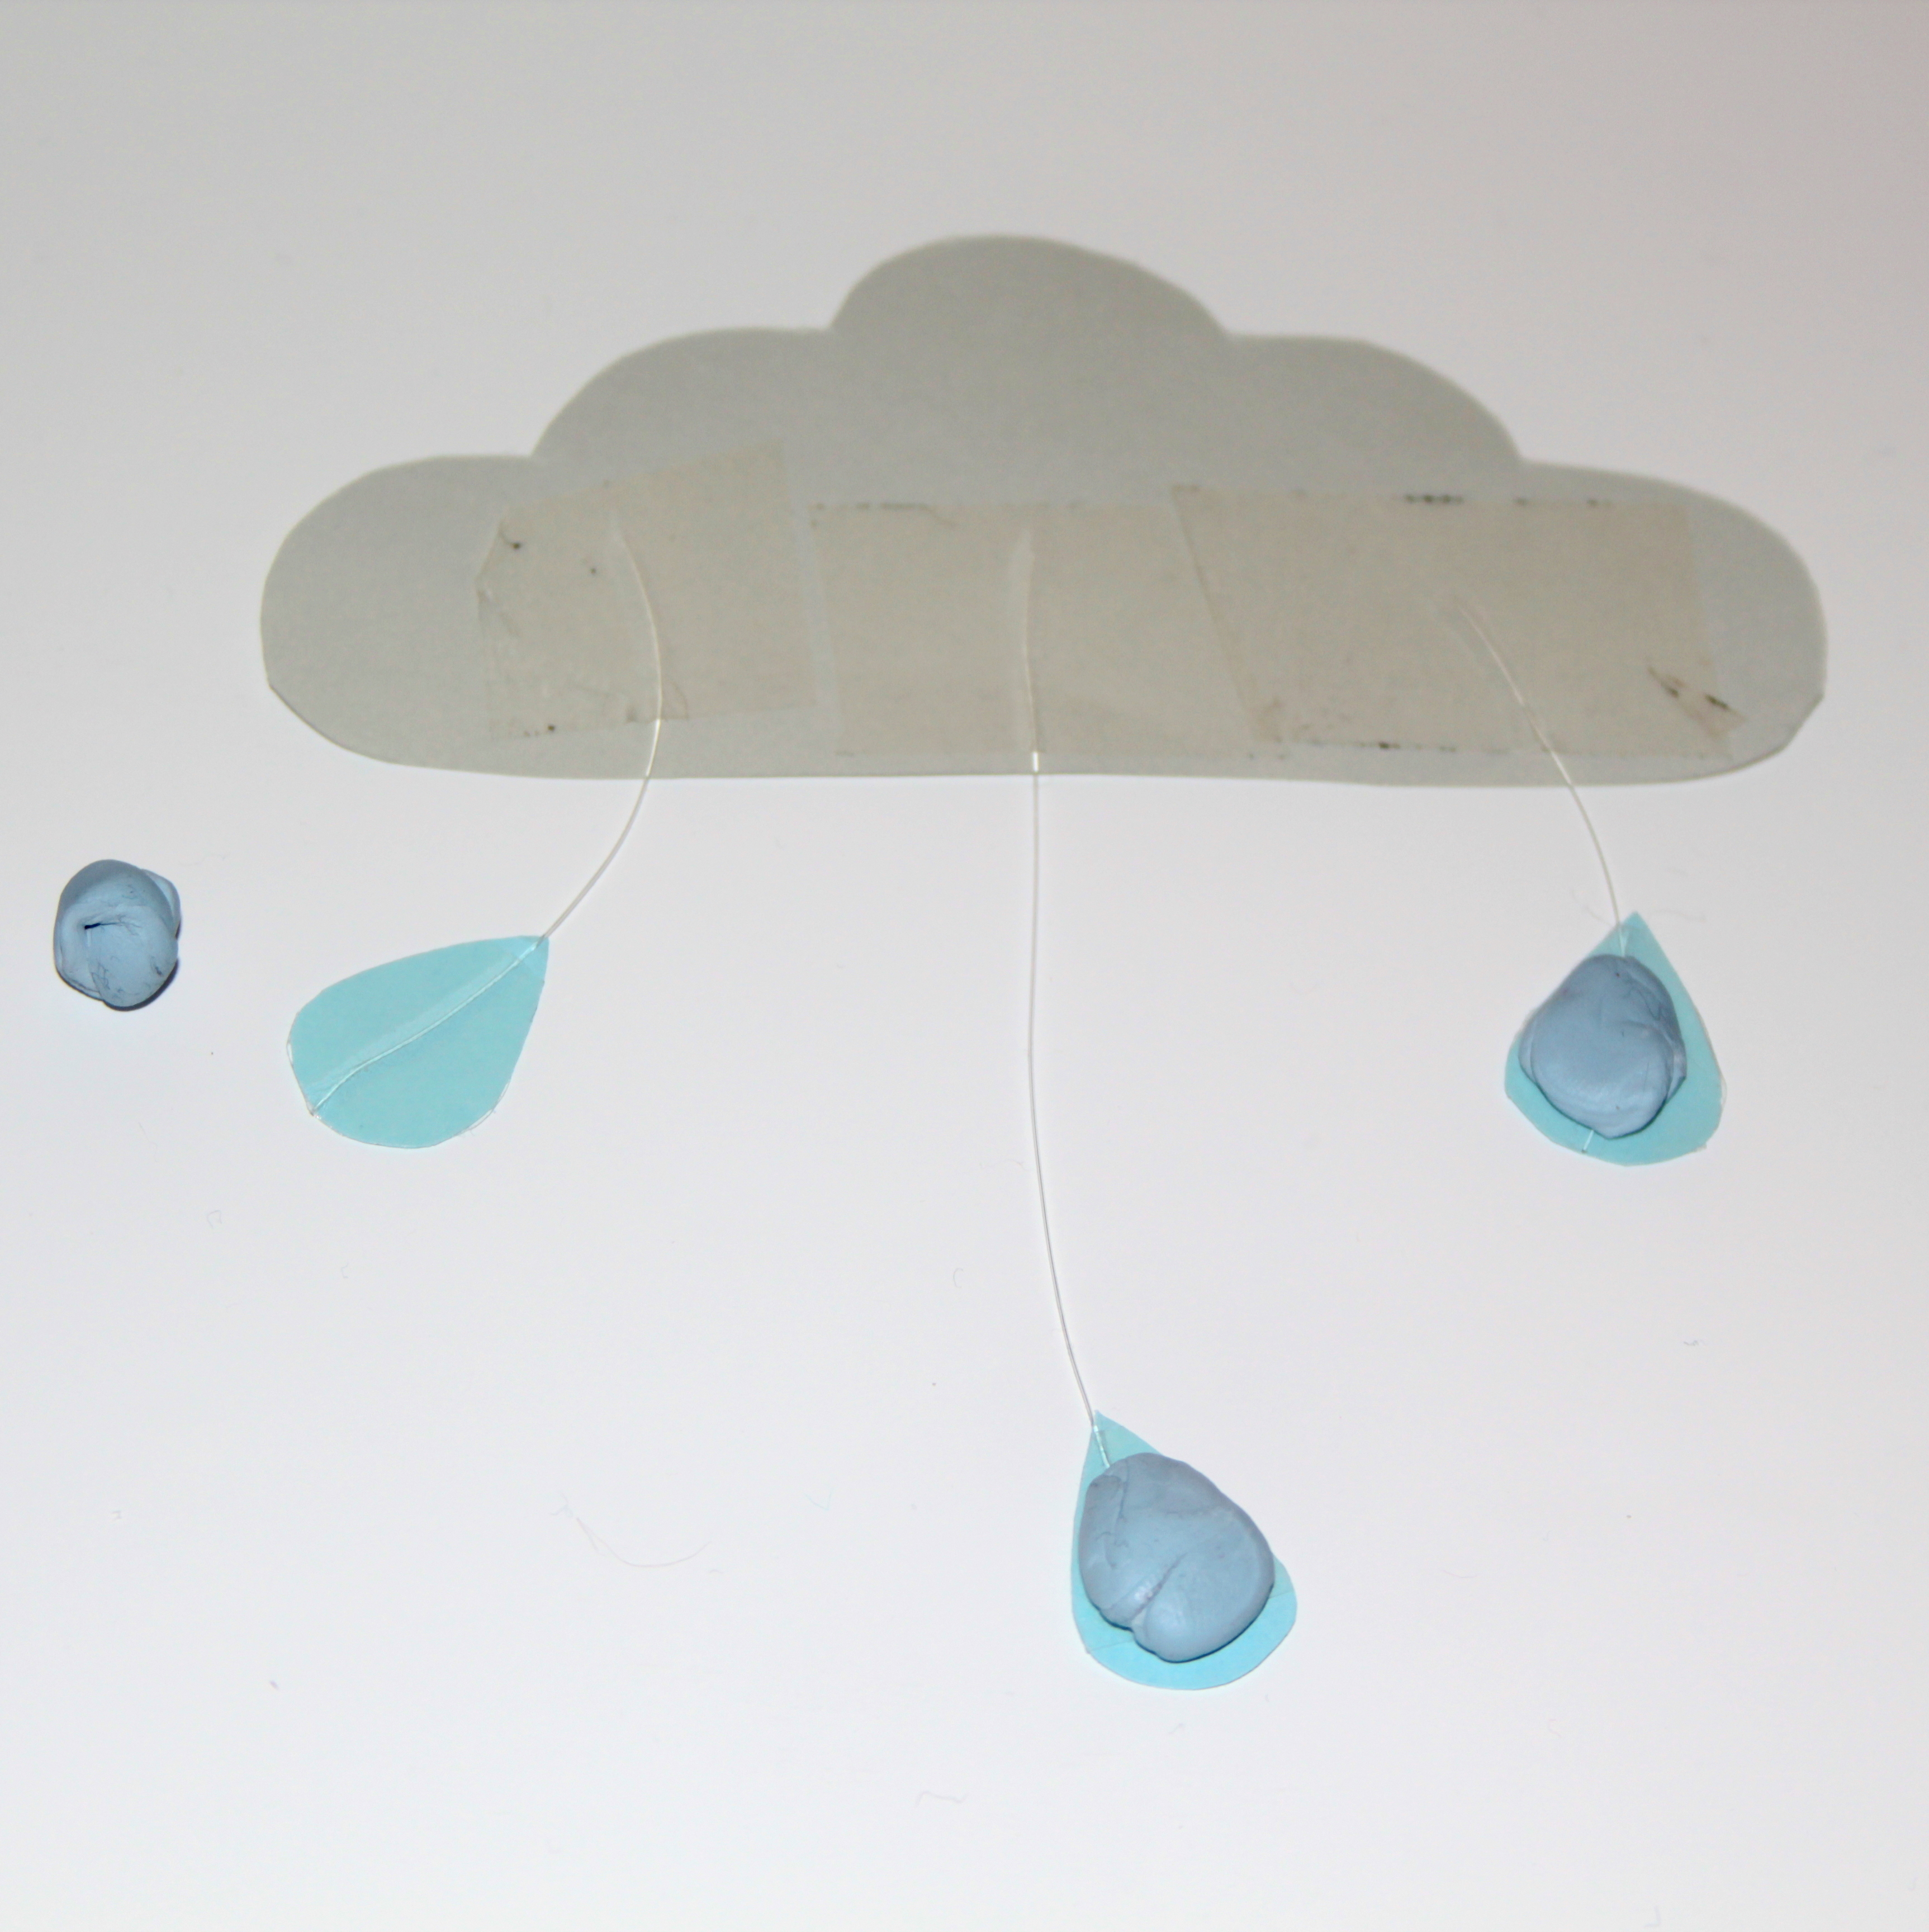
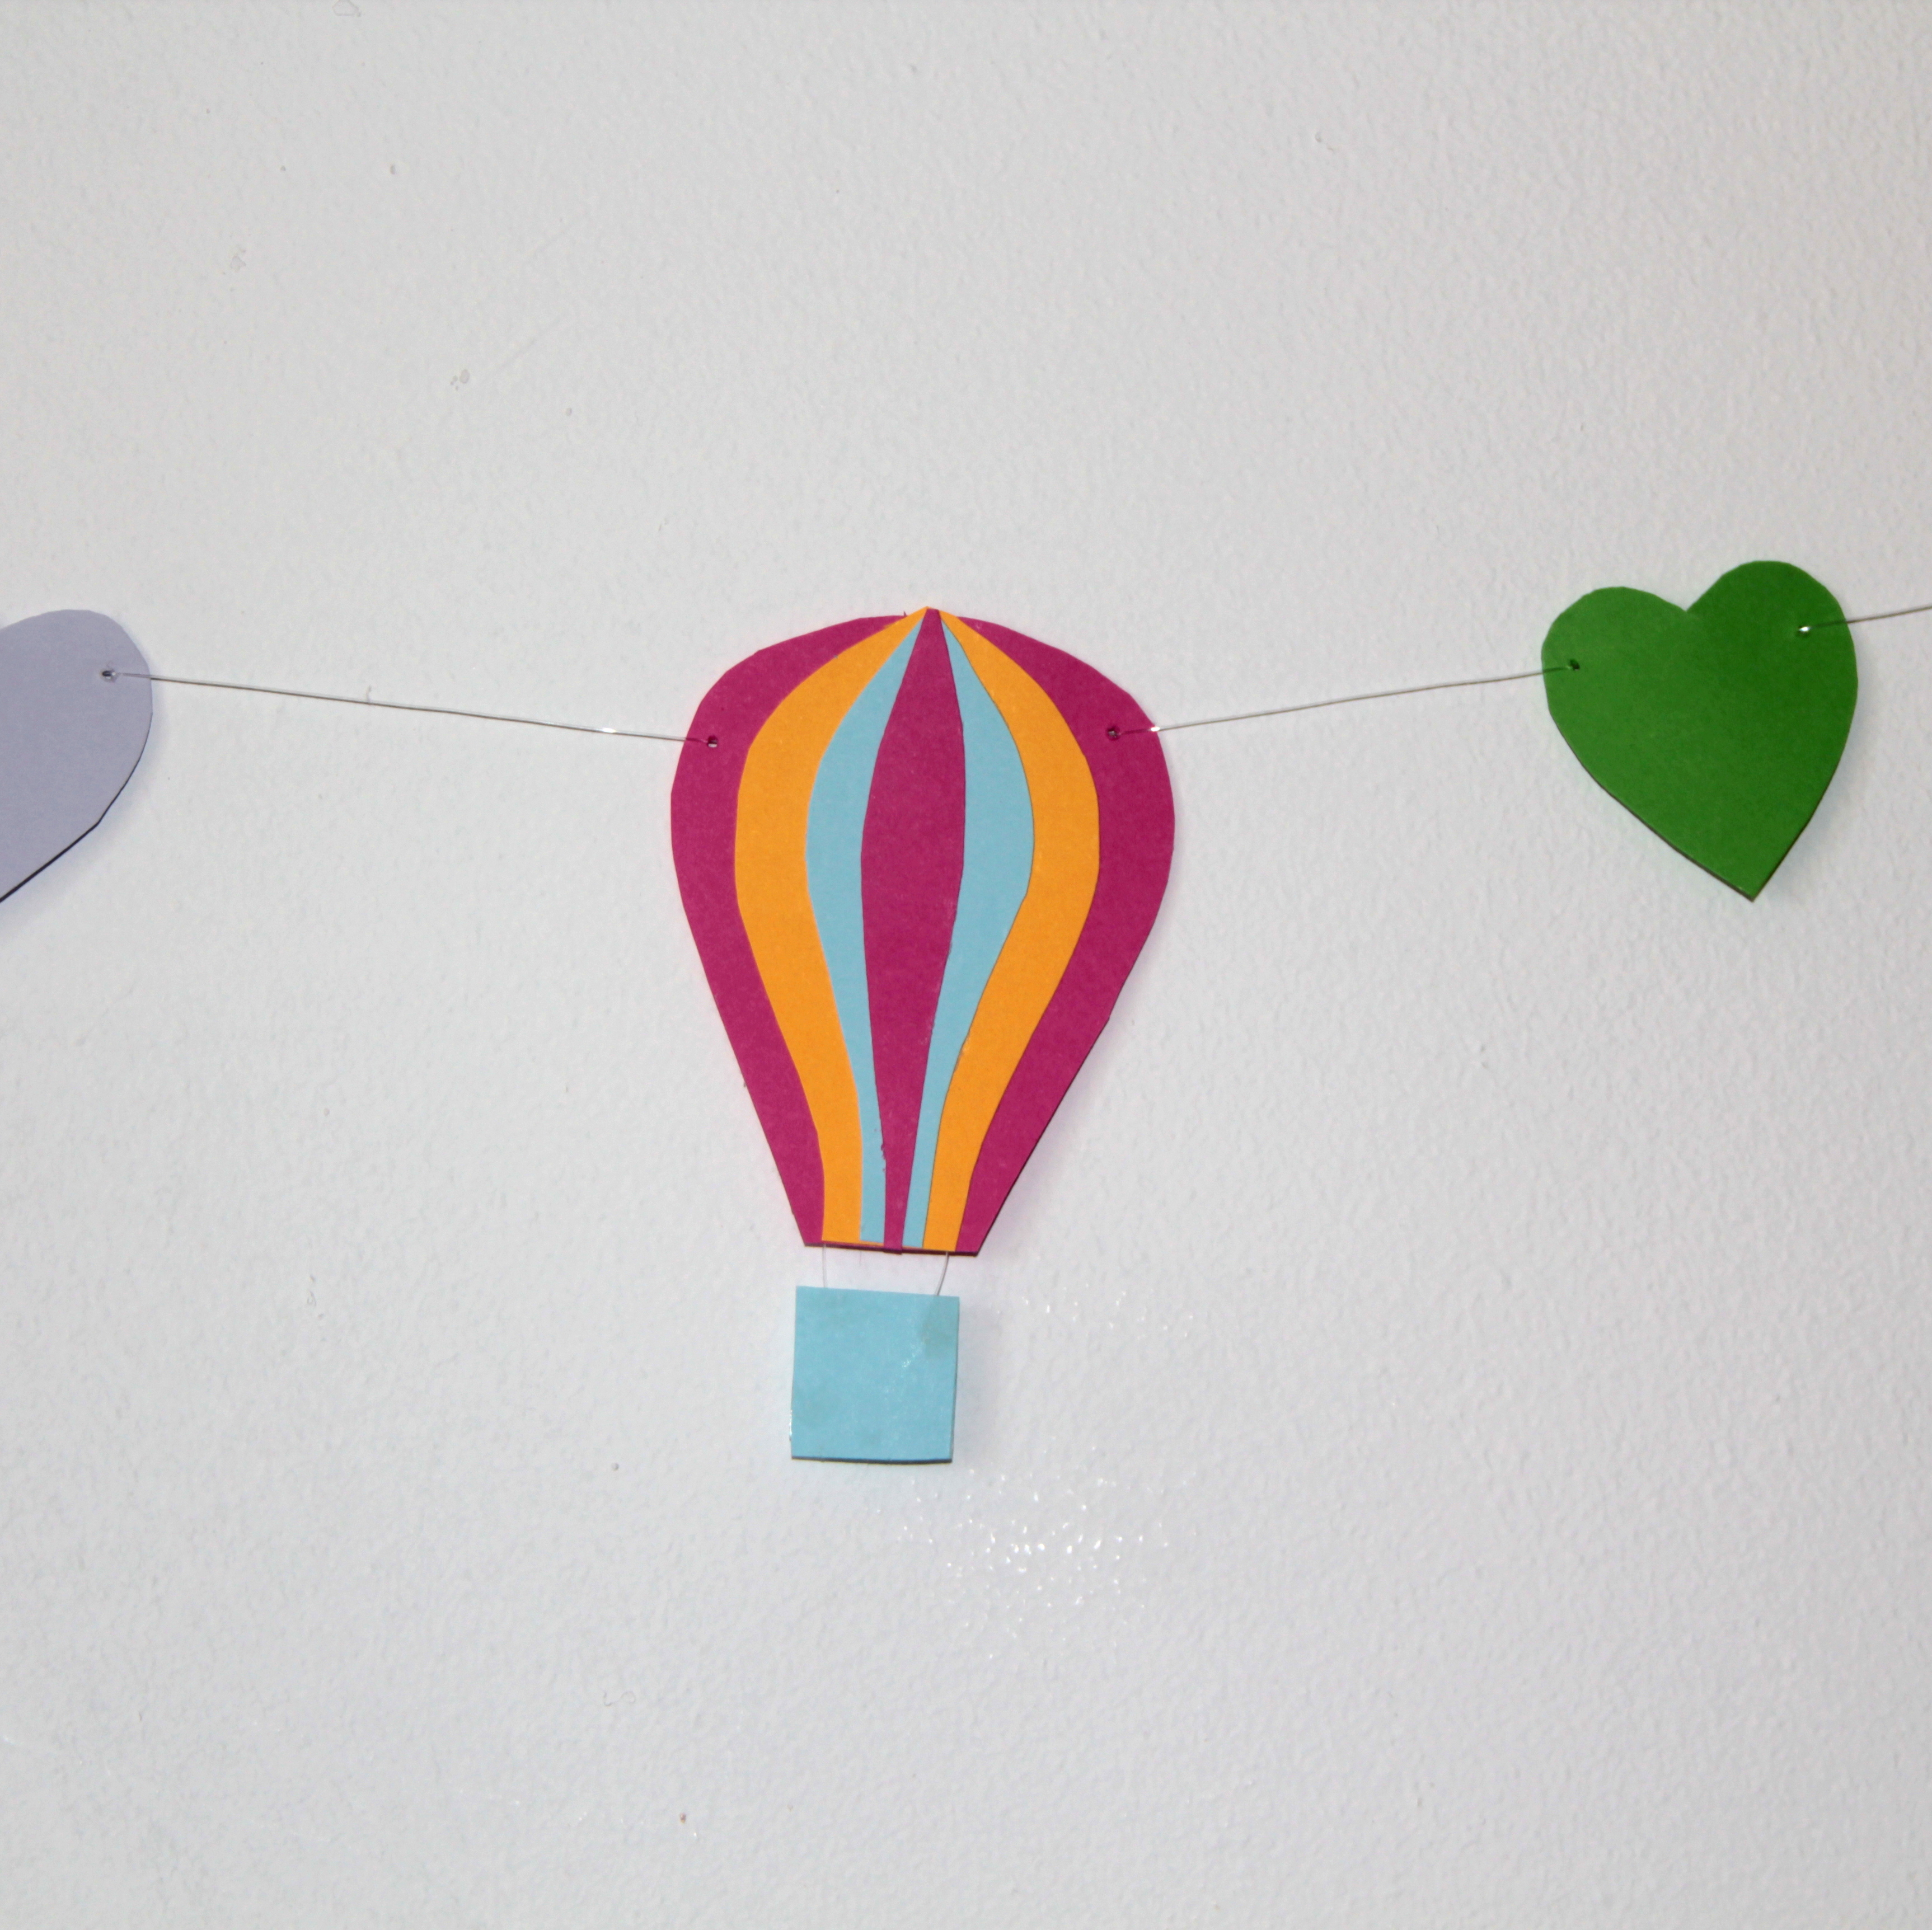
They asked us to create a half term project for kids using their Spectrascope range of paper and card. So we created a paper train to be made with the help of your little ones. For the step-by-step tutorial, check out our post over on The Journal.

LBDtrain_step8

If you like what we do and have two minutes spare, we’d love it if you could vote for us for the MADs (Mum and Dad Awards) for Best Craft Blog. Click on the picture below, enter a blog of the year first, then enter us for Best Craft Blog. Thank you!!

MADS_BADGE_EXAMPLE_NOMINATED.fw_

~ Laura & Tia xx ~

Paper Weather Garland

paperchase weather garland 2

This colourful garland is a nice quick make and will make any boring white wall awash with colour (and weather!). We used Spectrascope card from Paperchase to create this garland as part of their ‘Play With Colour’ paper craft challenge.

For this project you will need:

  •  Card in an assortment of colours
  •  A stick of glue
  •  Fishing wire or thread
  • Needle
  • sellotape

1. Begin by cutting out your weather shapes. We made various clouds, rainbows, a sun and a hot air balloon (yes, we know that is not weather. But looks nice and it’s in the sky, ok?!). Our pieces were about 7cm high. Cut out hearts in different colours to go in-between each piece.

paperchase weather garland 9

2. For the rainbow, make a template and use this to cut a piece of red card, then trim a small amount off the template (about 5mm a time) to make each of the colours. Use this method for the hot air balloon too, but make sure you fold the template each time you trim a bit off. Cut a square for the basket and attach it by sellotaping fishing wire to the back.

paperchase weather garland 10 paperchase weather garland 11

3. To make the raincloud, sellotape the fishing wire to the cloud and droplets and then add weight by putting a small blob of blutack on the back of each drop.

paperchase weather garland 13

4. With all your pieces cut, use a needle and fishing wire to thread the pieces on. Starting on one side of each piece, thread the needle from the front, around the back and then back through on the other side. We alternated heart pieces with weather pieces. Leave a good amount of wire at the end so you have enough to adjust the pieces. Finally, hang the garland and admire!

paperchase weather garland 12

paperchase weather garland 7 paperchase weather garland 6  paperchase weather garland 5 paperchase weather garland 2  paperchase weather garland 8

 ~ Tia & Laura xx ~