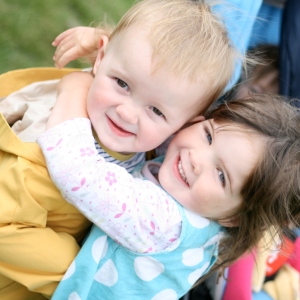

My Little Button is at an age where wooden puzzles have suddenly become fascinating to her. Her Grandpa and I simultaneously came up with a craft project idea based on her new-found love, to create a customised ‘peek-a-boo’ family puzzle. Grandpa did the hard work of constructing the puzzle, and I added the decoration – so the instructions below are a team effort!


For this project you will need:
- Sheet of 400mm x 300mm x 18mm thick MDF
- MDF sealer and primer
- 3mm plywood for backing
- 5 x 4mm Interscrews
- Foam protector sheet cut to size of backing
- Photographs of family members
- Wood paint in white
- Acrylic paints in black and eight colours of your choice (I used red, pink, purple, brown, yellow, orange, green & blue)
- Double-sided sticky tape

1. First design the layout of the puzzle by drawing a selection of geometric shapes onto paper. Most of these were straightforward but I used this link to help me form an oval. When you are happy with the plan, fix the paper to a sheet of MDF, then cut out the shapes using a scroll-saw.
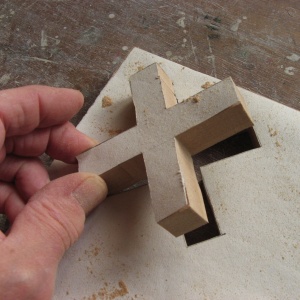
2. Begin by drilling small pilot holes in each of the shapes and threading the narrow saw blade through. I was able to cut out the puzzle pieces leaving the holes, which would become their matching “homes”. I had to be very accurate as the shapes would have to fit the holes in each orientation – the sides and angles of each polygon for example had to be exactly the same on all faces.

3. Next drill a 9mm hole in the centre of each piece. In these holes fit and glue a length of dowel to act as a handle. Make sure the dowel is a tight fit, which little fingers would not be able to remove!

4. Add a coat of MDF sealer and one of primer to the board so it is ready for decoration. Then cut a piece of 3mm plywood to form a back panel … otherwise the shapes would just fall through.

5. To attach the backing I’ve used 5 x 4mm Interscrews. This allows the back to be removed and the pictures updated as and when. Finally, attach some foam protector sheet to avoid scratching the furniture.

6. To decorate, take the shapes out and paint the whole board with white wood paint. Then paint the top of each shape with a different coloured acrylic paint. I decided to not paint the sides so they could still easily slot into the base. If you find the pieces are too snug in their holes, you can use sandpaper to smooth the edges.
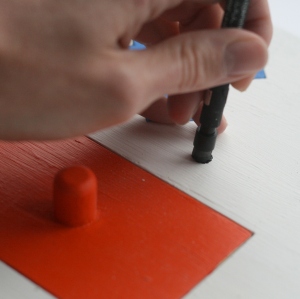

7. To create the black dots on the puzzle board you need a pencil with a rubber on the end and black acrylic paint. Dip the pencil into the paint and stamp it onto the board. Fill in any gaps in the dots with a fine paintbrush. It’s a really easy and effective way to print.
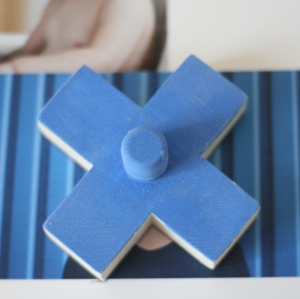
8. Measure the size of each shape and print out a photo of your nearest and dearest – one for each shape. You want to be able to see as much of each face as possible when you lift your shapes.
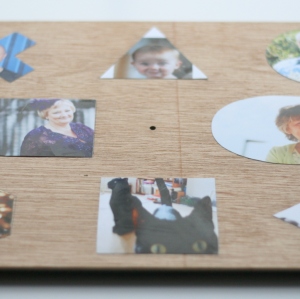

9. Unscrew the back of the puzzle. Using double-sided sticky tape, attach the photos to the back board, positioning them under each space. The nice thing about this puzzle is you can change the pictures as often as you like. Changing the order will keep your Little Buttons on their tiny toes, and adding in new people is another challenge for them.
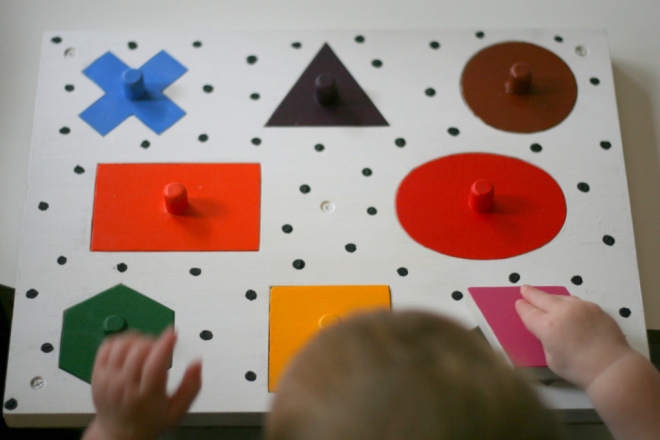
10. Screw the puzzle back together and get playing.

I’m so pleased with the reaction from my Little Button with this project. She actually squealed when she realised there was ‘Dada’ under one of the shapes. The puzzle is great as she can learn her family members, shapes and basic colours at the same time.
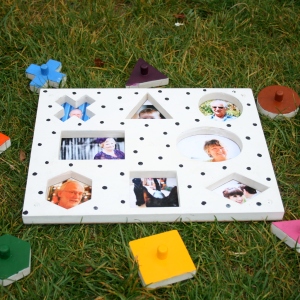
~ Laura (& Grandpa Alf) xx ~
NB – Obviously with anything involving proper paint, sawing and big shed skills, make sure you keep your Little Buttons well out of the way. This project produced a lot of dust when we constructed the puzzle so it’s best for little ones to steer clear.
