We’re so excited to share our news that we are now going to be working with high street stationers, Paperchase, on their recently launched blog, The Journal. We are probably the two biggest fans of Paperchase out there (we both recently bought a whole load of matching stationery from there… losers!) so to be working with them makes us really happy.
They asked us to create a half term project for kids using their Spectrascope range of paper and card. So we created a paper train to be made with the help of your little ones. For the step-by-step tutorial, check out our post over on The Journal.
If you like what we do and have two minutes spare, we’d love it if you could vote for us for the MADs (Mum and Dad Awards) for Best Craft Blog. Click on the picture below, enter a blog of the year first, then enter us for Best Craft Blog. Thank you!!
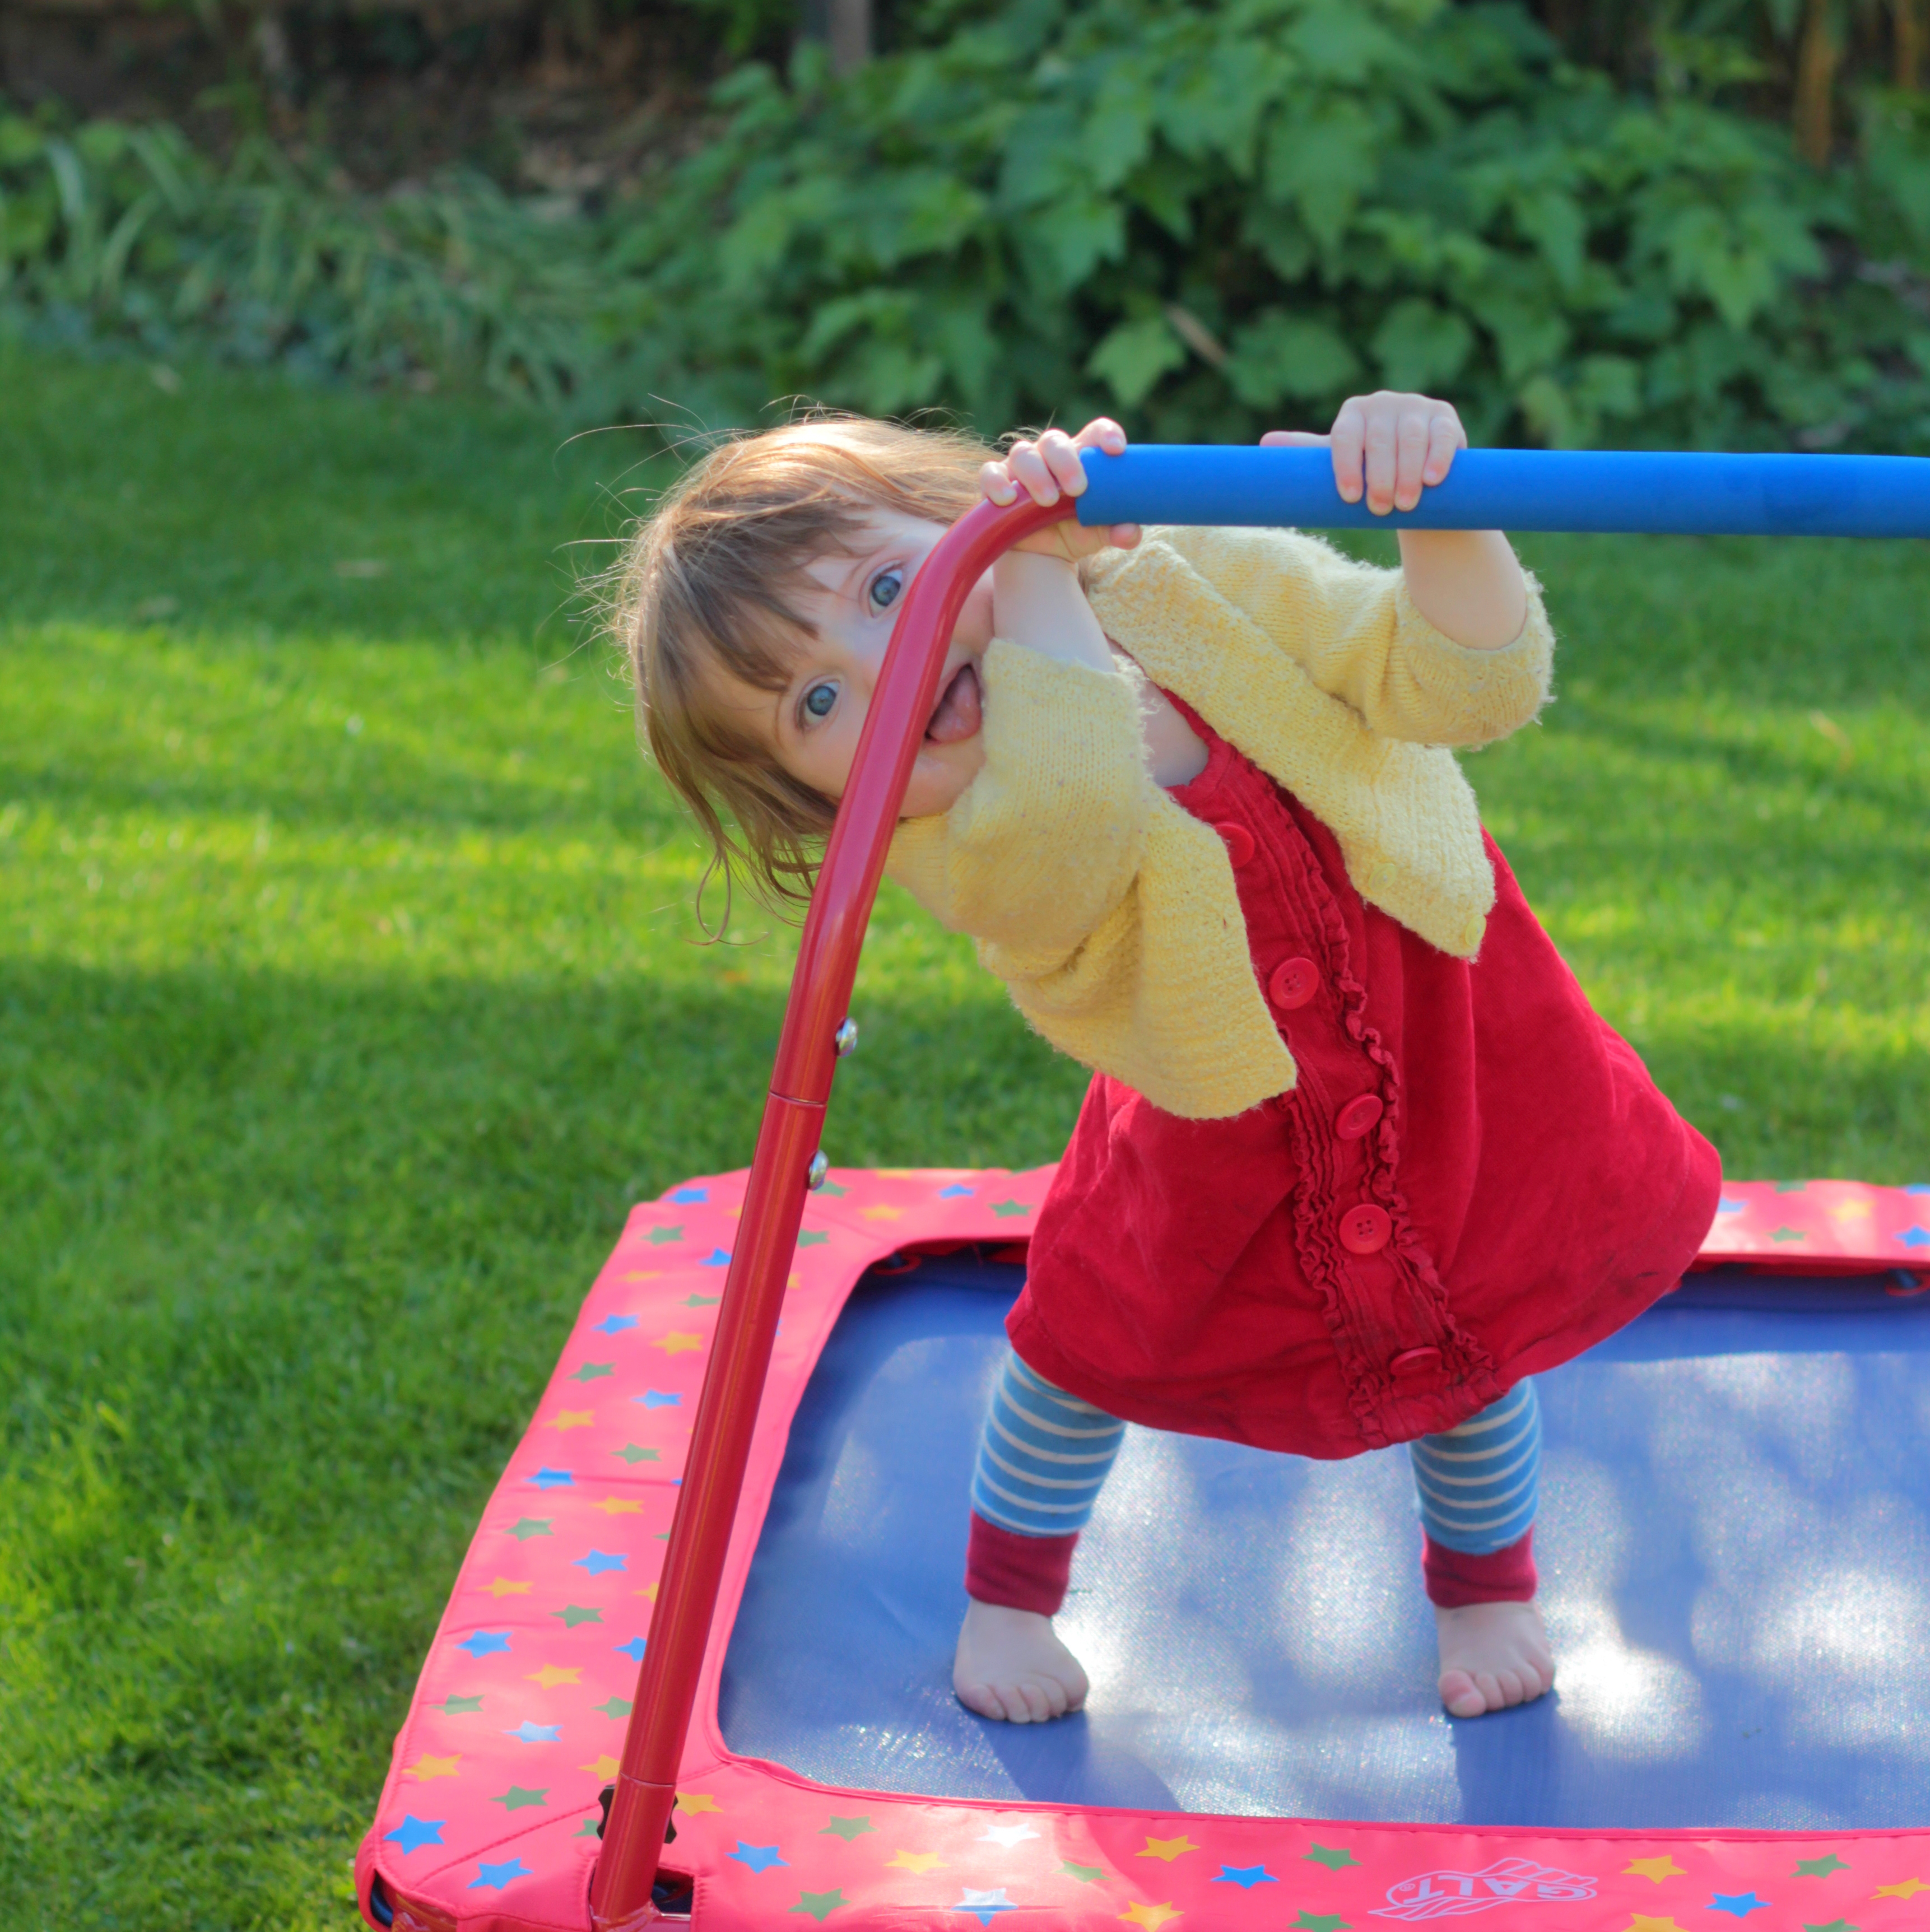
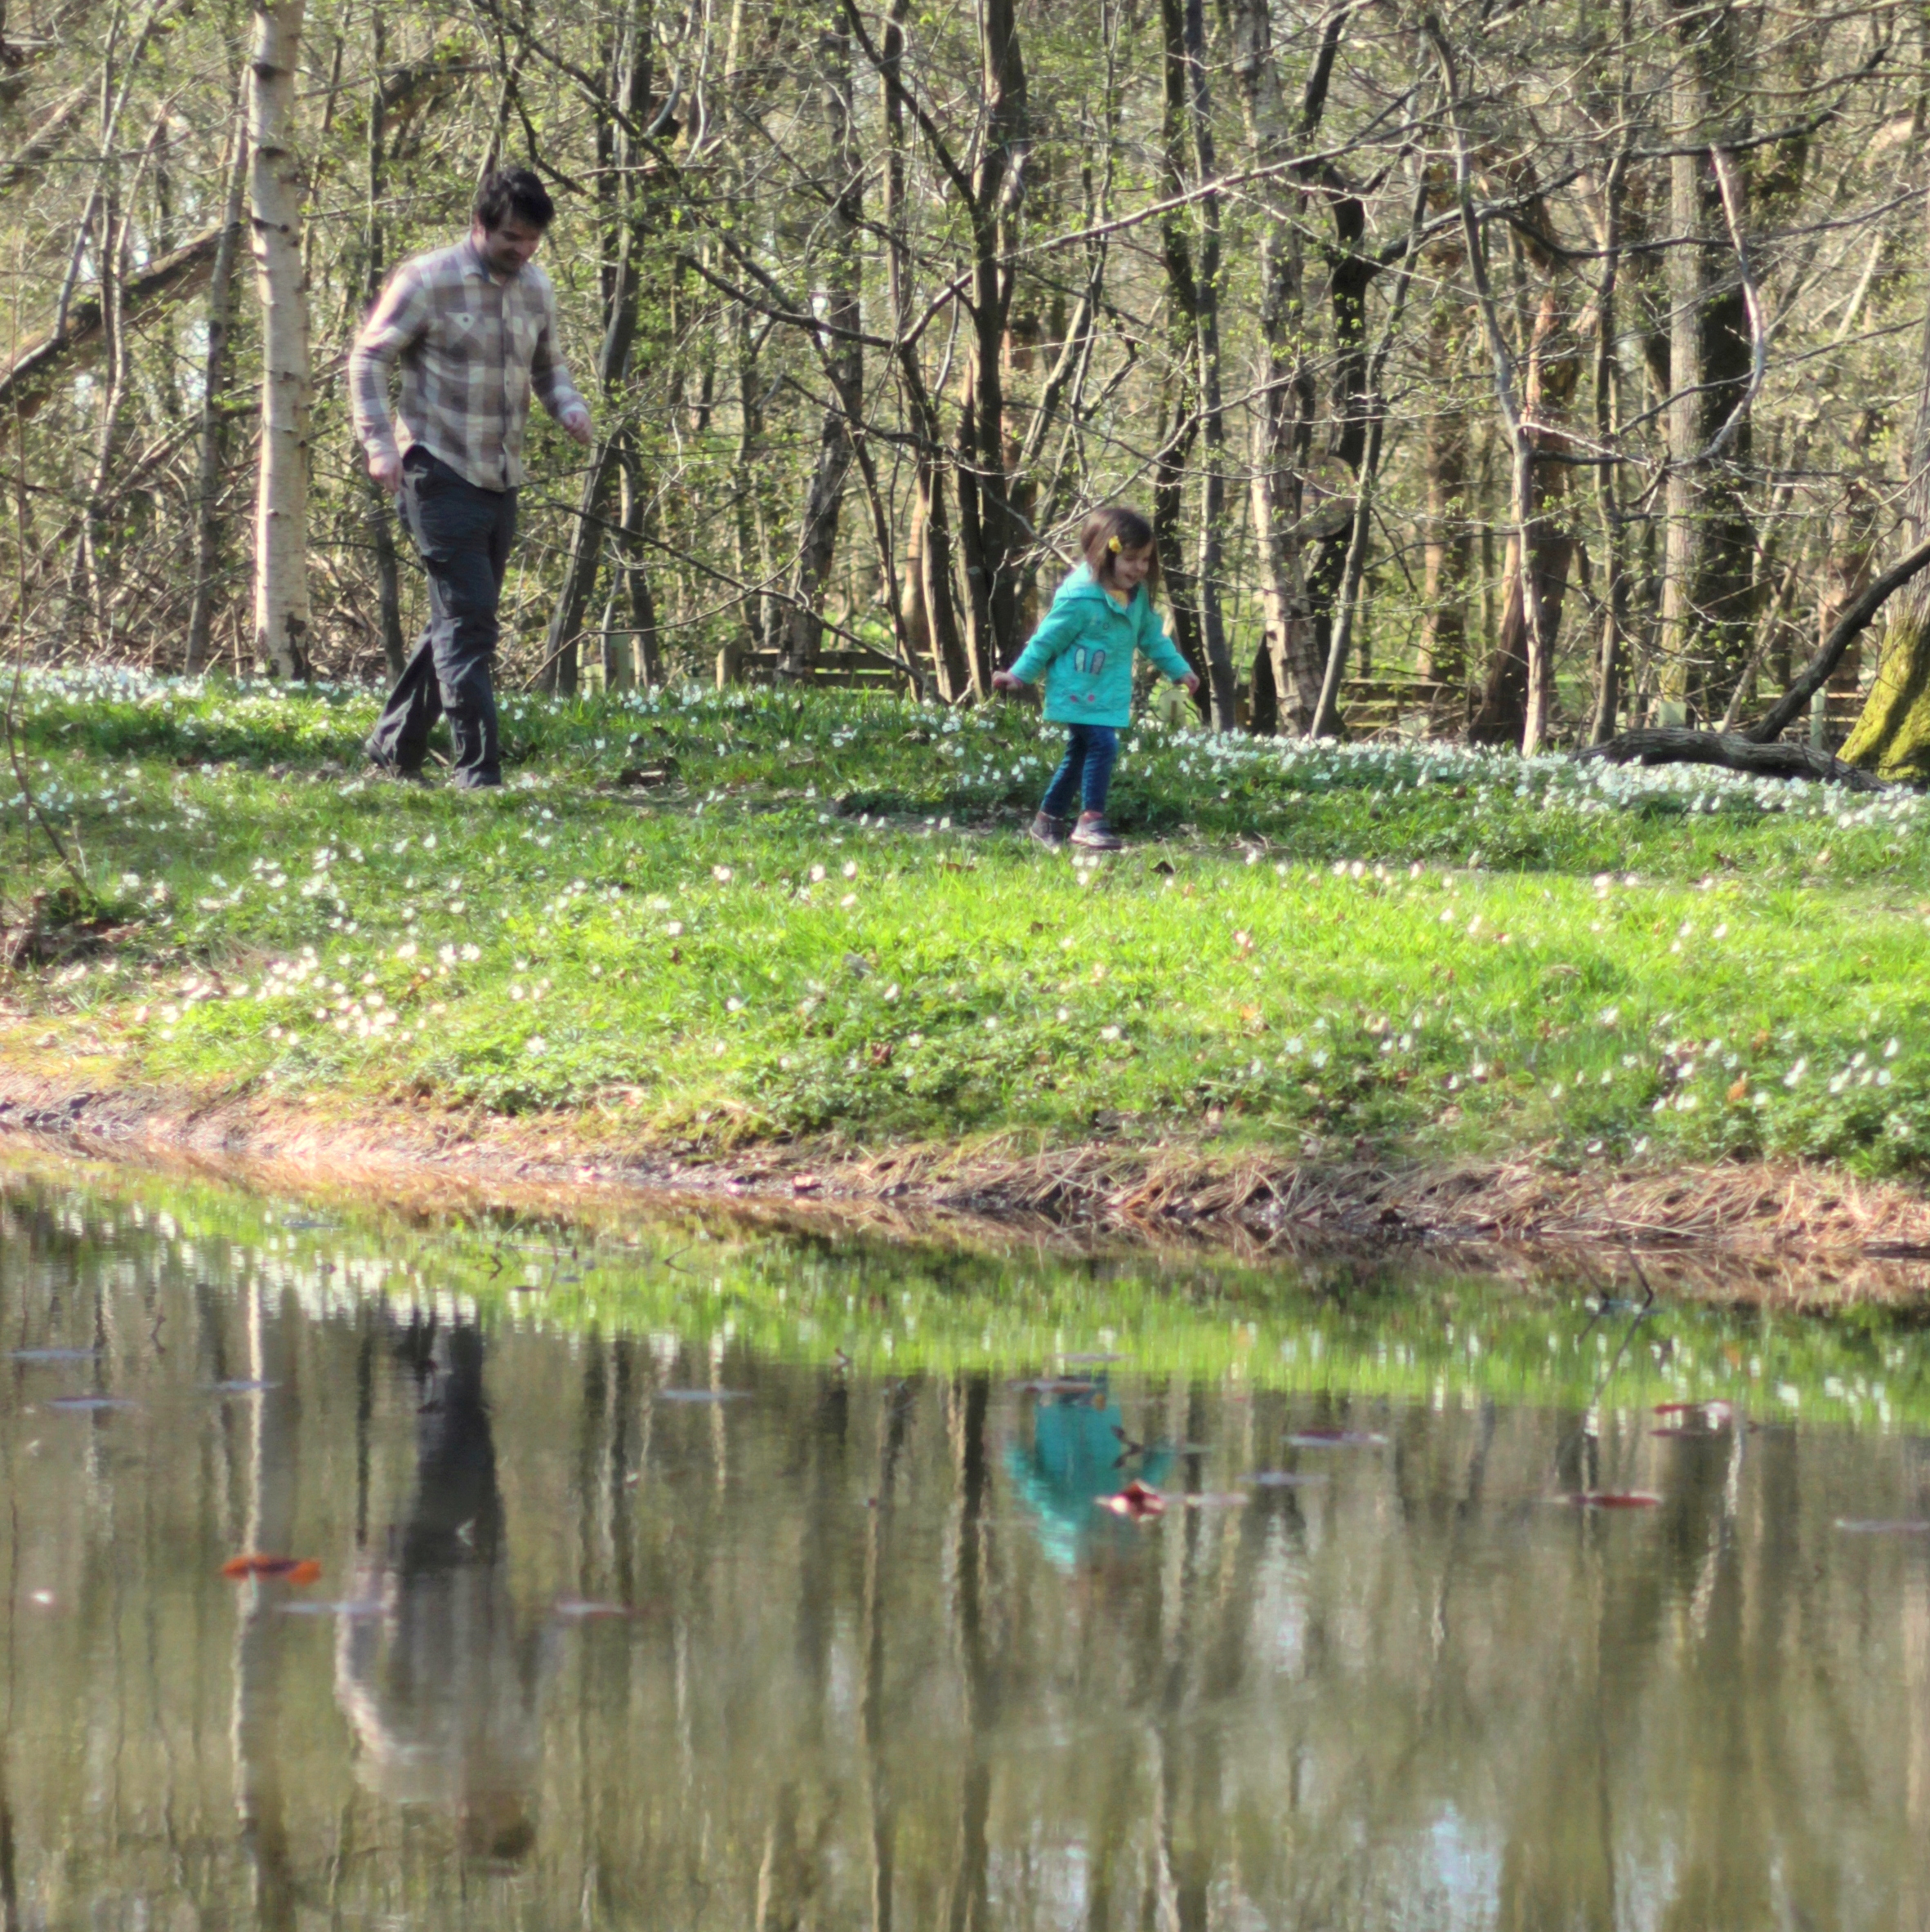
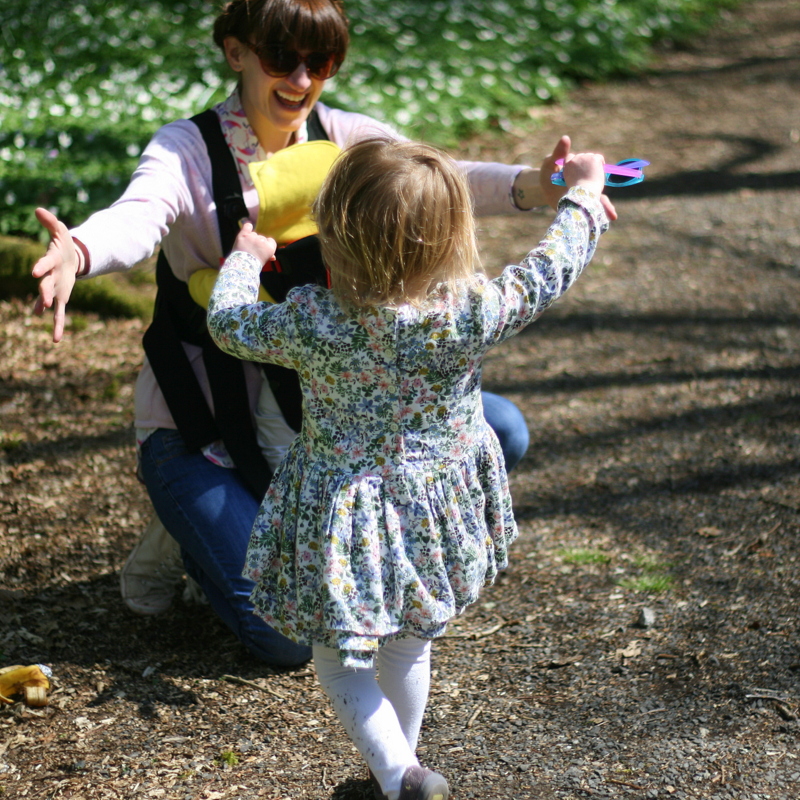
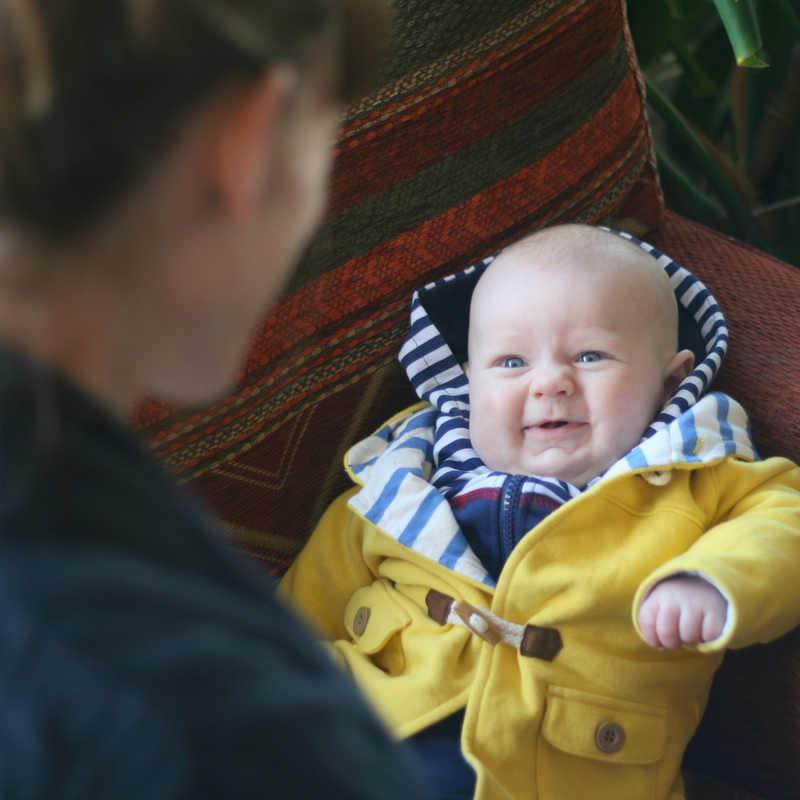
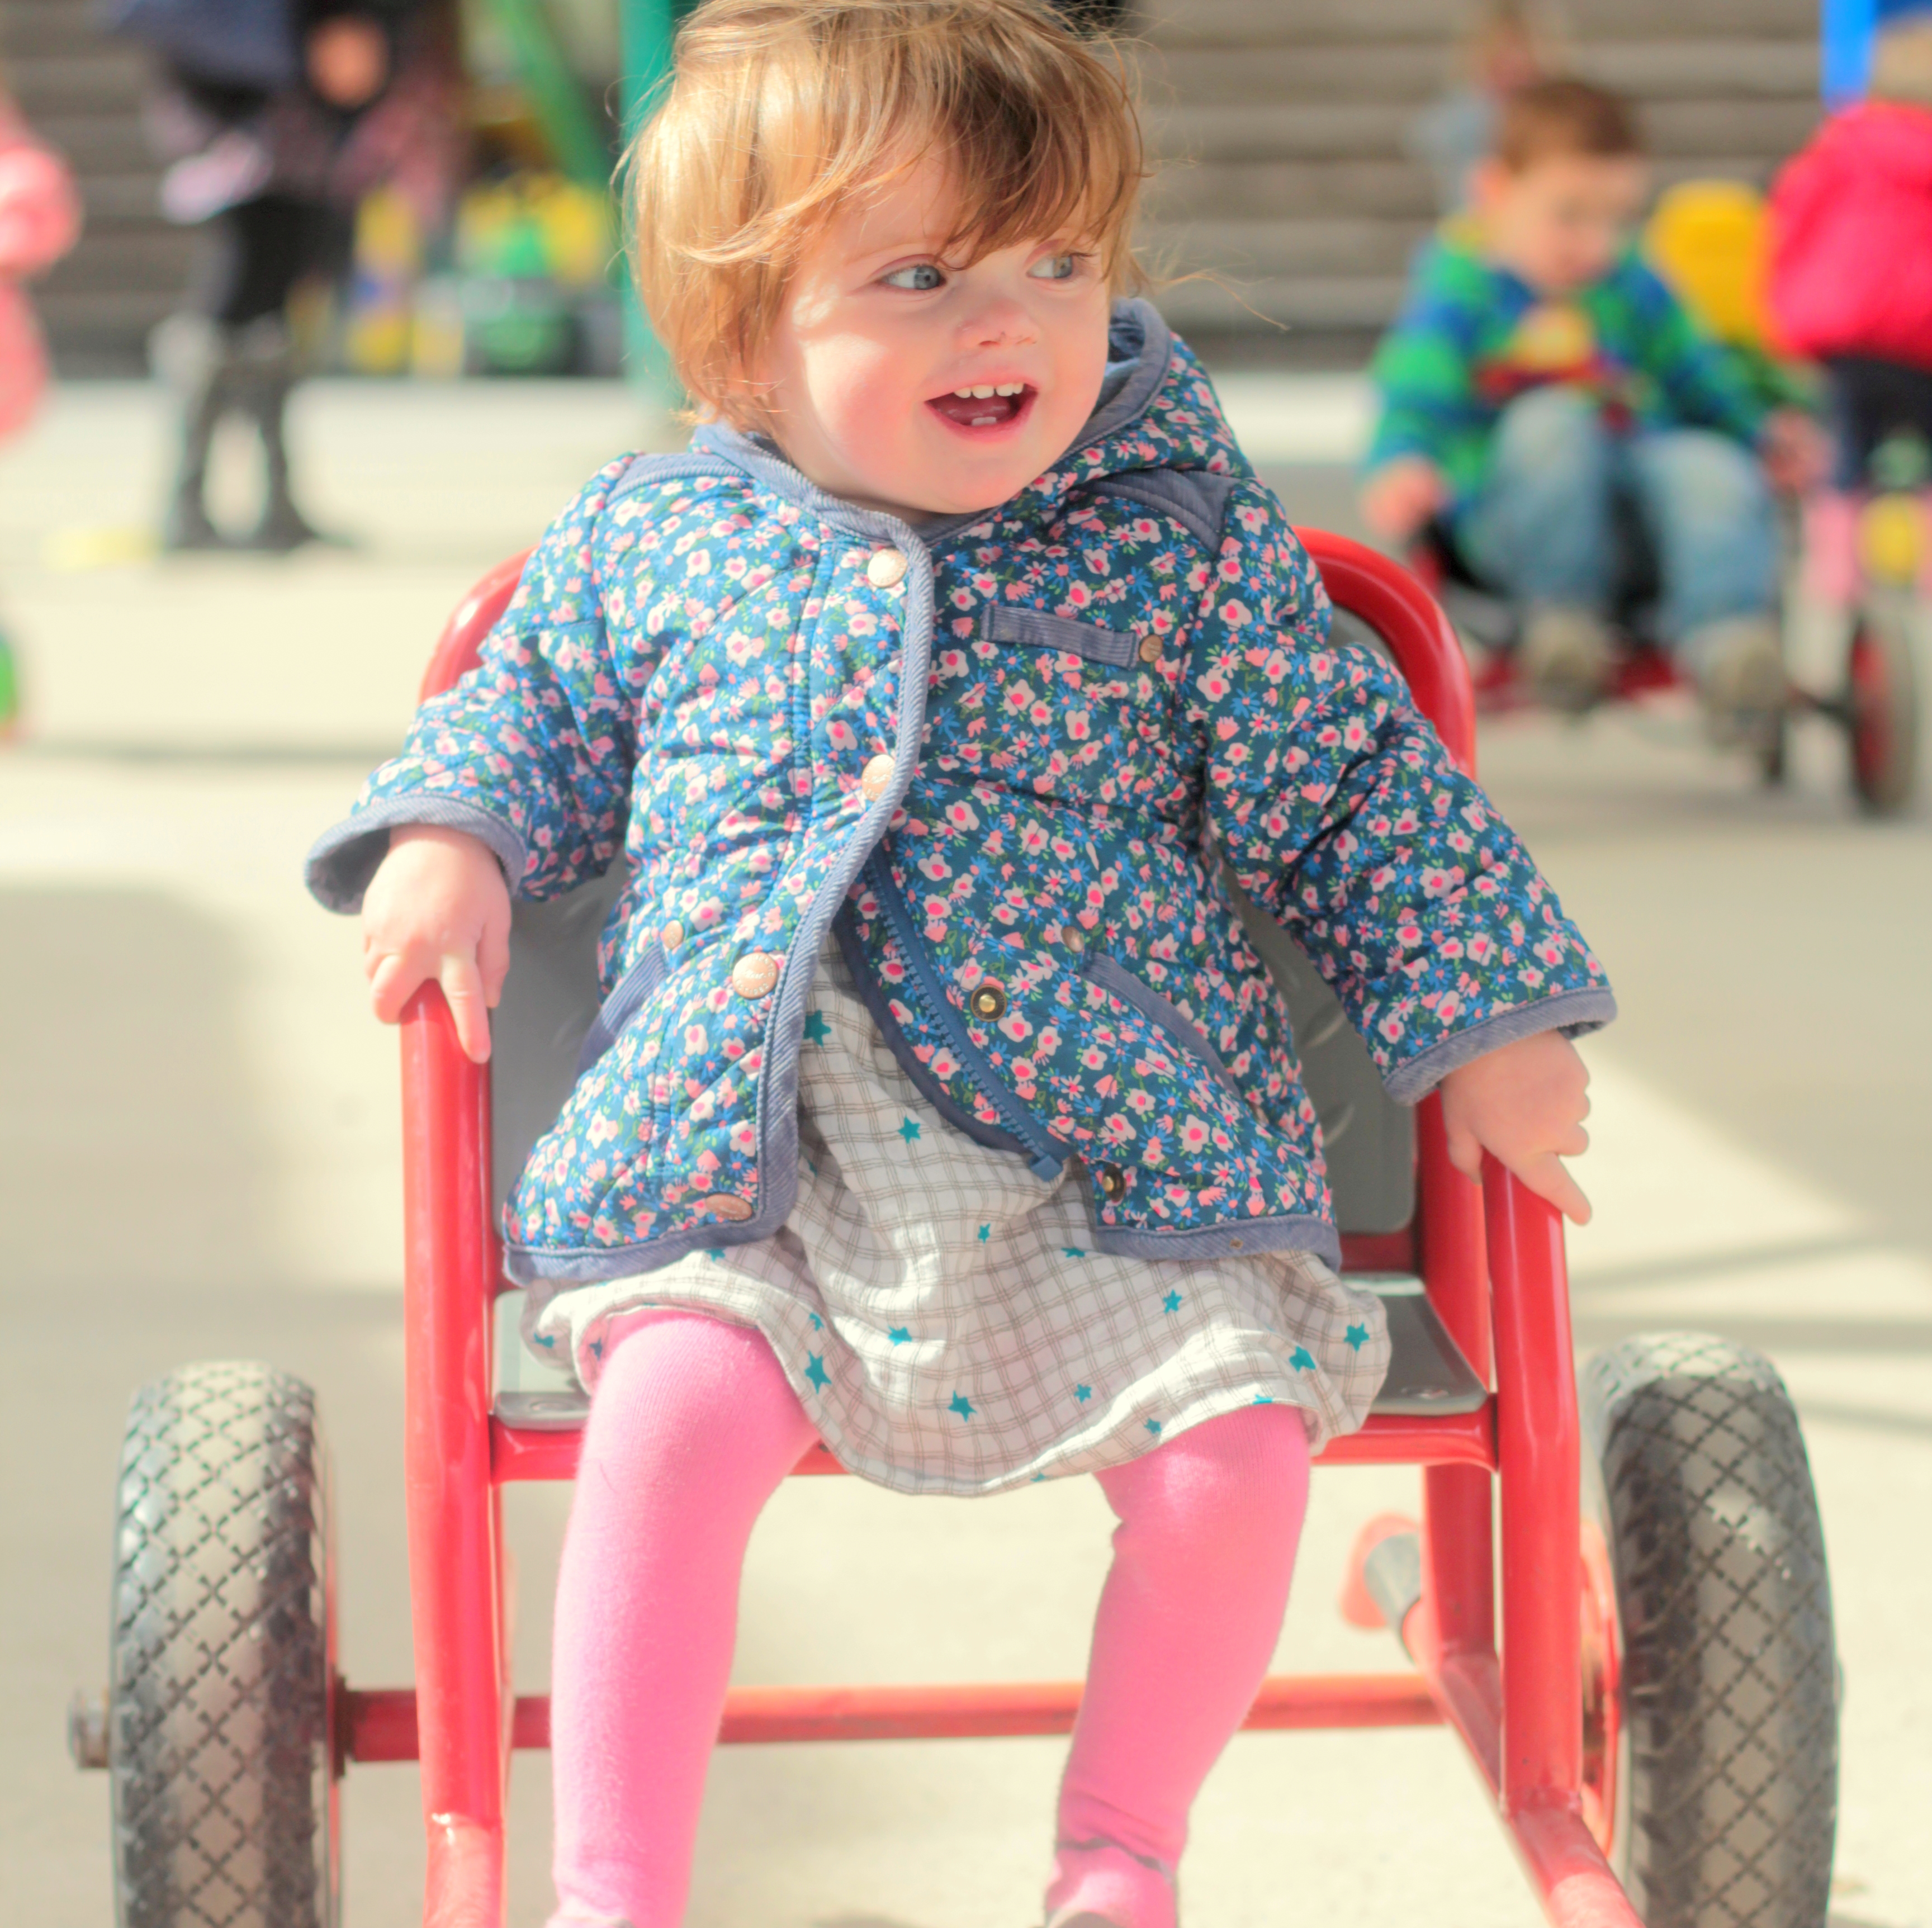
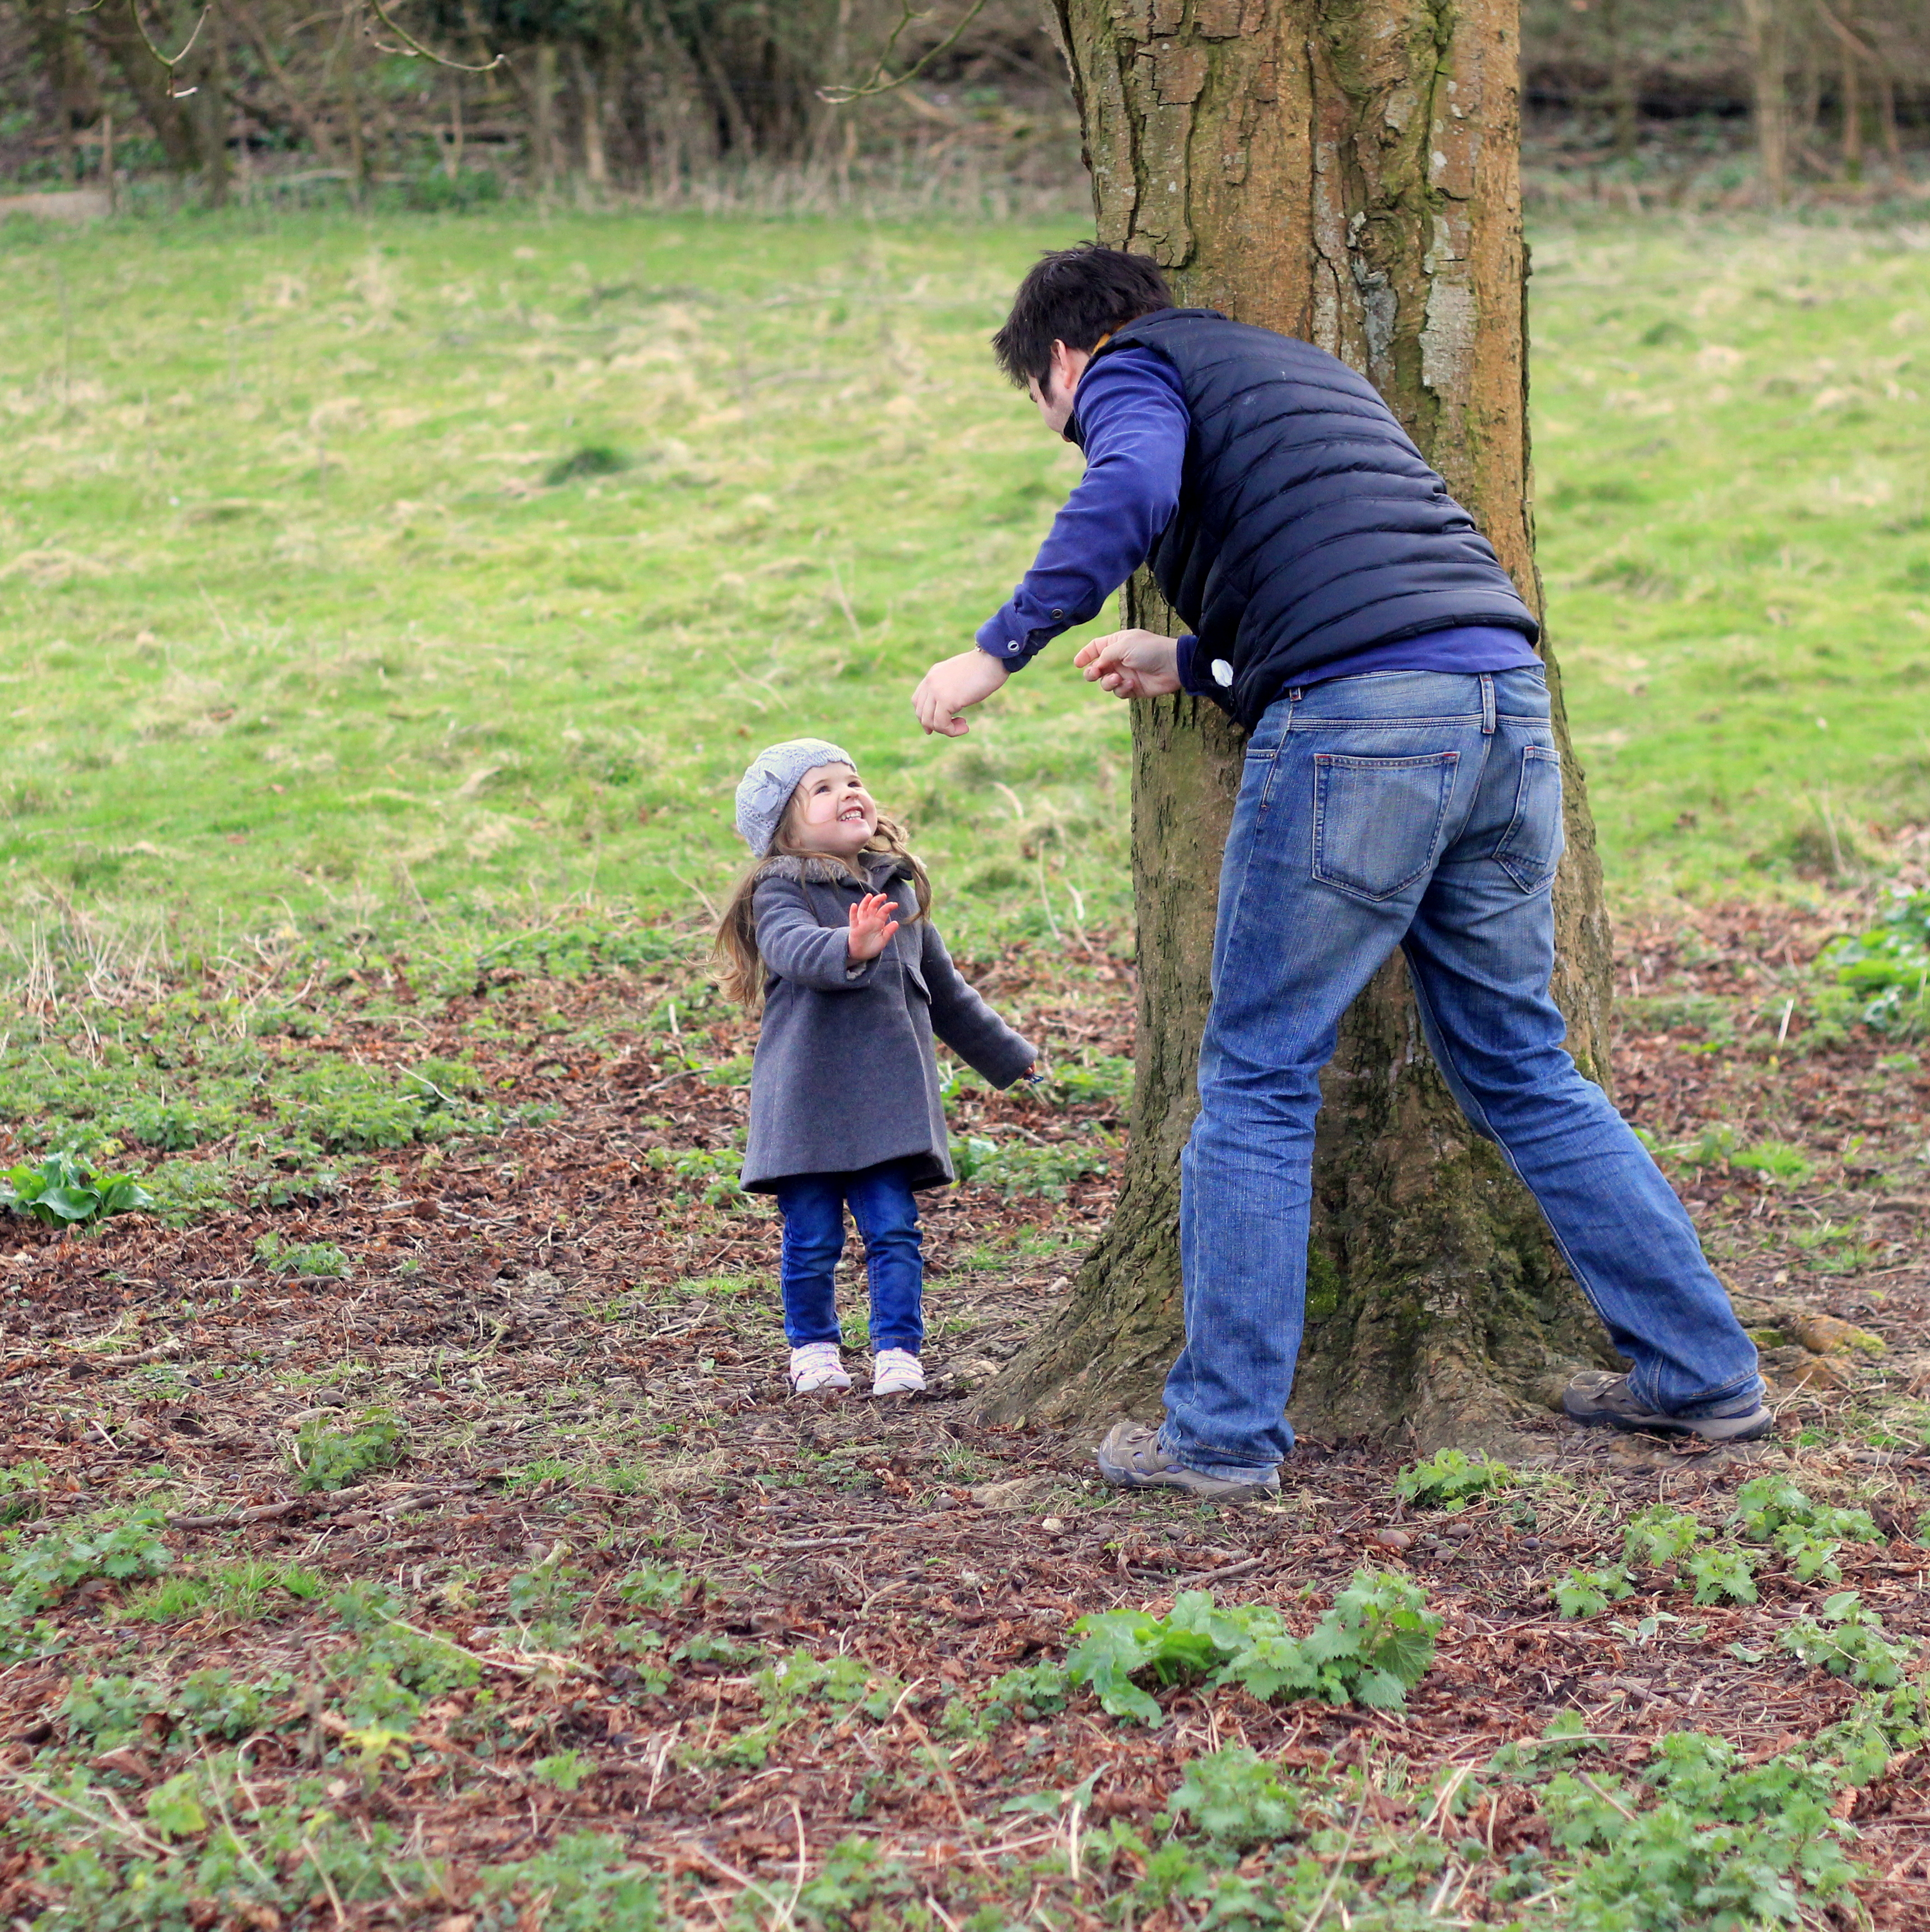
Life in Pictures is our weekly mini-gallery of what we have been up to over the past seven days. This week we’ve been enjoying getting out in the sunshine and playing in all the parks and gardens we could find.
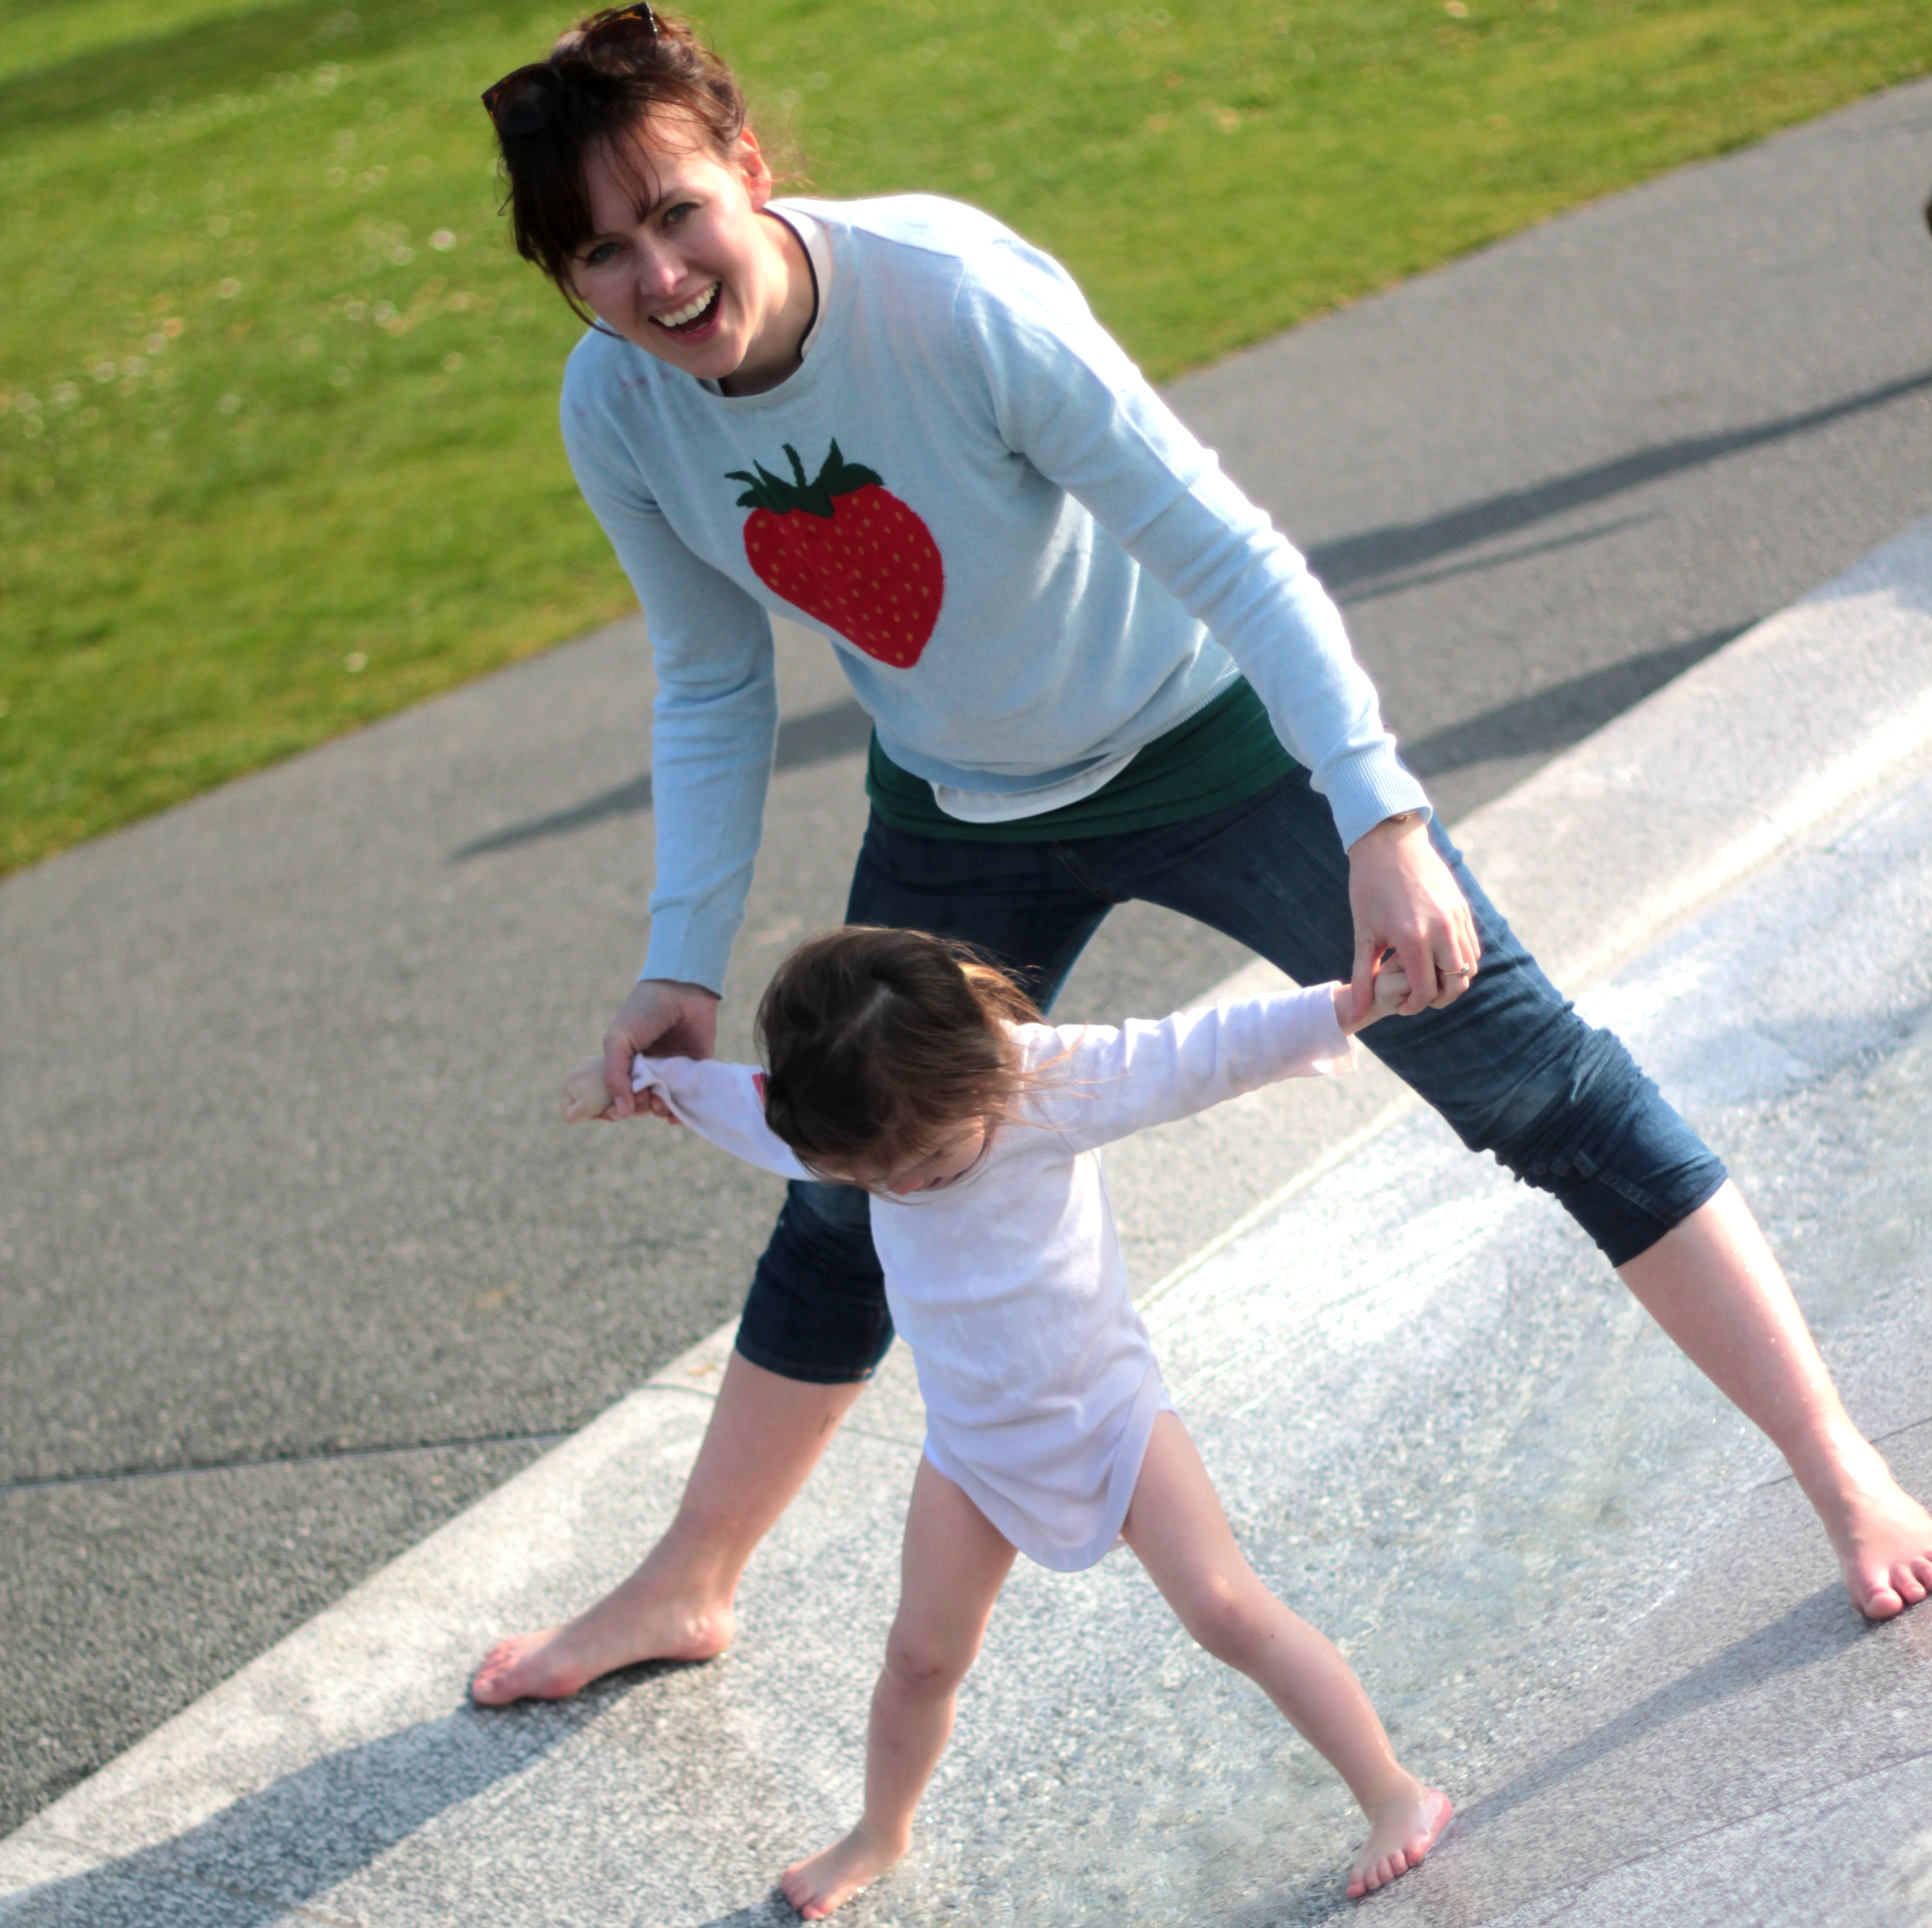
Life in Pictures is our weekly mini-gallery of what our Little Buttons have been up to over the past seven days. This week we’ve been visiting bluebell woods (although the bluebells decided not to join us) and enjoying the 3 minutes of sunshine splashing in the Diana Memorial fountain in London and seeing the sights.
We were very very happy to learn this week that Little Button Diaries have made the shortlist for the Bibs. The Brilliance in Blogging Awards, are the bees knees of blogging awards so we’re obviously very excited (and still in shock!) at making the shortlist.
We’re up against nine other great blogs for Best Craft Blog. If you like our blog, we’d be so grateful if you could spare a teeny tiny two minutes to vote for us. All you need to do is click into the form, scrolling down to section 12 to select us, Little Button Diaries.
Thank you so much for reading our blog and for all your lovely support.
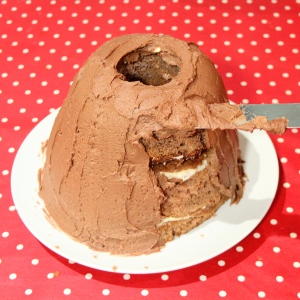
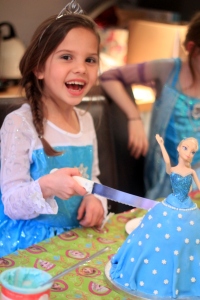
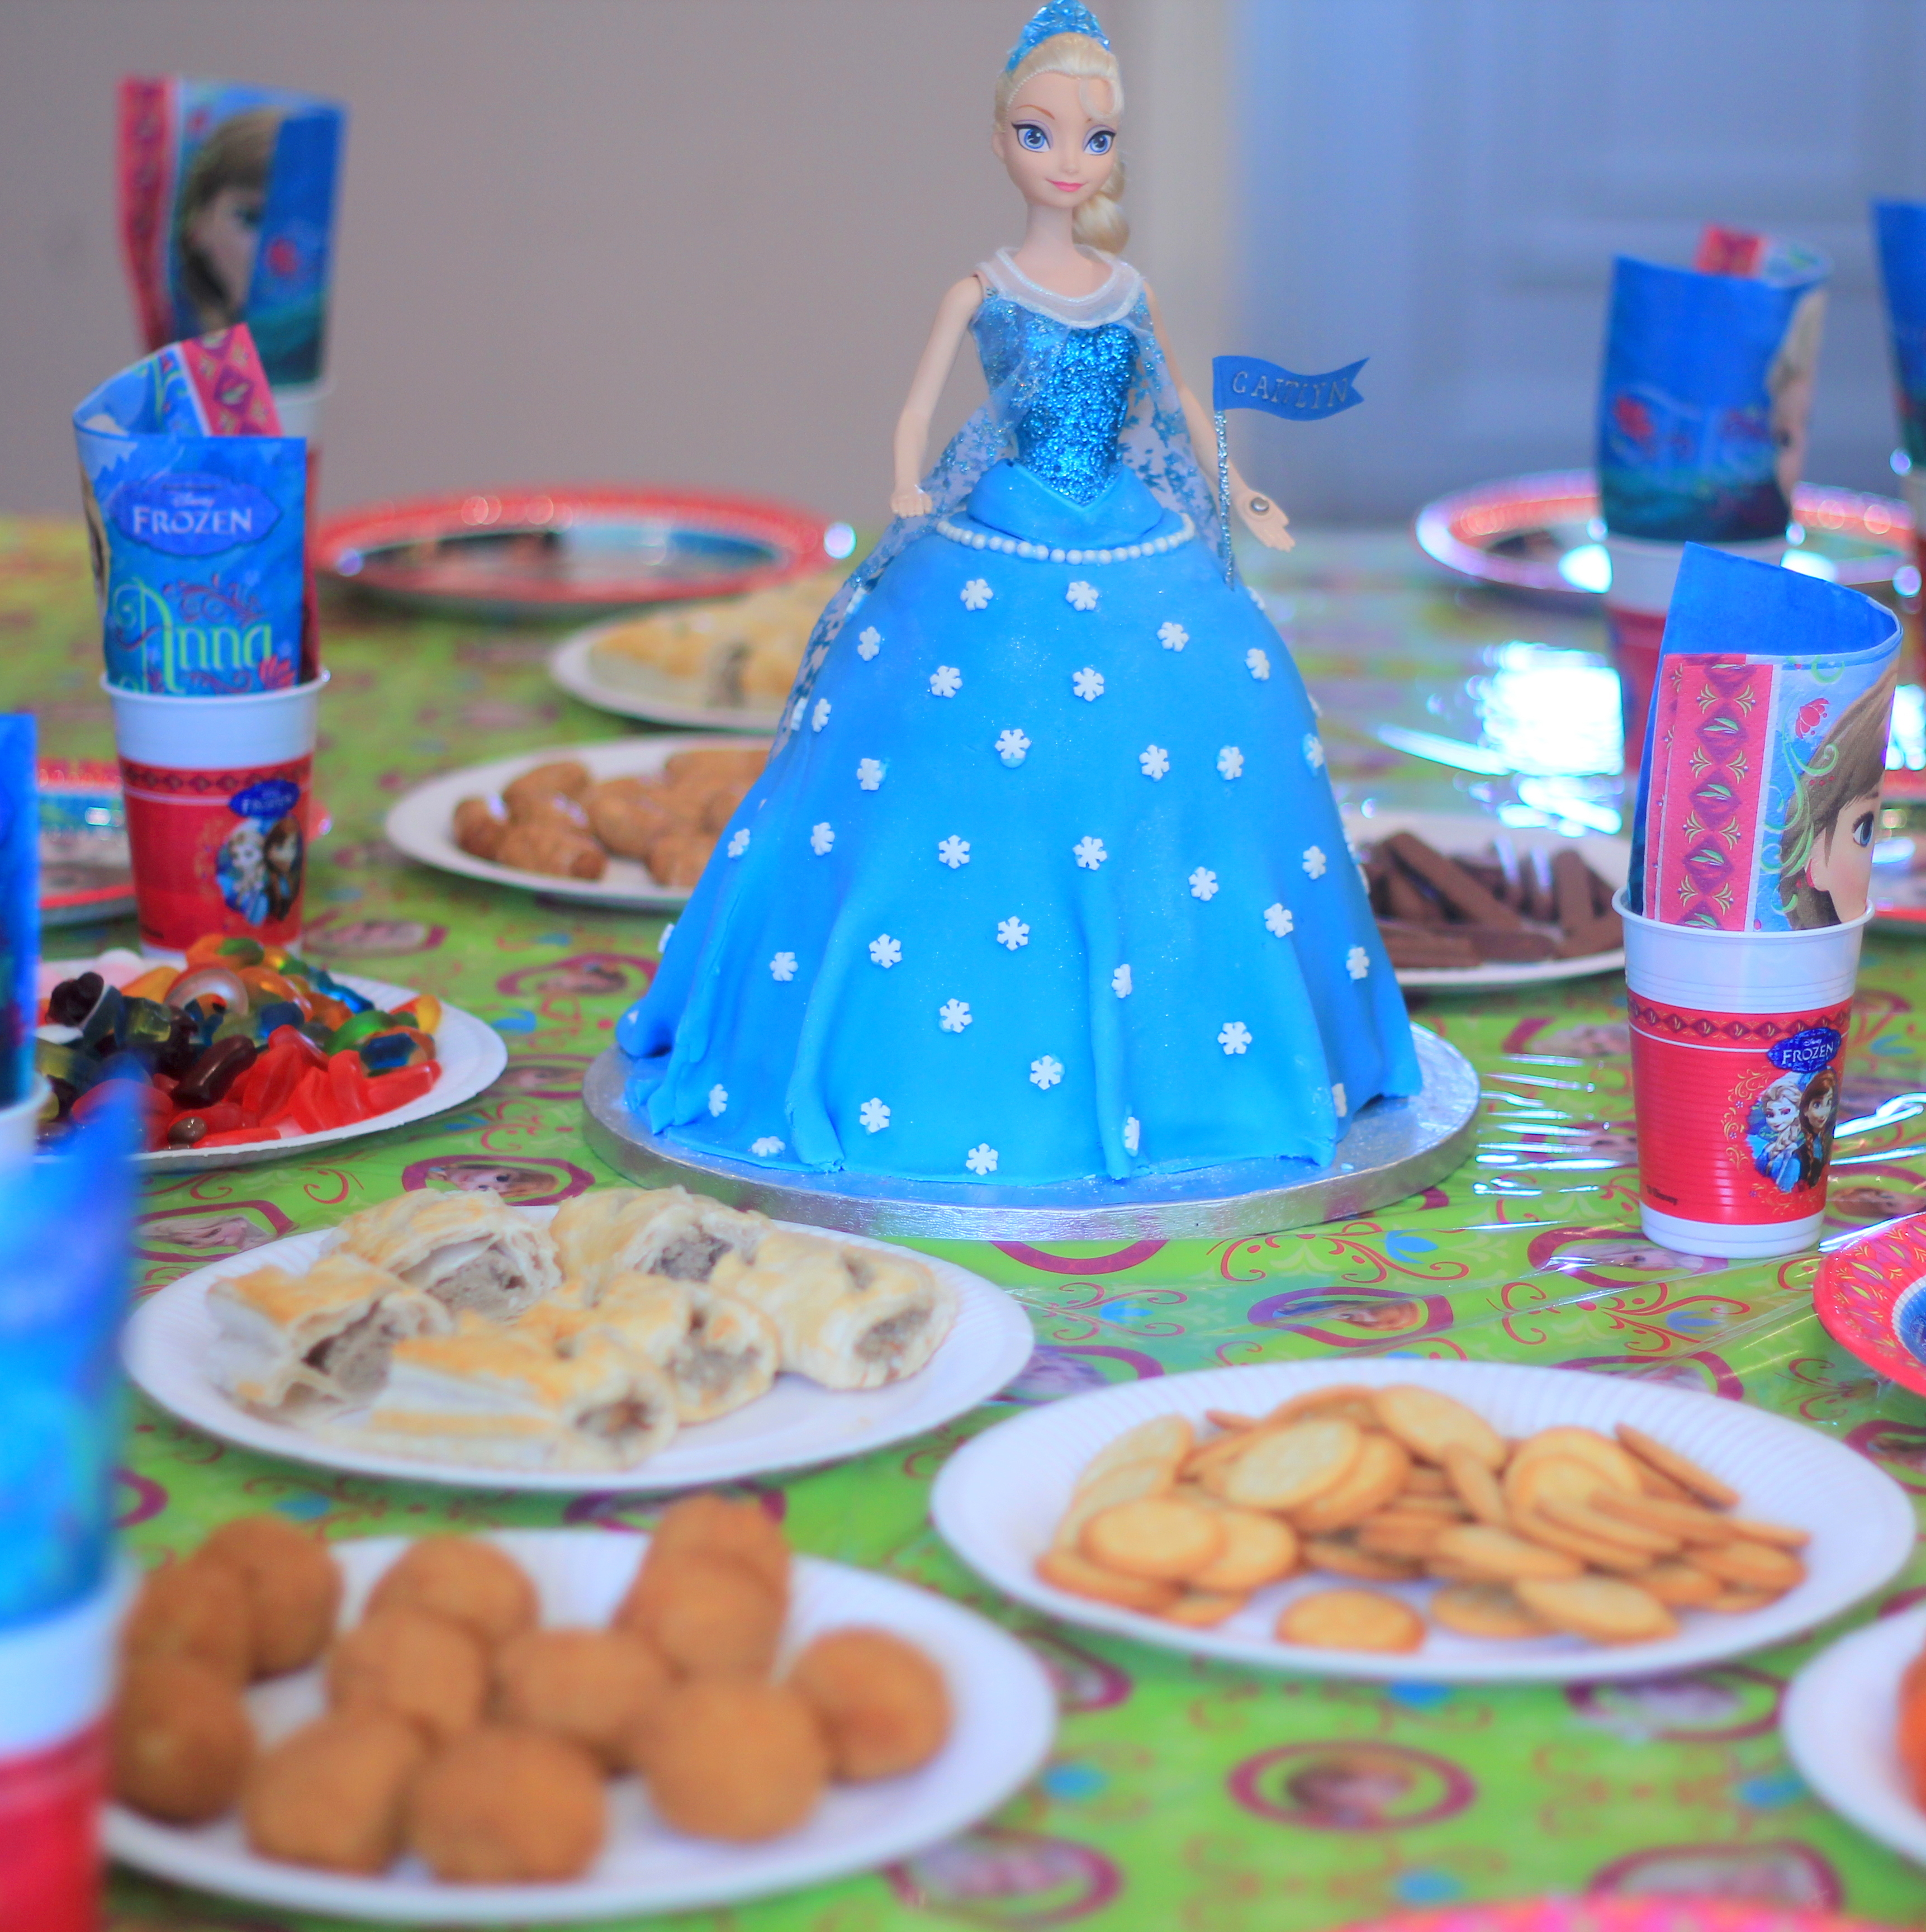
A couple of weeks ago my gorgeous little niece turned 8. Like 99.99% of all 8 year old girls, she loves Frozen. Obviously we had to have a cool little Frozen themed party to celebrate, and OBVIOUSLY we had to have an Elsa cake. This cake is pretty easy to make – the only tricky bit is the pancake flip of the rolled out icing onto the cake. Yikes. It takes a little time, but you have nothing better to do right?
Here is a little video showing you how to make the cake – with full instructions below.
You will Need:
3 cakes (2 made from a 20cm cake tin and 1 from a 1L pudding basin)
Butter icing (enough to cover and fill 1 large cake)
1kg pale blue Fondant Icing
Icing sugar
Sprinkles – Icicles and baubles
Pale blue cake dust?
3″ cookie cutter
An Elsa doll
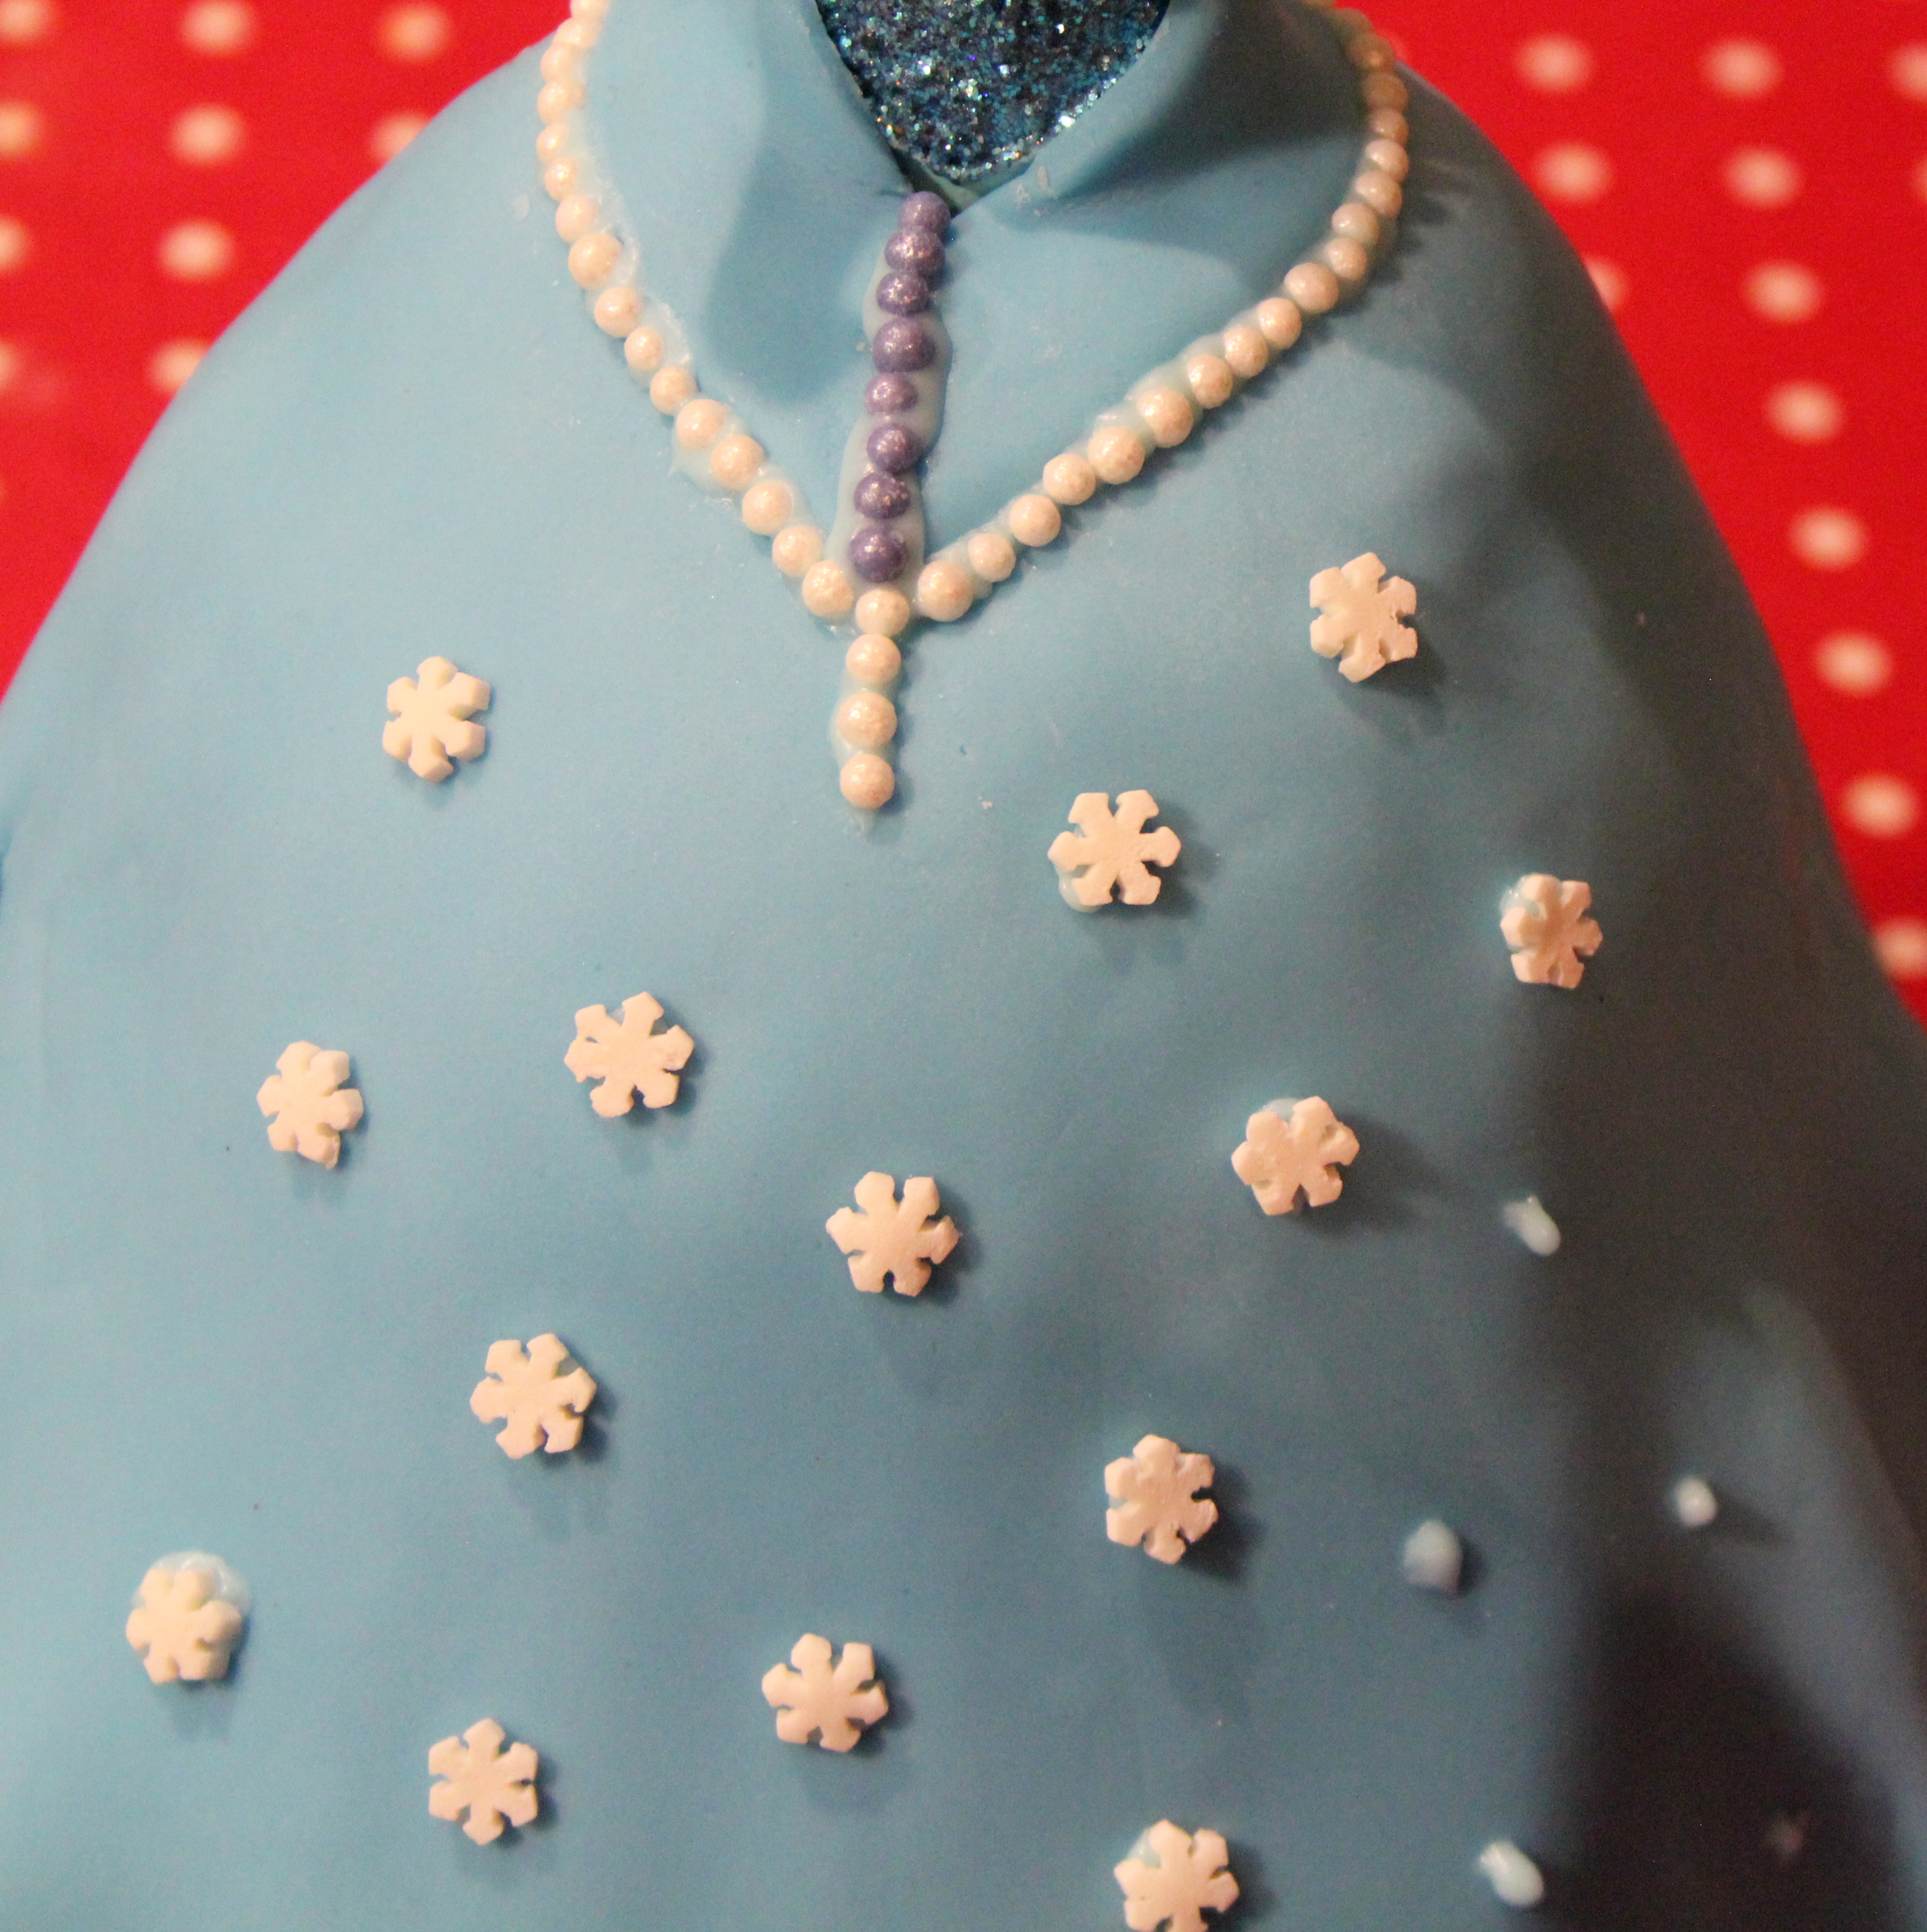
1. Begin by placing your base cake on a plate and, using a cookie cutter, cut and discard (read: eat) the centre. Spread buttercream onto the cake and repeat the process with the other two cakes, stacking them up. The buttercream does not need to go to the edge as you will be trimming this away. Now take a bread knife and shape the cake to resemble a dress shape.
2. Spread buttercream thickly all over the cake.
3. Place a ruler down the centre of the cake to check the height against that of the doll. If it needs to be a little taller, roll a small lump of icing and cut a hole with the cutter, and place this on top.
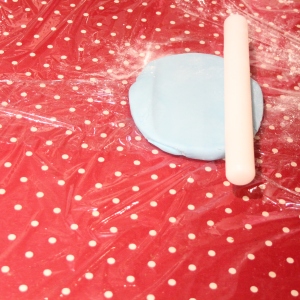
4. Wrap a tape measure over the cake to work out what size your icing needs to be. Place a couple of sheets of cling film on your work surface, sprinkle with icing and roll it out to about 3mm thick. Now for the scary bit. Gently pick up the clingfilm underneath the icing and quickly place it on top of the cake. EEEEEK! Ease out any folds immediately before they tear the icing. This is a bit of a no-going-back moment!
5. Smooth out the lumps and tease the icing so that the folds resemble a skirt. When you are happy with how it hangs, trim away the loose ends with a sharp knife. Use the cutter to cut a hole through the top of the icing. Wrap clingfilm around the waist and legs of the Elsa doll and insert her into the top of the cake.
6. Cut a strip of icing, about 3″ long, and wrap it around her waist. Cut off the loose ends neatly and smooth in place. Mix a paste by combining a couple of tablespoons of icing sugar with about 1/4 teaspoon of water. Use this paste as a glue to attach the frozen embellishments and decorate the skirt.
Finally, dust the cake with a little pale blue edible glitter for an extra bit of icy shine.
She’s finished! She took a while to make it, but it was very worth it to see the look on Elsa’s (and Elsa, Elsa and Elsa’s) face.
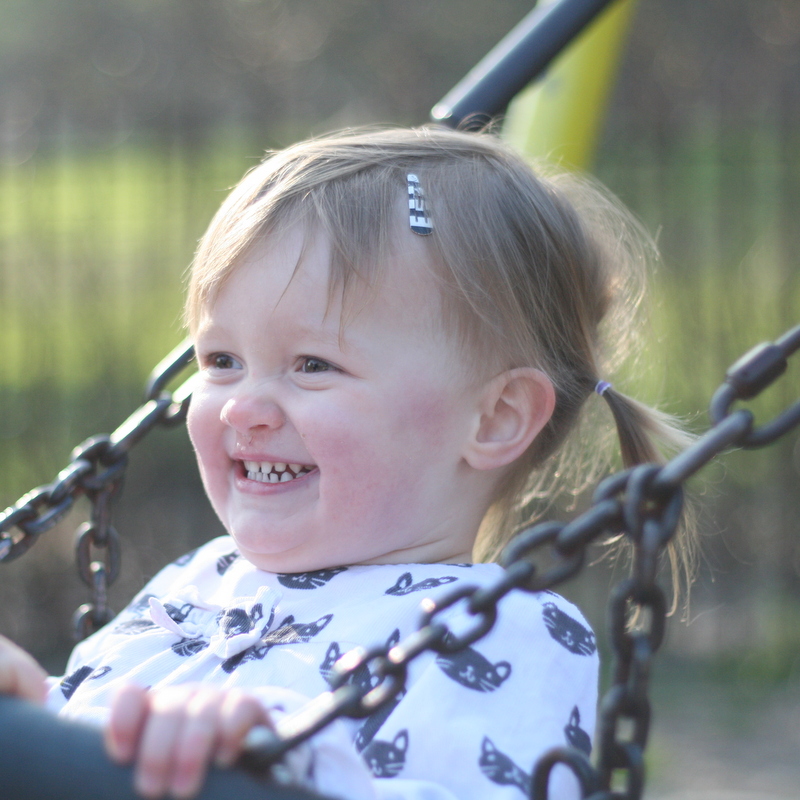
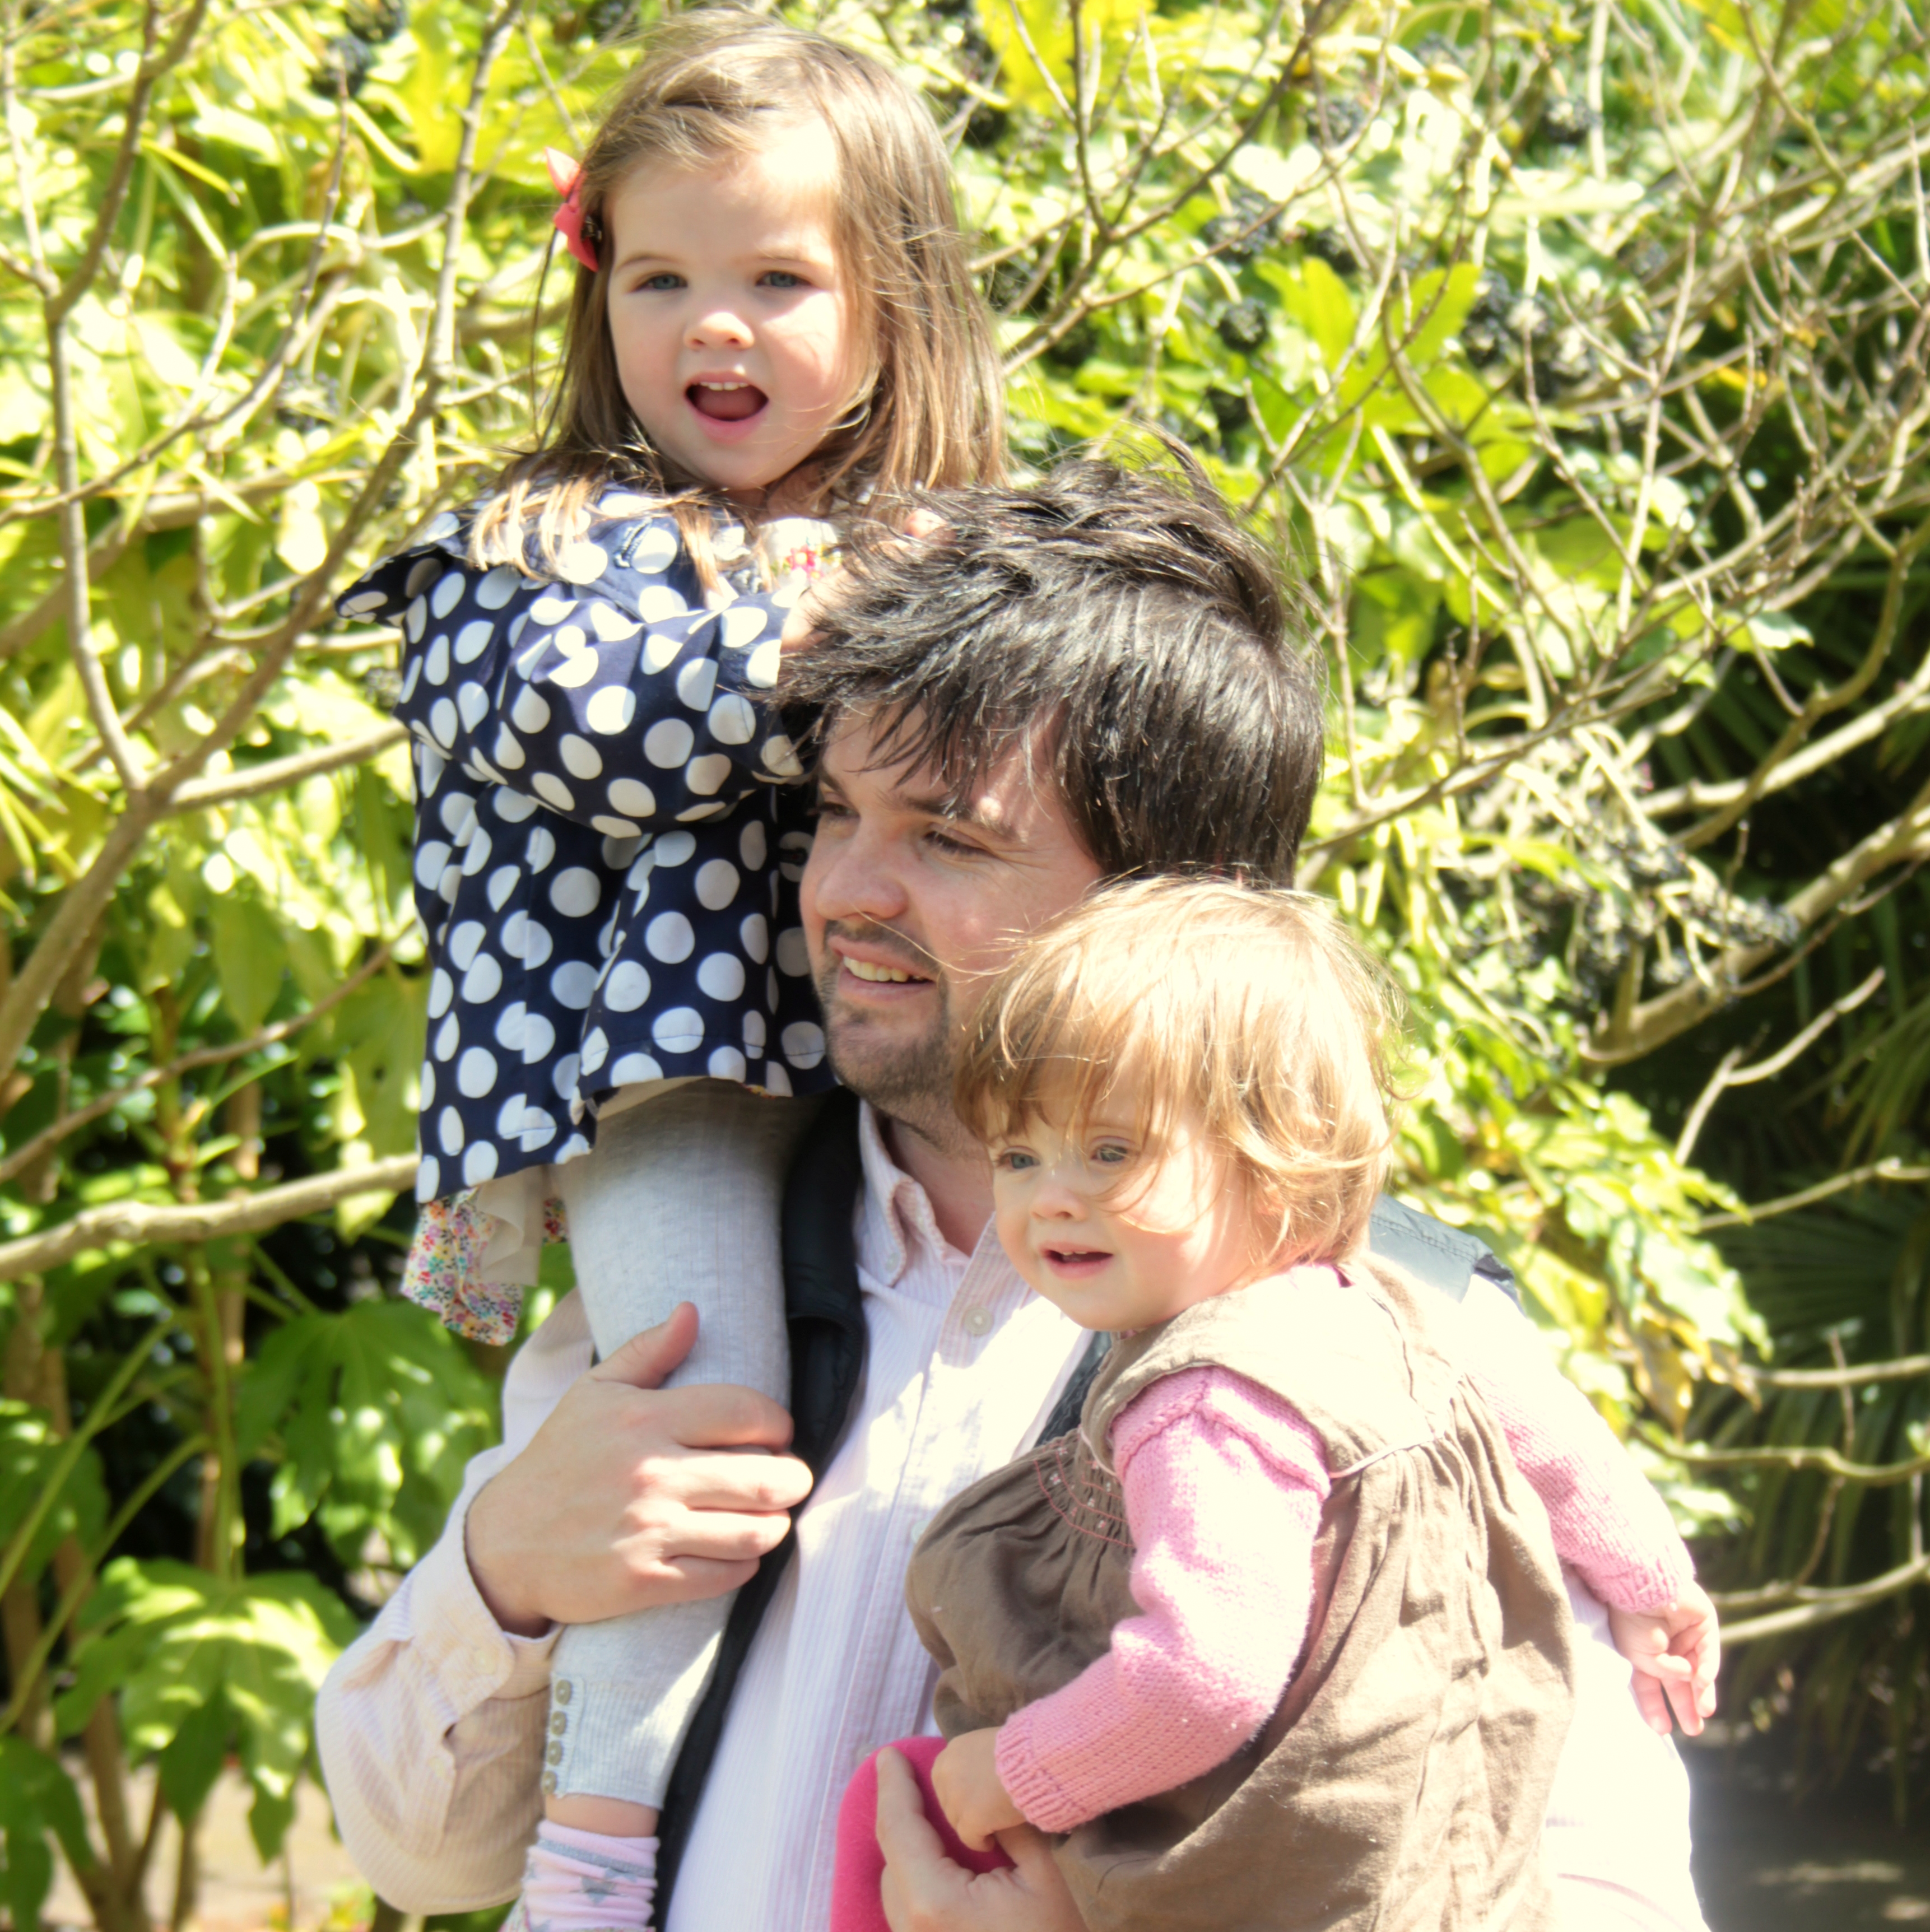
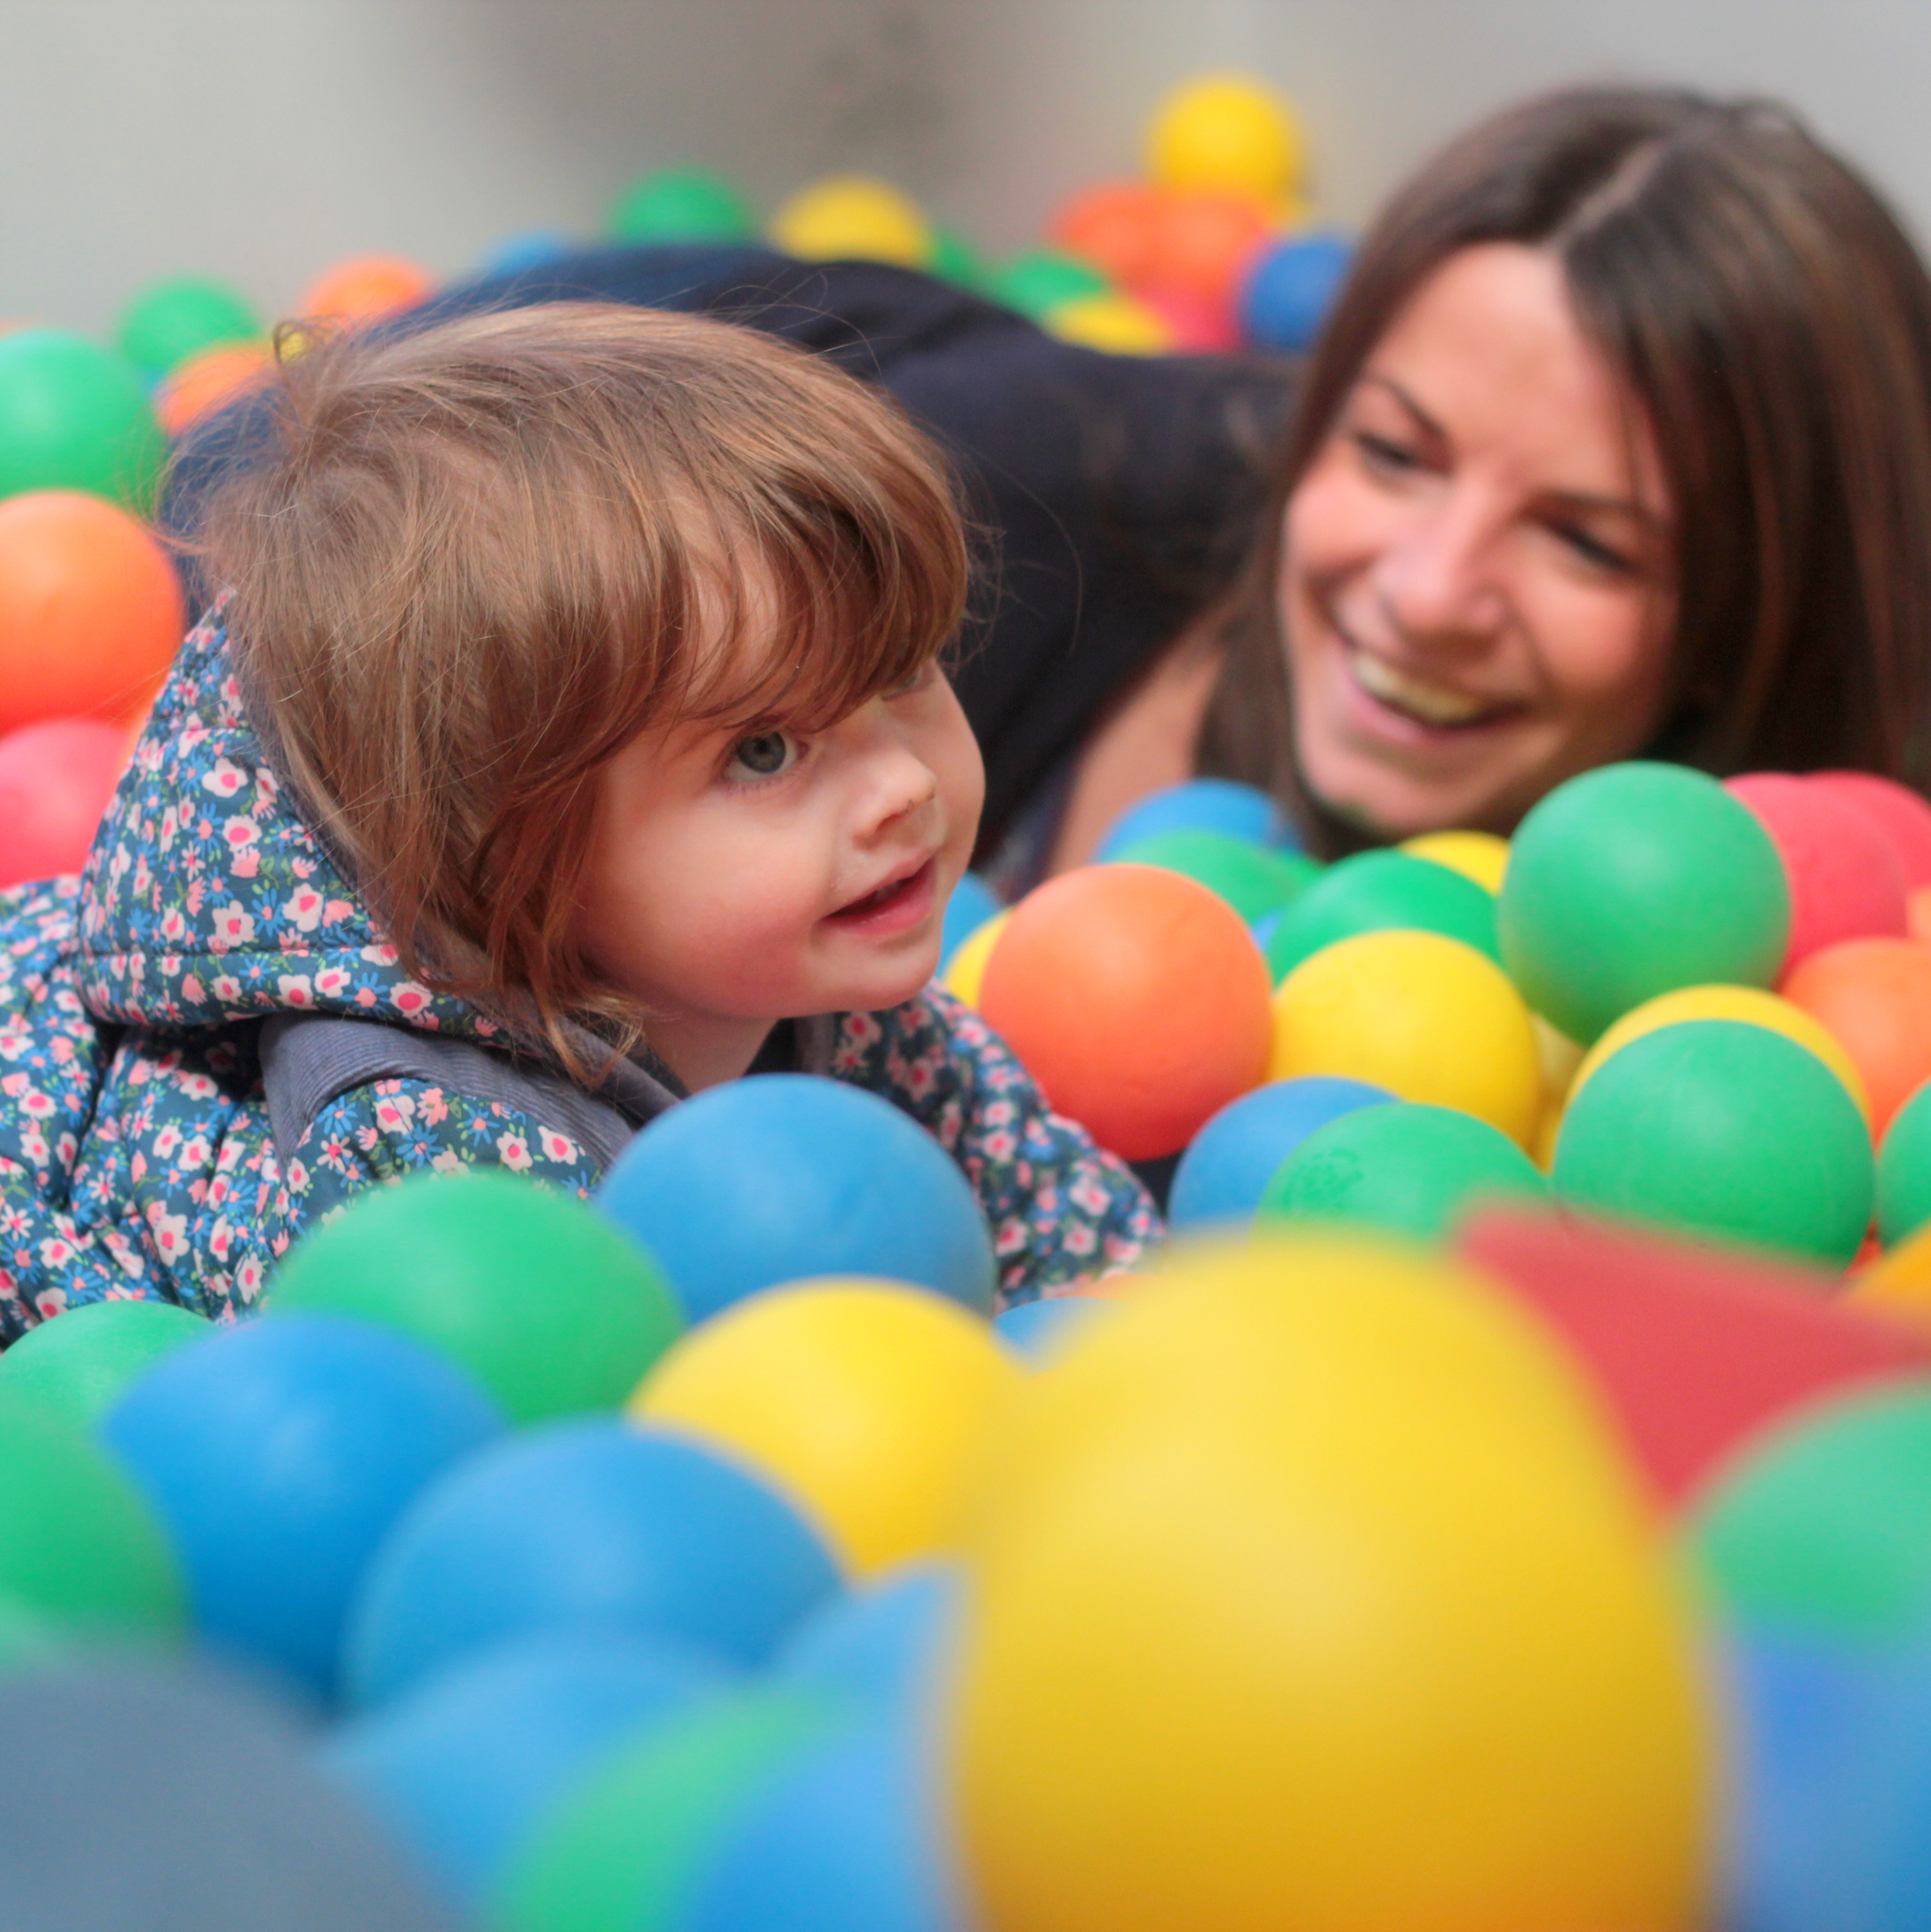
Life in Pictures is our weekly mini-gallery of what our Little Buttons have been up to over the past seven days. This week we’ve been enjoying getting out in the sunshine, having fun at the farm with the grandparents and our youngest Little Button had his first experience of a swing!
Move over loom bands, paracord is the new kid on the block. Find out how to make this button paracord bracelet with our video tutorial over on the Hobbycraft website!
Life in Pictures is our weekly mini-gallery of what our Little Buttons have been up to over the past seven days. This week we’ve been hanging out on Brighton Seafront and enjoying our little city. Unfortunately it’s been a tough week for one of the Buttons as she got struck by chicken pox, the poor little thing.
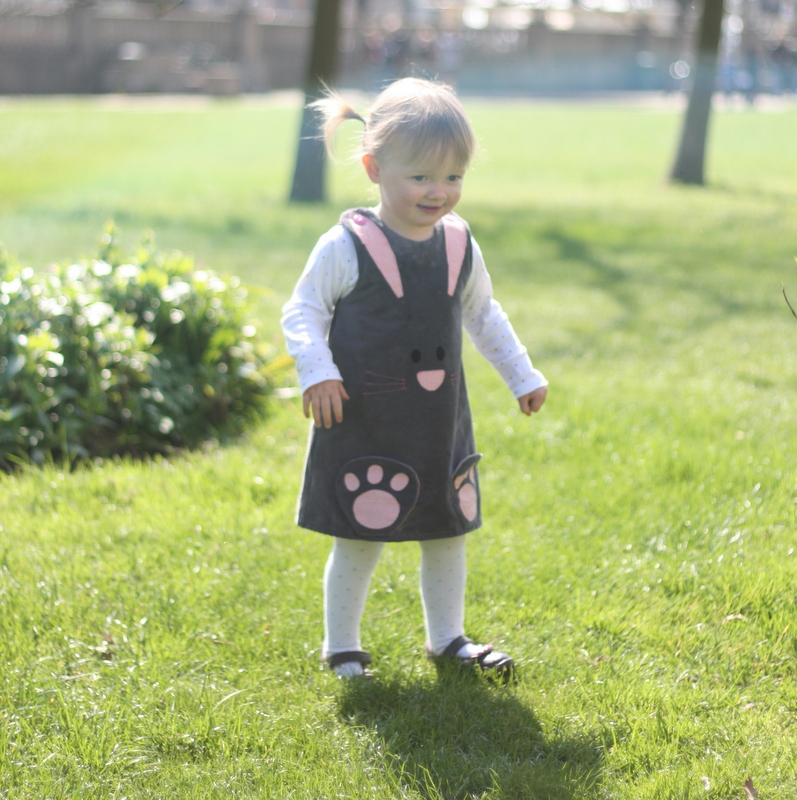
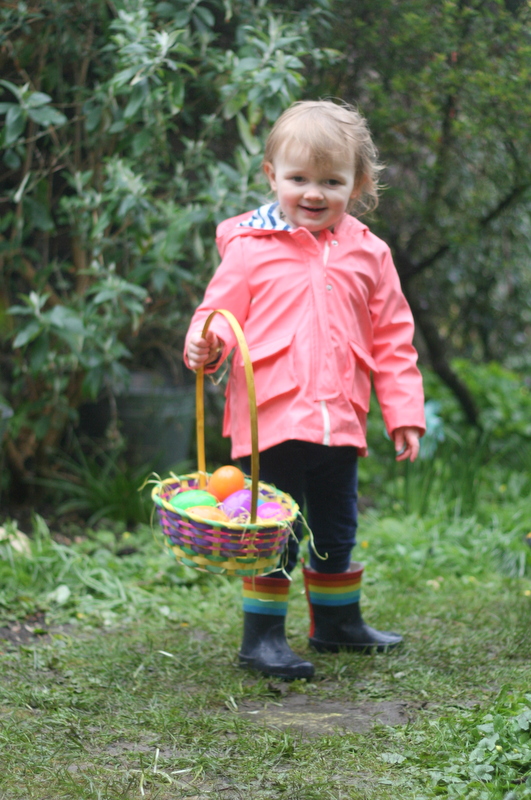
Life in Pictures is our weekly mini-gallery of what our Little Buttons have been up to over the past seven days. This week has been filled with Peppa Pig World, Washbrooks farm & Easter egg hunting (remember these little bunny dresses we made a year ago? They still fit, hoorah!)
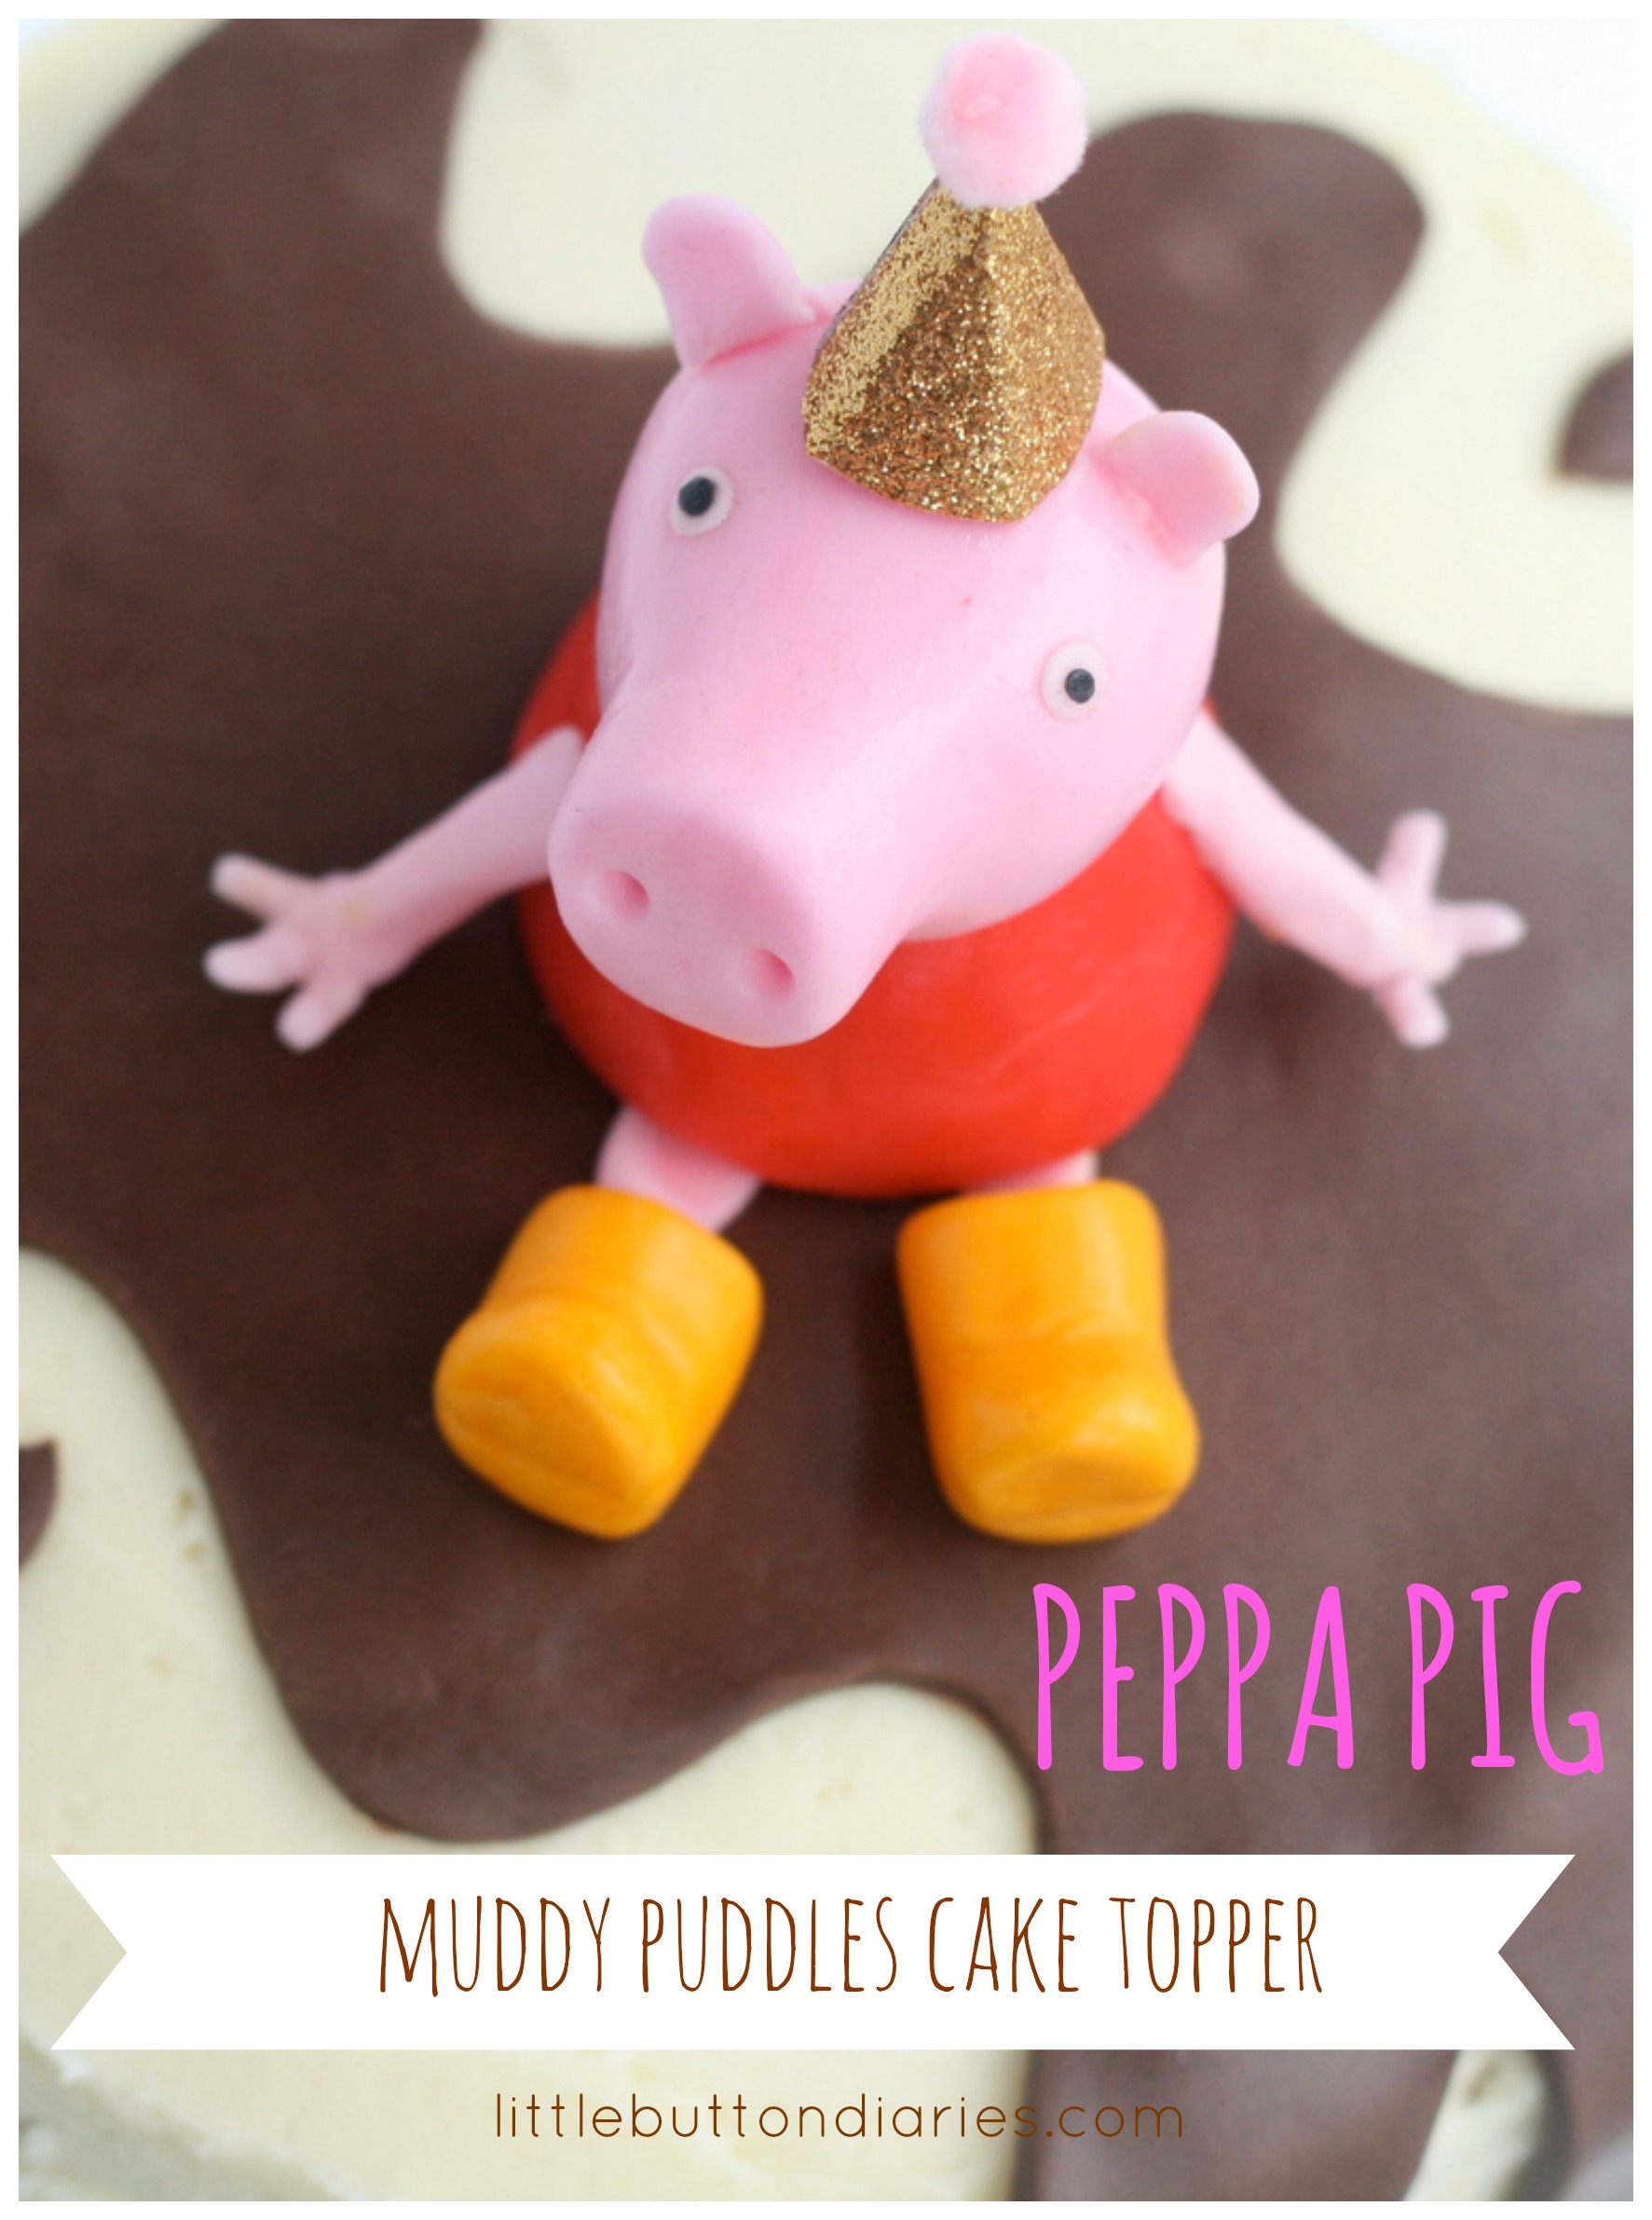
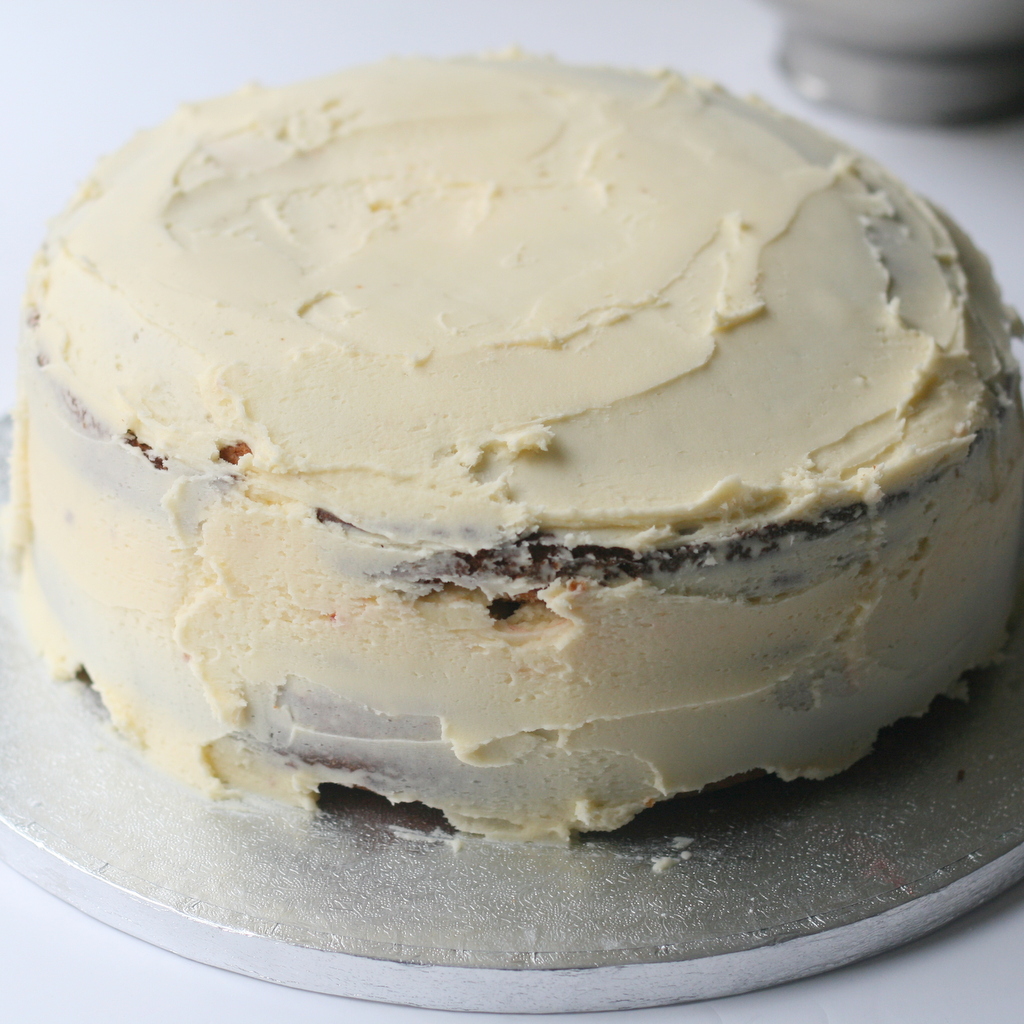
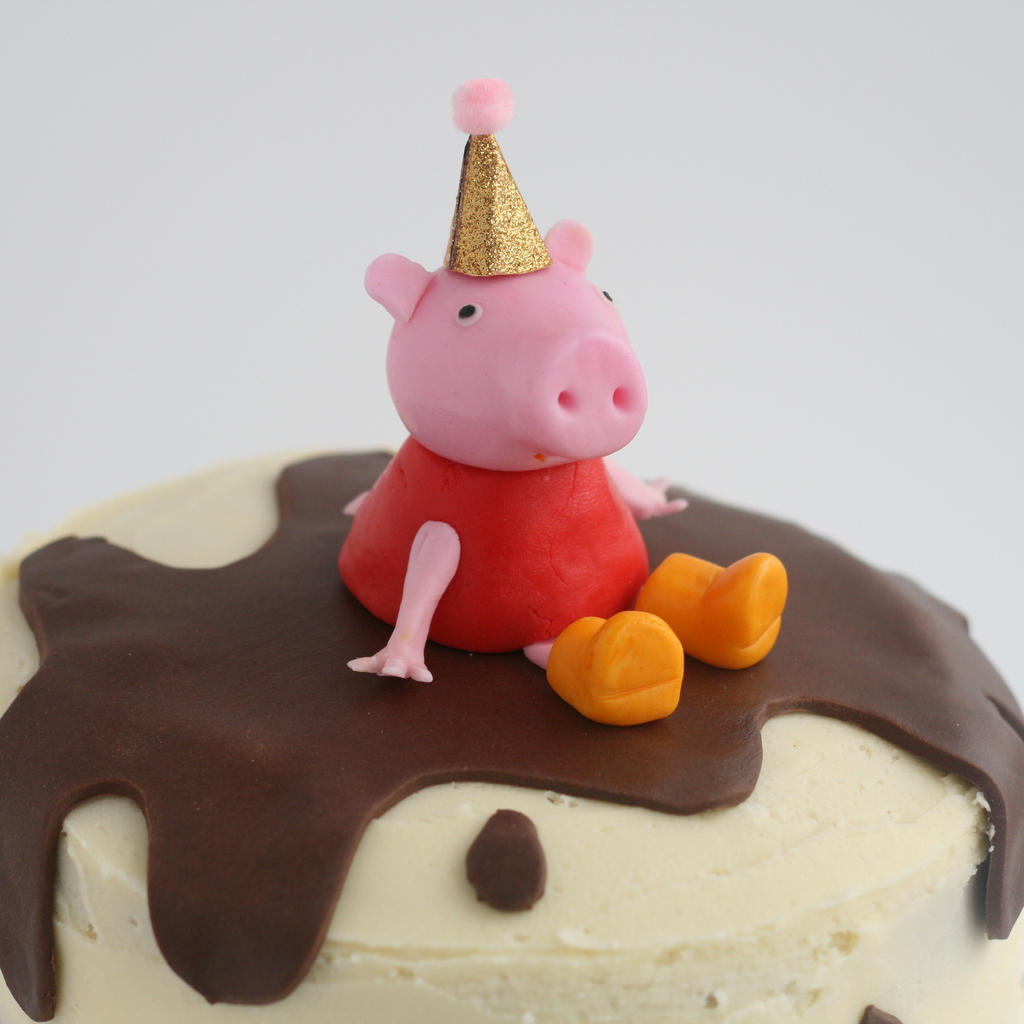
It was Harper’s 2nd birthday recently, and being a fan of Peppa Pig (which two-year-old isn’t?!) we decided to make her a muddy puddle cake topped with a party Peppa. The inside of the cake was a vanilla sponge with jam and vanilla buttercream. The outside was buttercream and chocolate icing.
You will need:
Ingredients for sponge
Strawberry jam
Vanilla buttercream
Ready to roll icing in pink, red, yellow, white and black
Chocolate ready to roll icing
3 cocktail sticks
Small amount of glittery gold card, glue and a tiny pom-pom
1. Begin by making your sponges.
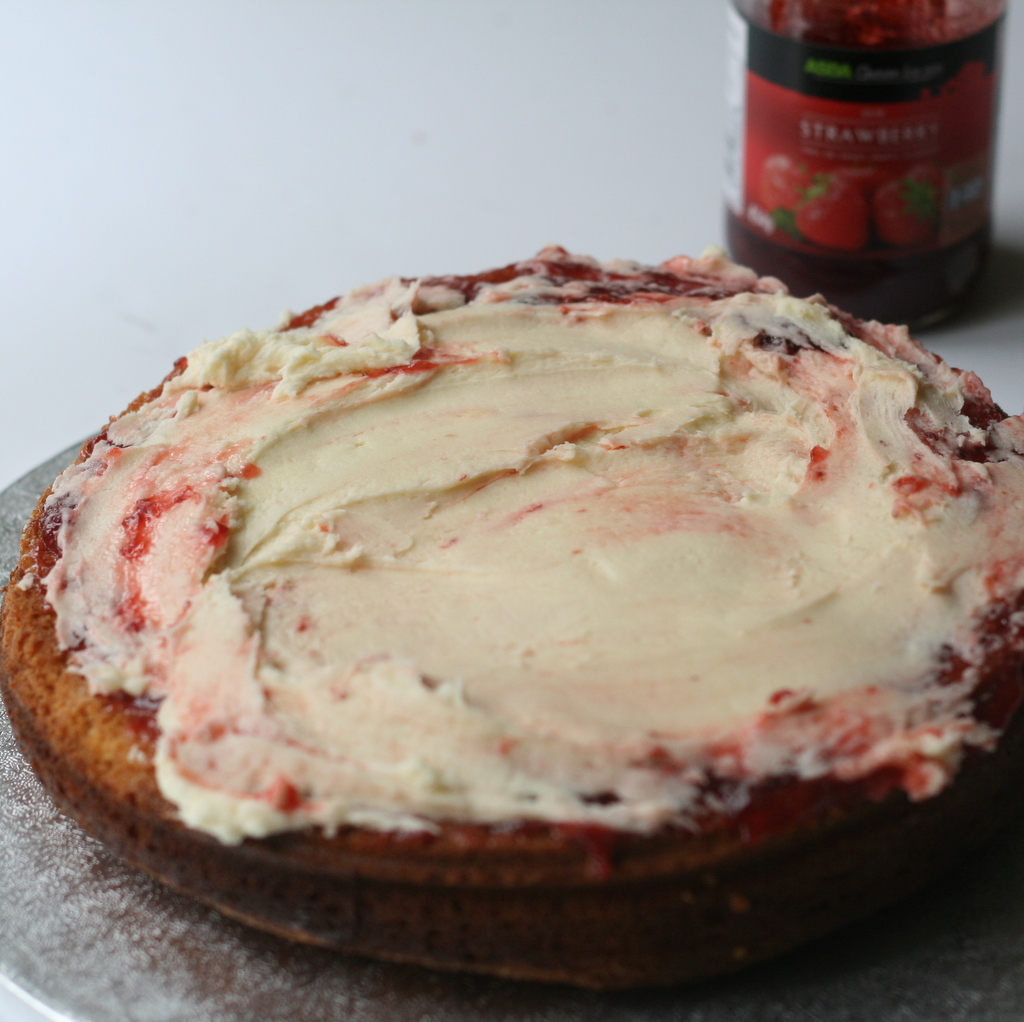
2. Once cooked and cooled, sandwich together with strawberry jam and buttercream.
3. Smooth a thin layer of buttercream around the top and sides of the cake to seal the crumbs in place. Place in the fridge to harden a little. Using a palette knife add a second layer of buttercream. Place a generous helping on top of the cake and use your knife to smooth out the top, smoothing it down onto the sides.
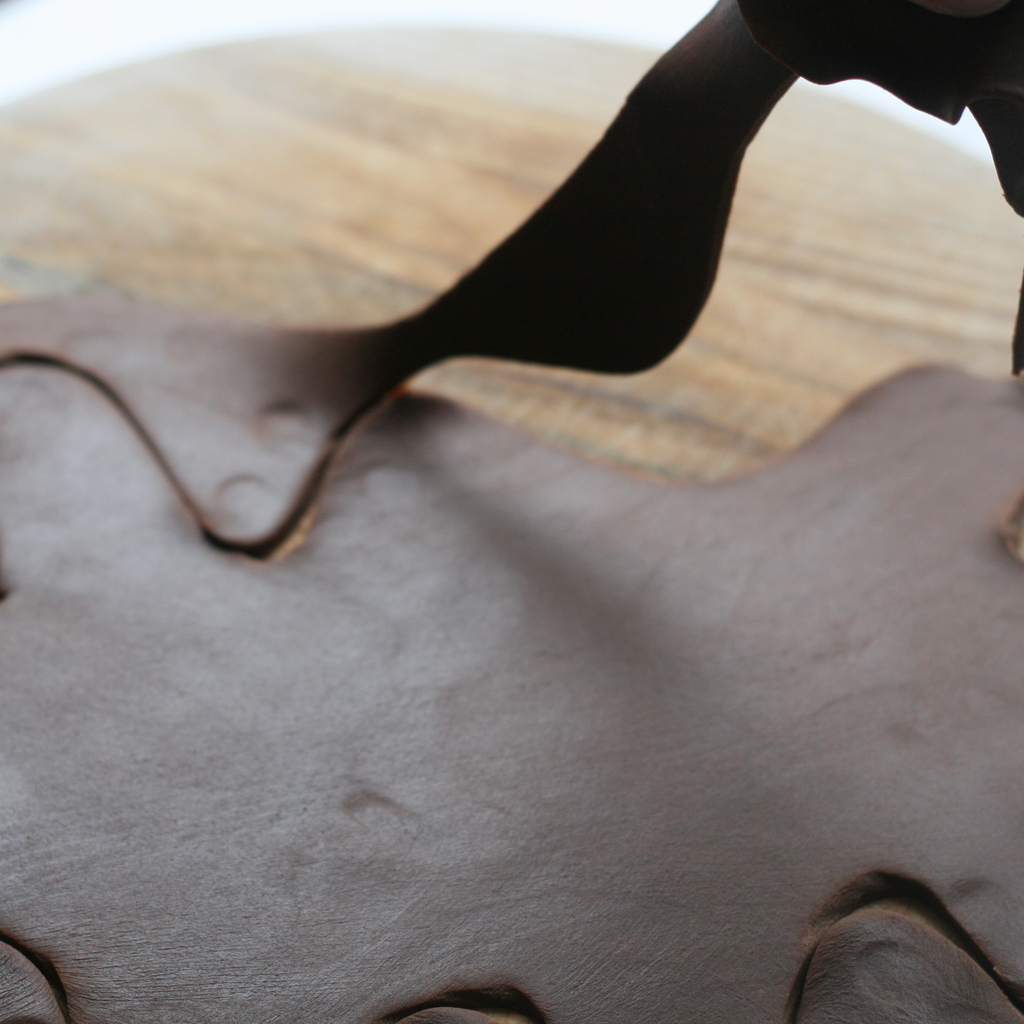
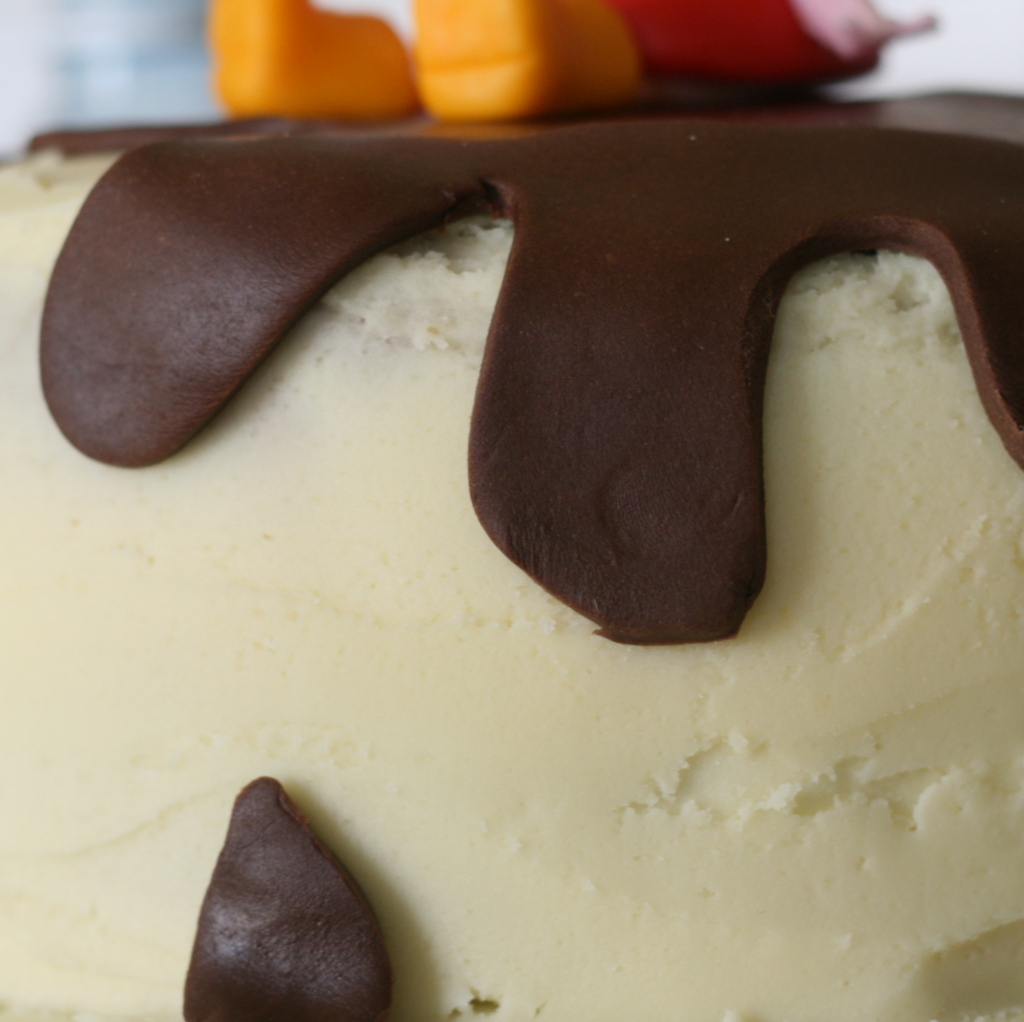
4. To make the muddy puddle, mould the brown ready to roll icing in your hand to warm it slightly. Roll to a thickness of about 4mm and then, using a knife, cut out a large puddle shape. This needs to be larger than the top layer of the cake so it can go down the sides. Then cut out different-sized teardrop shapes and press onto the cake to make the splashes.
5. We decided to film making the Peppa topper as it seemed easier to explain than writing the instructions down!
Harper was filled with delight, and said “Peppa!” when she saw it, so we knew it was worth the effort.


