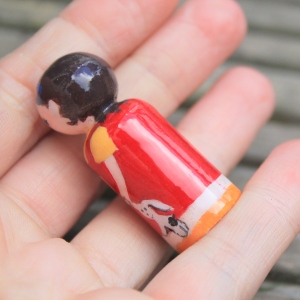
For another project, I’ve recently been making a lot of very cute and girly things that I haven’t been able to give to Amelie. It’s made me feel so bad, she comes into my craft room (I say craft room, I’ve basically stolen the conservatory and renamed it. Anyone else find that craft stuff seems to just breed?!), she gets all excited and I have to quickly remove her from the area before she creates damage. So I decided to make her some little princesses from fimo. I gave her some lumps too (small ones, this stuff is expensive!) and she made some grotesque looking warped princesses too.
These are really easy to make, and take about 15 minutes per doll. These ones are only tiny, about 5cm high, but you could make them any size.
You will Need (Per Princess):
- Polymer clay (I use fimo soft) – about 1cm lump of skin tone and 2cm in your chosen dress colour
- Super Glue
- Embroidery thread for hair
- black and red permanent fine liner
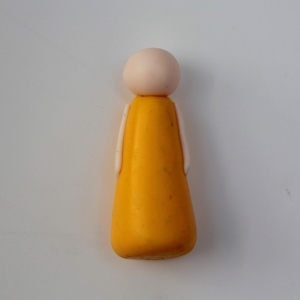
1. Thoroughly clean your hands and dry them on something non-fluffy. Odd as that might sound, this stuff picks up dust and fluff and quickly looks manky!! Begin by rolling the lumps you need. From pink, roll a pea sized ball for the head and two thin sausages, about 2cm long, for the arms. Then take the body lump – here I’m making Belle (obviously…) so I’ve used dark yellow. Roll the lump into a ball, then a sausage, then roll one end so that it is slightly narrower at the top. Press the bottom on the work surface to flatten and make it stand.
2. Press the arms onto the side of the body, and the head on the top. You can learn from my mistakes here as I didn’t secure the head enough (it popped off on first play and had to be glued back), so really make sure the pieces are adhered to one another, you can use a cocktail stick or a knife to blend the edges together.
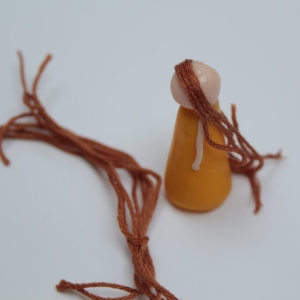
3. Place the princess(es) on a lined baking tray and bake in the oven according the manufacturers guidelines. Whilst they cook, prepare the hair. Create a loop of embroidery thread around your fingers, about 10cm long, and wrap the thread around 6 times. Cut through the loops to create strands. Once the dolls are out of the oven and cooled, place some glue onto the back of the head and stick the strands on one by one, starting from the front and working your way down till there are no more bald bits!
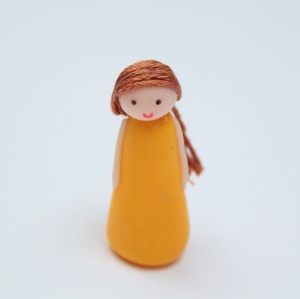
4. Tie or plait the hair however you like, then take a fine permanent pen and draw on a smiley little face.
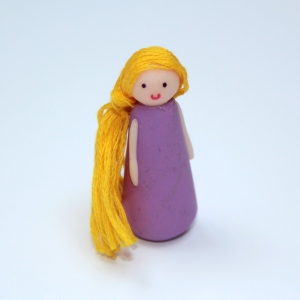
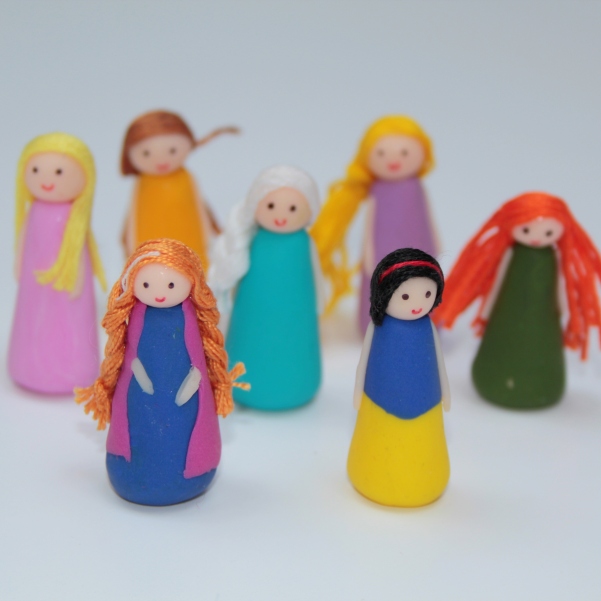
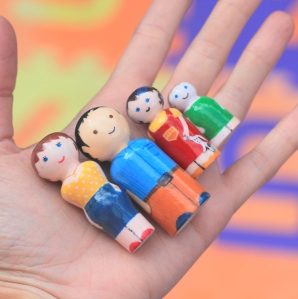
Here are the some of other dolls I made:
Can you work out who they are?! I liked the Anna princess best – I just added a cape and rolled it in place, put a bit of white thread in her hair and plaited it. Snow White’s body was made from two lumps of clay rolled together, with red thread for the hairband.
Tia xx
PS. If you like our blog, we would love you forever if you could take a tiny two seconds to nominate us for the Best Craft Blog at the 2015 BIB awards… click below on the picture to vote. Scroll to section 12 on the form and select us. Thank you!
x


