Life in Pictures: The best Plaice in town!

Englishs brighton 11

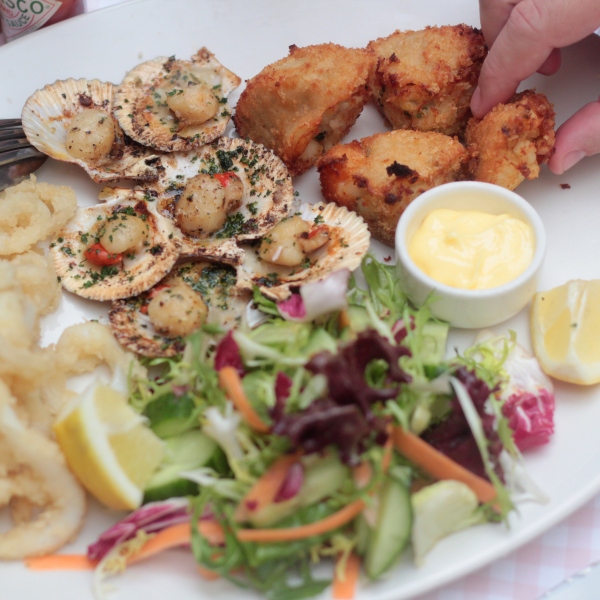
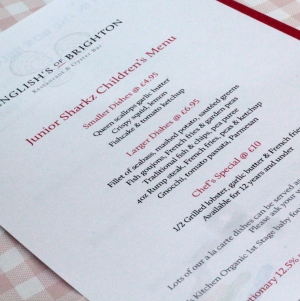
Sorry about the rubbish fish pun. I couldn’t help it. Yesterday we were very excited to go and sample the food at English’s Seafood Restaurant in Brighton. It’s such a lovely old Seafood restaurant (the oldest in Brighton actually) and they’ve just brought out an adventurous new children’s menu.

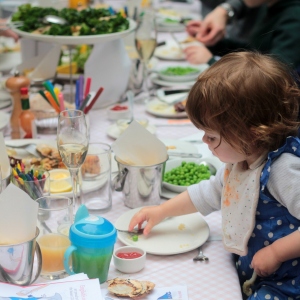
The food is so delicious and it isn’t full of your usual boring fishfingers and beans. Kids can have scallops and squid as well as the more usual goujons and fishcakes. The battered plaice was totally delicious, I don’t think I’ve ever had better. Plus I had my first ever oyster which was…. well, I’m sure it was a very good oyster, everyone else thought so, but I don’t think I’m an oyster person. Sorry. I tried.

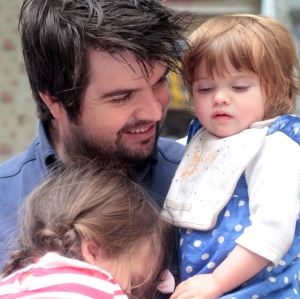
If you’re local, or popping to Brighton for the day with kids, we would really recommend this place.

Englishs brighton 19 Englishs brighton 13 Englishs brighton 18 Englishs brighton 12 Englishs brighton 15 Englishs brighton 9 Englishs brighton 10 Englishs brighton 8 Englishs brighton 17

Thanks to English’s of Brighton, 29-31 East Street, Brighton, BN1 1HL


Kids Project: Sunshine Paper Plate Hat

Sunshine paper plate hat

Bring a little bit of sunshine indoors on a wet afternoon with this paper plate hat. It’s easy to make with your little ones and when finished it makes a lovely addition to any dressing-up box.

Our full tutorial on this is up on Hobbycraft’s site now!

~ Laura & Tia x ~

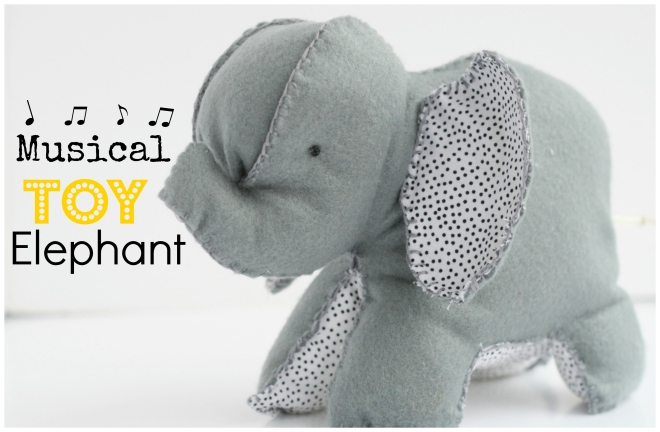
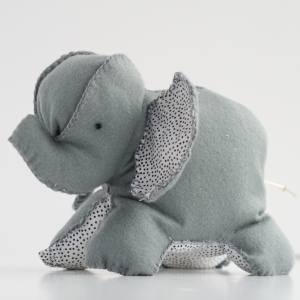
Musical Toy Elephant

elephant


I wanted to make something for the new arrival that might help him sleep (fingers crossed!). When Harper was a baby we had a toy with a musical box inside that seemed to work a treat. That toy became really tatty, so I decided to salvage the musical part of it and make a new one for the baby. This toy could alternatively be turned into a rattle if finding a musical box part is tricky.

For this project you will need:

  • 3 pieces light grey felt
  • Grey embroidery thread
  • Black embroidery thread
  • Material for elephant’s belly (approximately a 30cm square)
  • Toy stuffing
  • Musical box element, rattle or bells

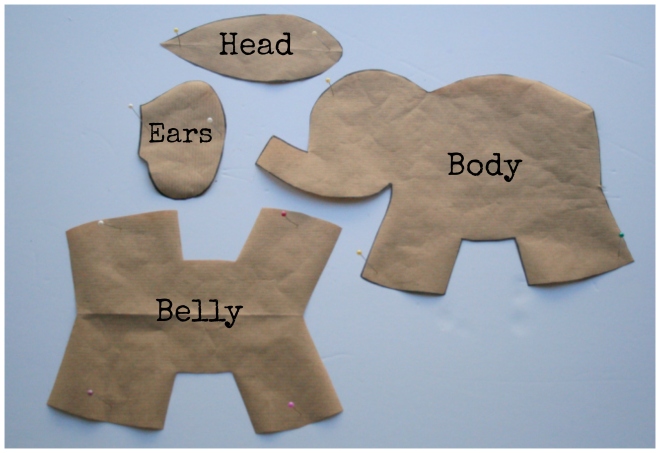
Musical Elephant Toy Template1. Cut out your elephant pieces by pinning your template to the fabric.  You need to cut the following:

  • Two elephant body pieces in light grey felt
  • One head piece in felt
  • One belly piece in your other fabric
  • Four ear pieces – 2 in felt and 2 in your other fabric

 musical elephant toy DIY

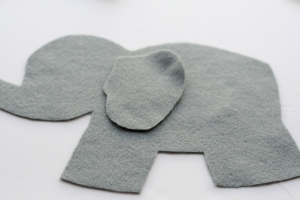
2. Next, pin your body pieces together and blanket stitch from the back around towards the head.

3. Before sewing the head, pin in the head piece and blanket stitch in place. Sew around the trunk back to the neck.

musical elephant toy DIY

4. For the belly, line up and pin your other fabric piece to your legs and attach using blanket stitch. Sew the front two legs and tummy part only at this point so there is a gap to add the toy stuffing.

musical elephant toy DIY

musical elephant toy DIYmusical elephant toy DIY

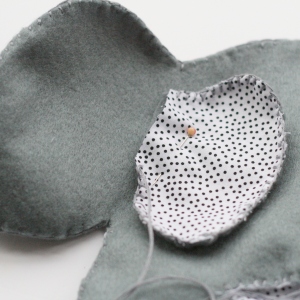
5. Next, pin your ears together. You need one fabric piece on top of one felt piece for each ear. Blanket stitch around the edge of each ear and attach to the head using blanket stitch.

musical elephant toy DIY musical elephant toy DIY

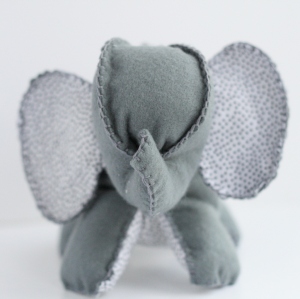
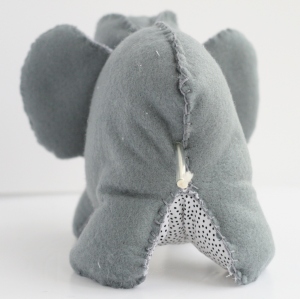
6. Stuff the front of your elephant so he is nice and plump. Then insert your music box and pull the cord through the back of the elephant to become his tail. You want to make sure that you have lots of stuffing around the music box so the elephant is still nice and cuddly.

musical elephant toy DIY  musical elephant toy DIY

7. Once you have stuffed the elephant fully, close up the gap in the legs and belly using blanket stitch again.

musical elephant toy DIY

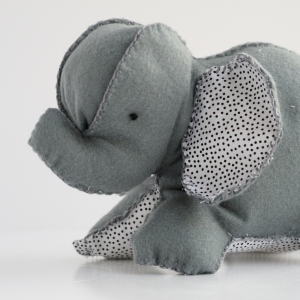
8. Finally, using black thread, embroider on the eyes using French knots.

musical elephant toy DIY musical elephant toy DIY

~ Laura xx ~

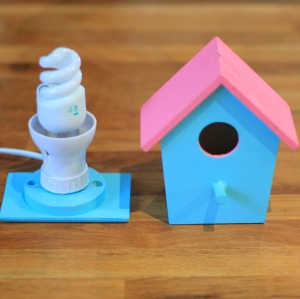
Birdbox Nightlight DIY

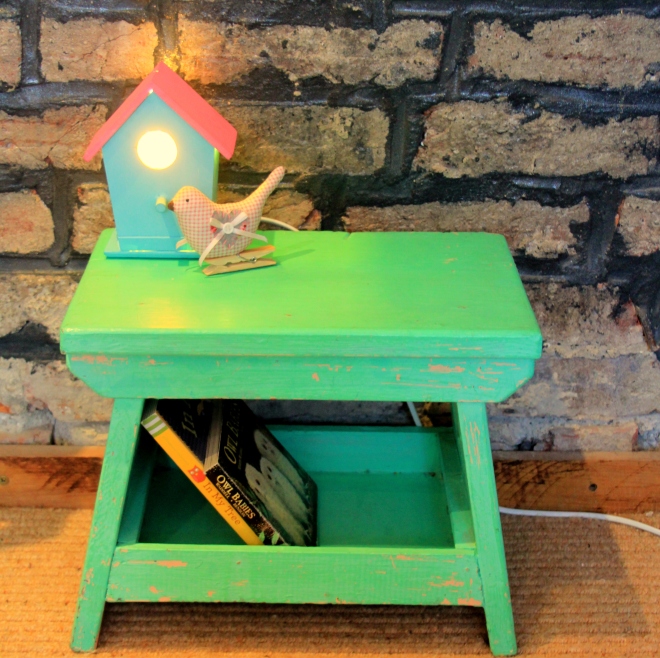
birdbox nightlight little button diaries tutorial

I’ve been looking for a nice night light for Amelie’s room and it seems to me that there isn’t a huge range of nice lamps out there if you’re on a budget. So I thought I’d have a go at bashing my own one together…using a bird box, light bulb, and my dad – to tell me what to do. He tried to show me how to wire a plug (I really should know by now). But I wasn’t really listening because my brain was thinking how to break a birdbox in two in order to get a light bulb inside, so I still don’t know.

Heres what you need:

  • Plain bird box
  • low energy light bulb, fixture & lead*
  • Acrylic Paint
  • Strong Glue (like araldite)
  • 4 screws
  • drill

*If you don’t have my dad to hand, your local electrical shop will be able to point you in the right direction for the bits you’ll need.

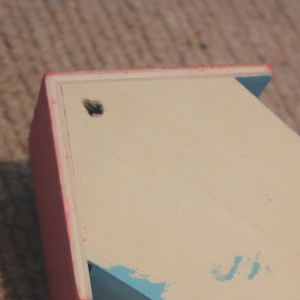
1) First, take the base off the box. You should be able to snap this off, they’re not usually that strong, but if you can’t get a little hacksaw on it. Then take your light fitting (do make sure its low energy, a standard bulb would get too hot) and align it in the centre of the base and check the top of the box fits back on, then glue the fitting in place. NB…This was the moment I realised my light was too TALL for my box. Maybe do measuring BEFORE buying. But its okay, I made provisions (read on if you make the same mistake!).

birdbox nightlight little button diaries 1 birdbox nightlight little button diaries 2

2) Paint the box and the base

birdbox nightlight little button diaries 4 birdbox nightlight little button diaries 5

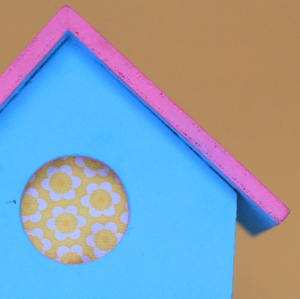
3) Glue on some warm-toned fabric to the inside of the box, behind the hole if you want a softer light.

birdbox nightlight little button diaries 11

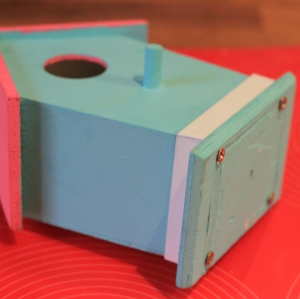
4. Now you need to screw the top to the base so that the bulb is concealed but accessible so that you can change it. My images show a gap due to my error, but there shouldn’t be a gap! To cover the gap I cut some plastic (or lolly sticks) to size, glued in place and painted them.

birdbox nightlight little button diaries 8  birdbox nightlight little button diaries 9

5. Drill a hole in the back if you want the option of hanging the box

birdbox nightlight little button diaries 10

And you’re all done!! Fab. Much cheaper and, er, chirpier (sorry) than buying a fancy one.

birdbox nightlight little button diaries 12

 I’m really happy with how this turns out. I originally made this light without the fabric lining – but I think it makes a real difference. Plus Amelie spent a good half an hour stuffing pom poms and hair clips into it when I put it on her shelf. Not ideal!

Tia x

 birdbox nightlight little button diaries 17

birdbox nightlight little button diaries 13

Frozen Olaf Snowglobe DIY

Do you Want to Build a Snowglobe?

frozen olaf snow globe little button diaries tutorial

Like 99.9% of all little girls, my 2 and a half year old is obsessed with Frozen. What IS it with that film? I now find her singing Let it Go in her sleep (cute) and find me singing it in my head. All. Day. Long (annoying).

If you’re after a cute little Christmas Project, this is a great one to do with kiddies. Obviously it doesn’t have to be Olaf, you could just make a snowman (or The Snowman!) or use a plastic figurine instead of making one from fimo.

You Will Need:

  • Polymer Clay (e.g. Fimo) in white, orange and black)
  • Jam Jar
  • Superglue
  • Blue acrylic paint
  • glitter & little stars

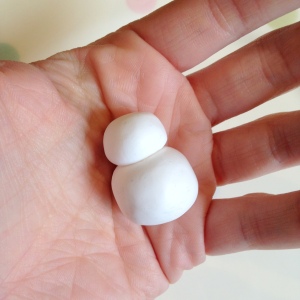
1. To make Olaf: Begin by rolling two balls of white clay and pressing together to make his body.

frozen olaf snow globe little button diaries 1

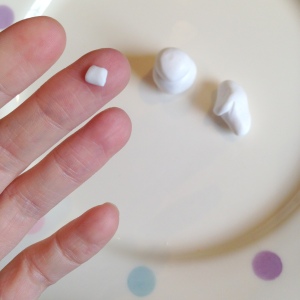
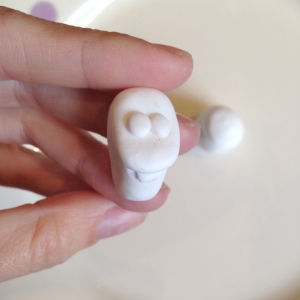
2. Make the head – this is probably the trickiest bit as its a weird shape – take an oval of clay and attach two smaller bits as per the image below and smooth together with your fingers.

frozen olaf snow globe little button diaries 2 frozen olaf snow globe little button diaries 3

3. Attach a little tooth and some eyeballs.

frozen olaf snow globe little button diaries 4 frozen olaf snow globe little button diaries 5

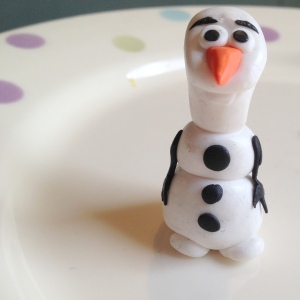
4. roll a cone of orange for the nose, some black eyes and then some eyebrows. To be honest, I slightly regretted the eyebrows. I mean, Olaf HAS eyebrows, but I think I made him look a bit worried… oh well. You can decide if you want eyebrows or not!

frozen olaf snow globe little button diaries 7 frozen olaf snow globe little button diaries 8 frozen olaf snow globe little button diaries 25

5. Press the head onto the body. Roll some thin strips of black for the arms and some coal buttons and press these in place. Bake as per the manufacturers instructions. When it has cooled, glue it onto the centre of the jar lid, leave to set and then paint blue.

frozen olaf snow globe little button diaries 9 frozen olaf snow globe little button diaries 14

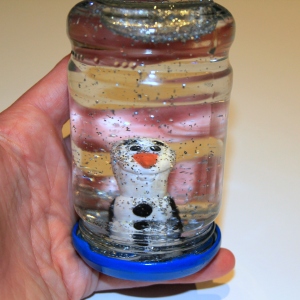
6. Now the fun bit! Pour glitter and twinkly metal stars into the jar. Some DIY snowglobe tutorials use painted crushed eggshells for snow so you could do this, but I wanted mine to be super sparkly more than anything else.

frozen olaf snow globe little button diaries 13

Fill with water, then screw on the lid and glue along the edge to seal it. All done! Olaf, and his own personal snow flurry.

Tia x

frozen olaf snow globe little button diaries 21   frozen olaf snow globe little button diaries 24

 frozen olaf snow globe little button diaries 16

frozen olaf snow globe little button diaries 22

A Review of the New AmiGami Toy

amigami 4

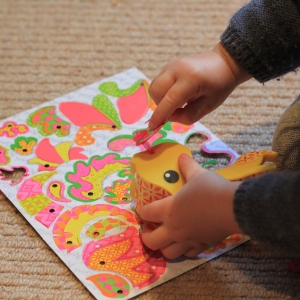
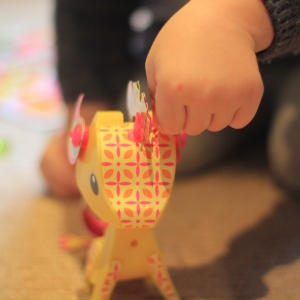
This week Amelie was sent one of these strange-but-cute little creatures from our friends over at Mattel. He’s called an AmiGami – a little pet that comes complete with strips of paper, stickers and other little embellishments that you can adorn your pet with.

amigami 6 amigami 2

At 2 and a half, Amelie is a little younger than the intended age range for this toy, but actually she loved him. She found the little paper bits a bit tricky to attach (cue over-involved mother wanting to take over and do it all by myself) but like every other toddler on the planet, she loved the stickers and wanted to pile them all over the mini beast.

amigami 5 amigami 3

The great thing about this is that you can create a totally unique little pet. You can remove the adornments, add new ones and create different styles.  Cute.

Tia x


Personalised Wooden Peg Dolls

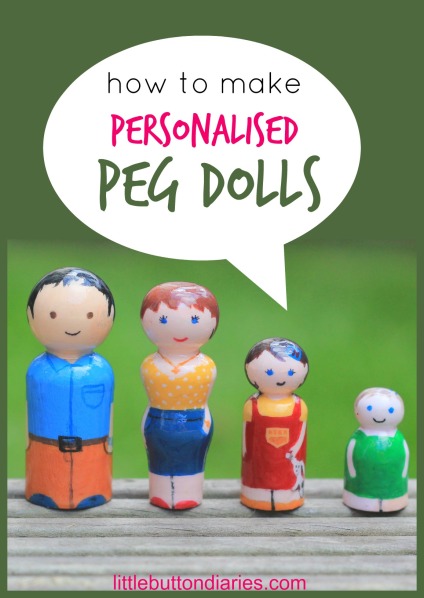
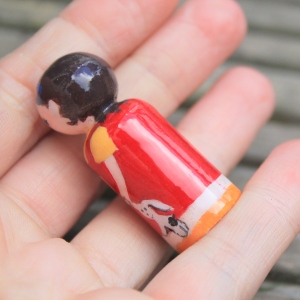
personalised peg dolls by little button diaries

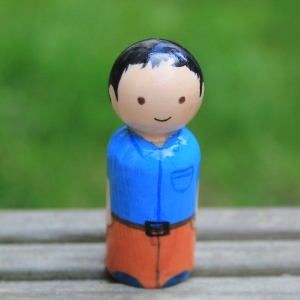
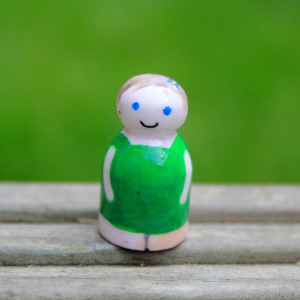
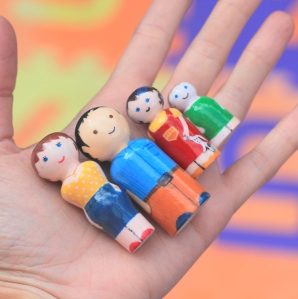
I’ve wanted to try making my own little peg dolls for ages but couldn’t find the plain dolls. So when I saw them flash up on EBay I was very happy. If you’re in the US these are pretty easy to come by on Etsy – I just can’t face paying more on postage than on the item! So I bought a family set and painted my little family.

You will need:

  • Wooden peg dolls
  • acrylic paint
  • Fine paintbrushes
  • Pencil
  • varnish (I use Triple Thick)

1. First, roughly draw out the main shapes on the dolls. Don’t worry about the faces at this stage… I did, but when I painted it the lines didn’t show through, so don’t waste your time!

peg dolls little button diaries 1

Mix up some skin-tone paint (this takes a bit of practise but should be mainly white with a hint of yellow, brown and red). Paint in the faces and limbs.

peg dolls little button diaries 2

3. Add the bulk colours, painting the hair and clothes in. Use a fine brush for the hair.

peg dolls little button diaries 5 peg dolls little button diaries 3

4. Pencil on the face and paint on with a fine brush, along with the other details.  If you aren’t confident with painting these smaller bits, use a sharpie pen. It can be quite fiddly!

peg dolls little button diaries 4

5. Once dry, paint on a couple of layers of varnish – start with the heads so that you can then hold onto these to paint the bodies.

peg dolls little button diaries 6 peg dolls little button diaries 7

Kids are big fans of personalised things and Amelie just loves playing with these. In fact she loved them even when the faces were just pencilled on, so they don’t need to be that good!

peg dolls little button diaries 14 peg dolls little button diaries 13 peg dolls little button diaries 12  peg dolls little button diaries 11

peg dolls little button diaries 10  peg dolls little button diaries 8

peg dolls little button diaries 9

Tia x

Turn a Photo into an Appliqué

applique art little button diaries 19

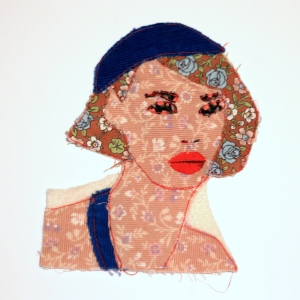
Ages ago, before our little buttons were on the planet (and what a different planet it was…), I did a bit of experimenting with turning photographs into appliques. Iwould chop out pictures, often magazine images, place them onto scraps of fabric, and sew to create an applique like this one:
applique art little button diaries 20

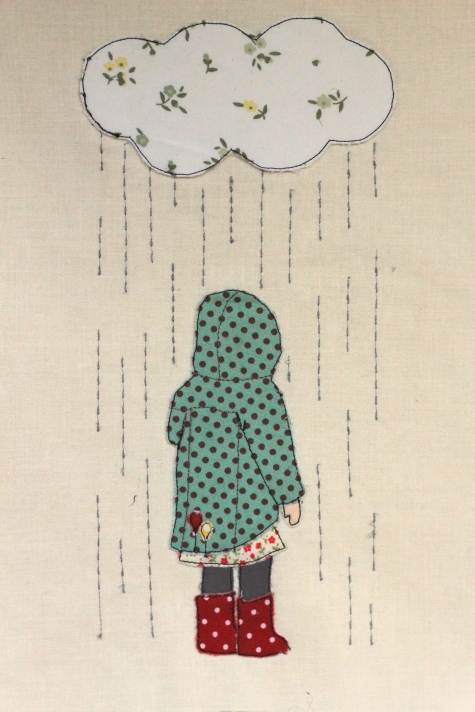
Flicking through some pictures the other day I came across one of Amelie that I thought would be nice ‘in fabric’. So I made a little applique picture using the photograph as a template.  If you’d like to know how to do something similar, read on. Its really easy (I know, I say that a lot. That’s because I can only do easy things!)

You Will Need:

  • Picture printed on paper
  • fabric scraps
  • plain background fabric
  • lightweight iron on interfacing
  • bondaweb
  • tailors chalk (or other fabric marker)
  • sellotape

1. First, find your picture. I think simple is definitely best, something without faces or complicated shapes. I picked this one of Amelie. Print it out to the size you want your applique to be. Cut it out, then chop it into segments for each different bit, as below. You can see in the picture that the boots are cropped off, so I’ve just added the right one back in as I want this to show in my applique.
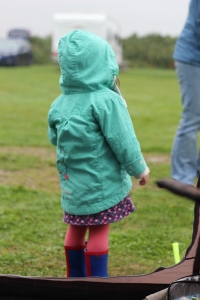
camping bruce arms pewsey  5 applique art little button diaries 15

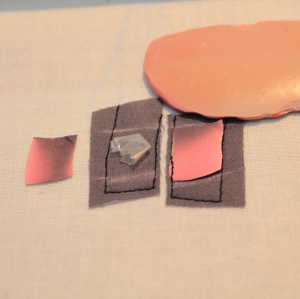
 2. Select scraps of fabric for each piece. Attach iron on interfacing to the background fabric – I went with cream for neautrality. Take the first scraps and cut them down to just a bit bigger (about 5mm all the way round) than the paper pieces. Attach interfacing to your fabric scraps too (to stop it crumpling up), then a small amount of bondaweb onto the centre of each one.

 applique art little button diaries 3

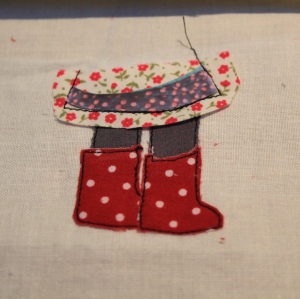
3. Now work out which piece you will need to attach first. The picture will be built up in layers, so the underneath pieces, i.e. the ones covered by anything else in the picture, need to go on first. In this case, it’s the legs as they are behind the boots and skirt.  Arrange them on the background fabric. and press to seal the bondaweb and secure them whilst you sew. roll up a tiny bit of sellotape and stick it onto the paper, then stick the paper in place on the fabric. Sew round the paper. Mark with chalk where the next pieces go, if you need to.
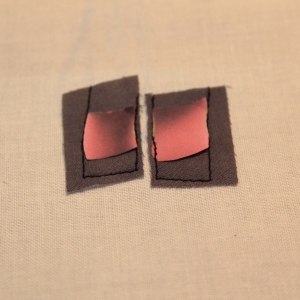
applique art little button diaries 4 applique art little button diaries 5

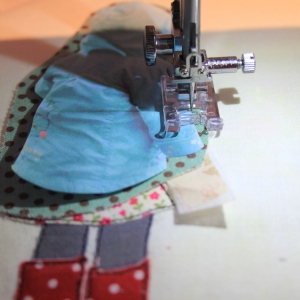
4. Now snip away the excess fabric, nice and close to the stitches. Then you can start the next layers, repeating the process above for each layer.

applique art little button diaries applique art little button diaries 16applique art little button diaries 6 applique art little button diaries 7

5. For the coat, I decided to stitch on the seams in a matching thread. I just drew over the lines on the paper with pen and then sewed over the paper, then pulled it away.
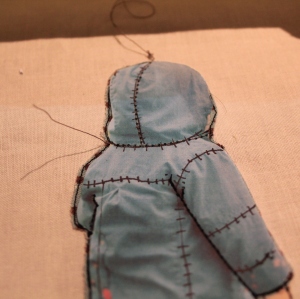
applique art little button diaries 8 applique art little button diaries 9applique art little button diaries 10

You can then embellish the picture however you like. I added a cloud, some rain and a couple of balloons to the coat to liven up the colour a bit.
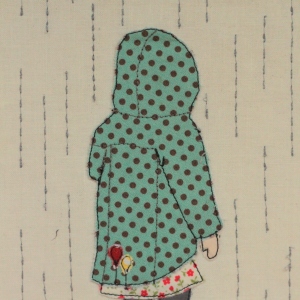
  applique art little button diaries 18b

applique art little button diaries 17

applique art little button diaries 21

 Tia x

If you like our blog, we would love you forever if you could take a tiny two seconds to nominate us for the Best Craft Blog at the 2015 BIB awards… click below to vote. Scroll to section 12 and select us. Thank you!

craft bibs 2015

 applique fabric art little button diaries