
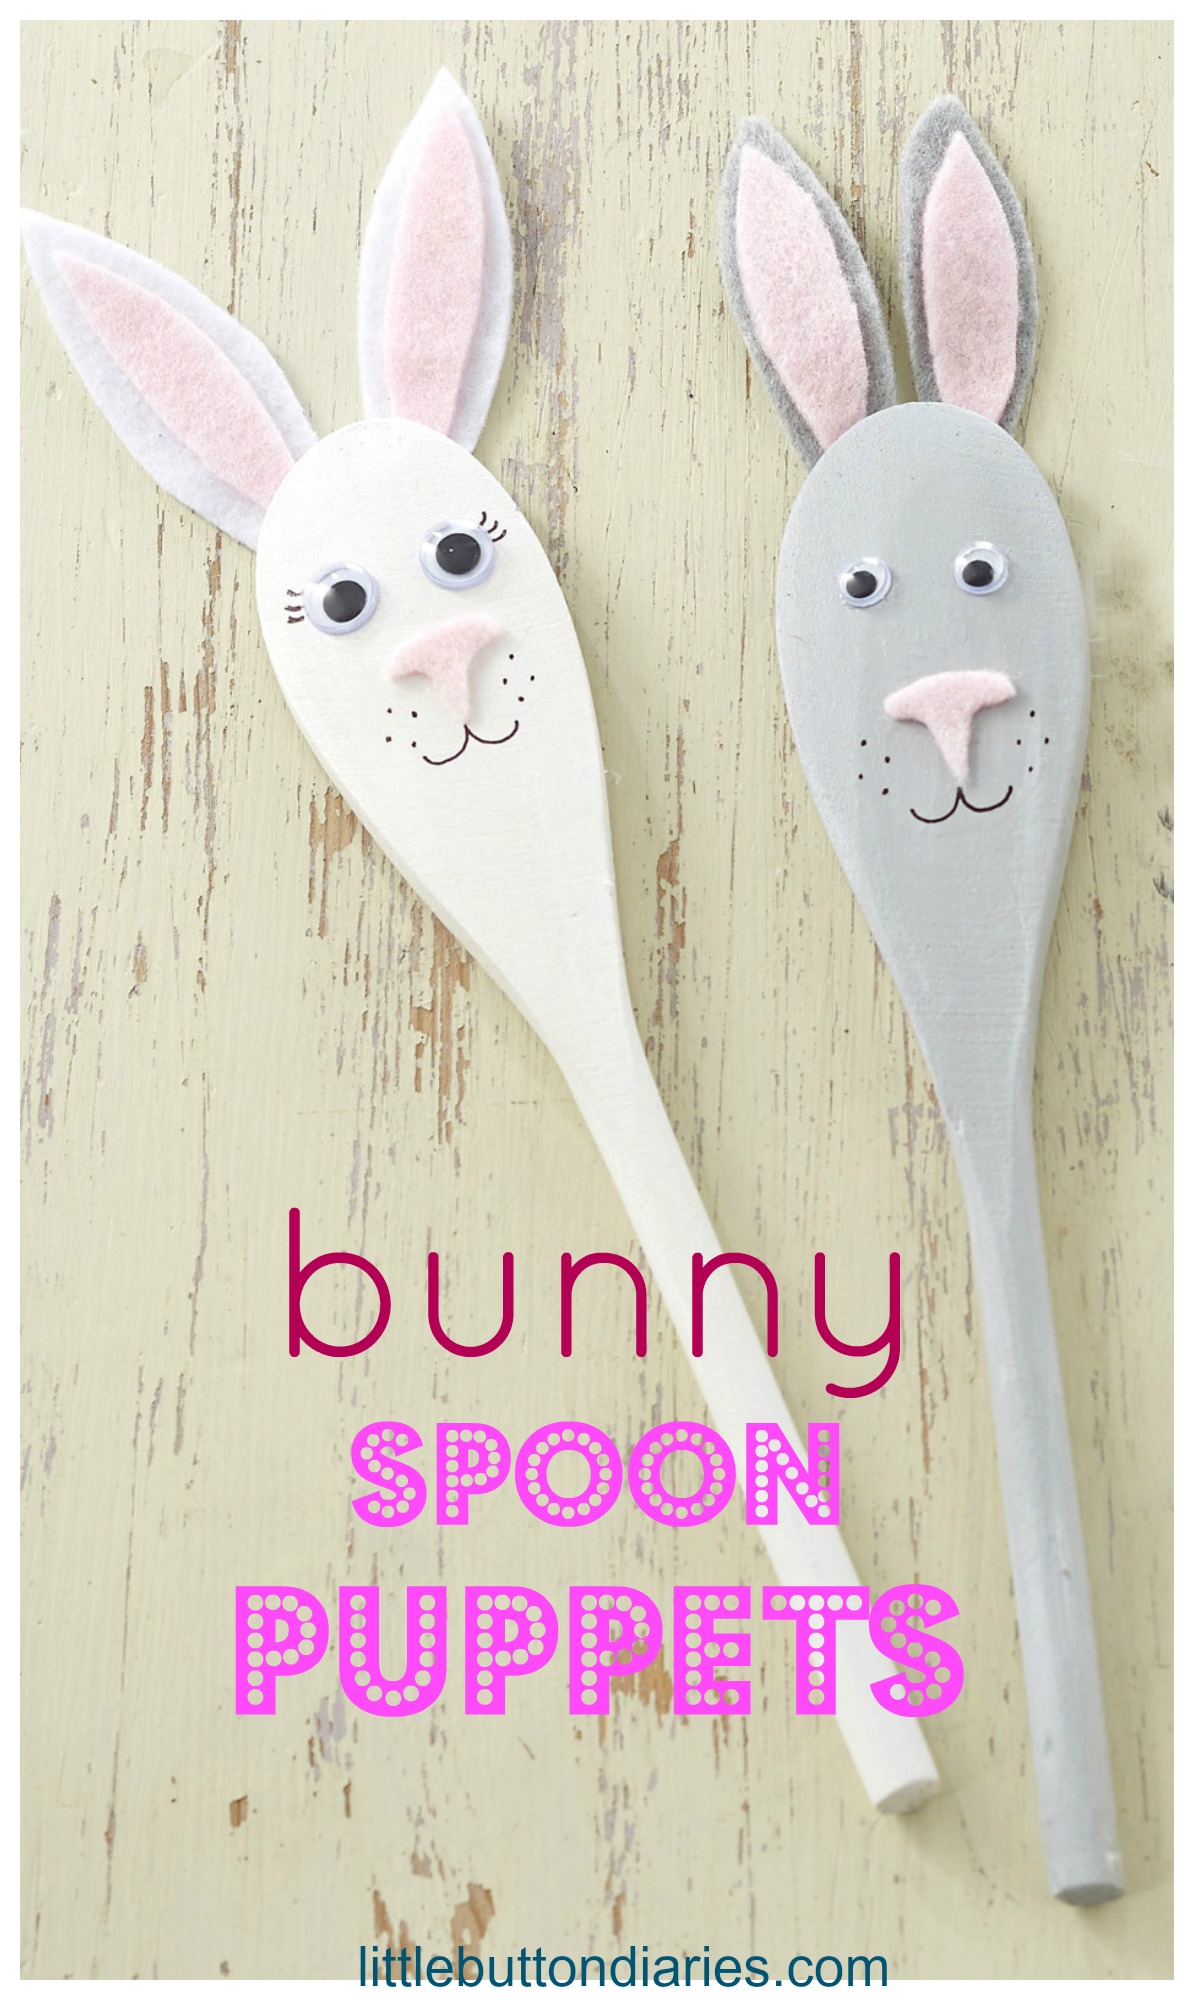
I have a tremendous amount of scrap bits of felt and fabric that lie in a box waiting to be used. After having a Spring clean I decided to use up my scrap felt to make an alphabet for my Little Button, along with its own fabric bag.
To make the alphabet you will need:
- Enough scrap felt to make 52 letters
- White thread
- Pins
To make the bag you will need:
- Scrap fabric measuring 16 inches x 12 inches
- 30 inches cotton tape
- Safety pin
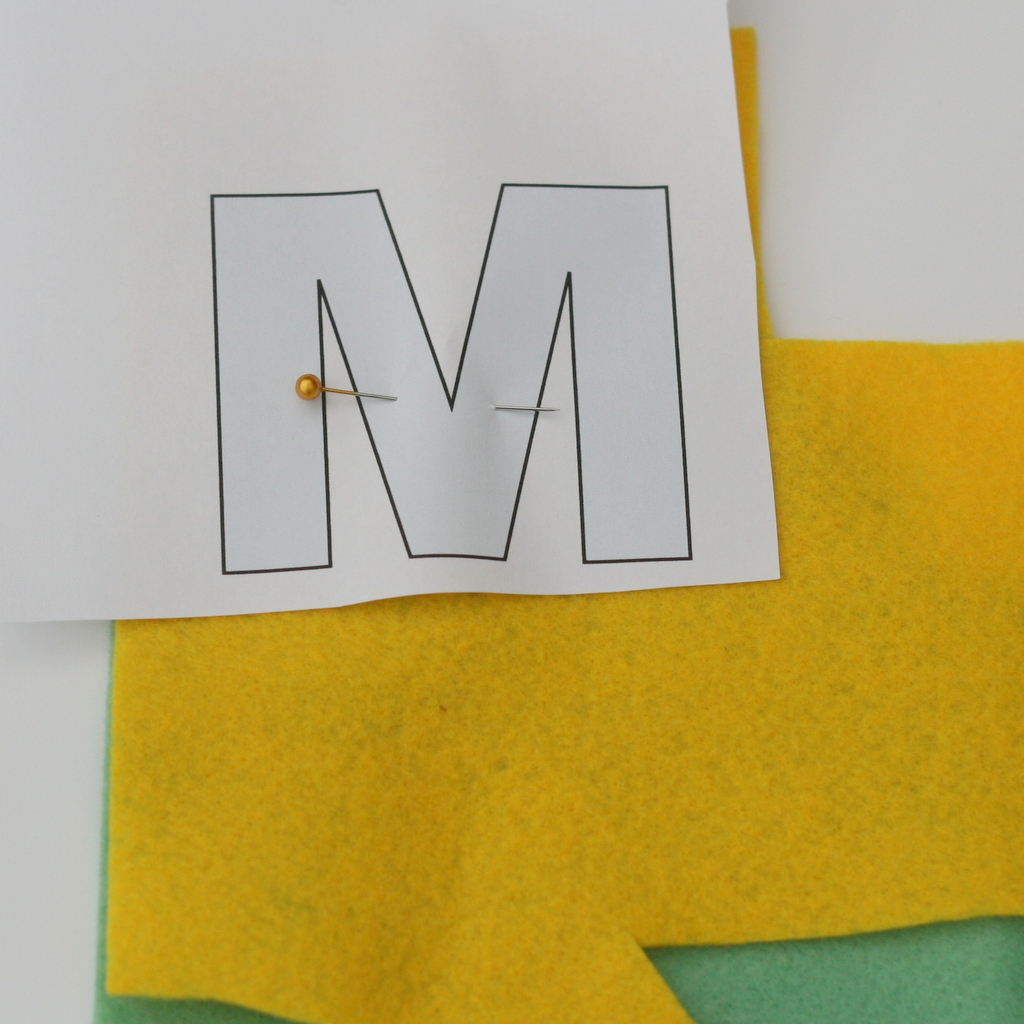
1. Begin by deciding what size and font you want your letters to be, and printing them out. My letters measured 3 inches high. I used Arial bold font in Microsoft Word and printed out a template.

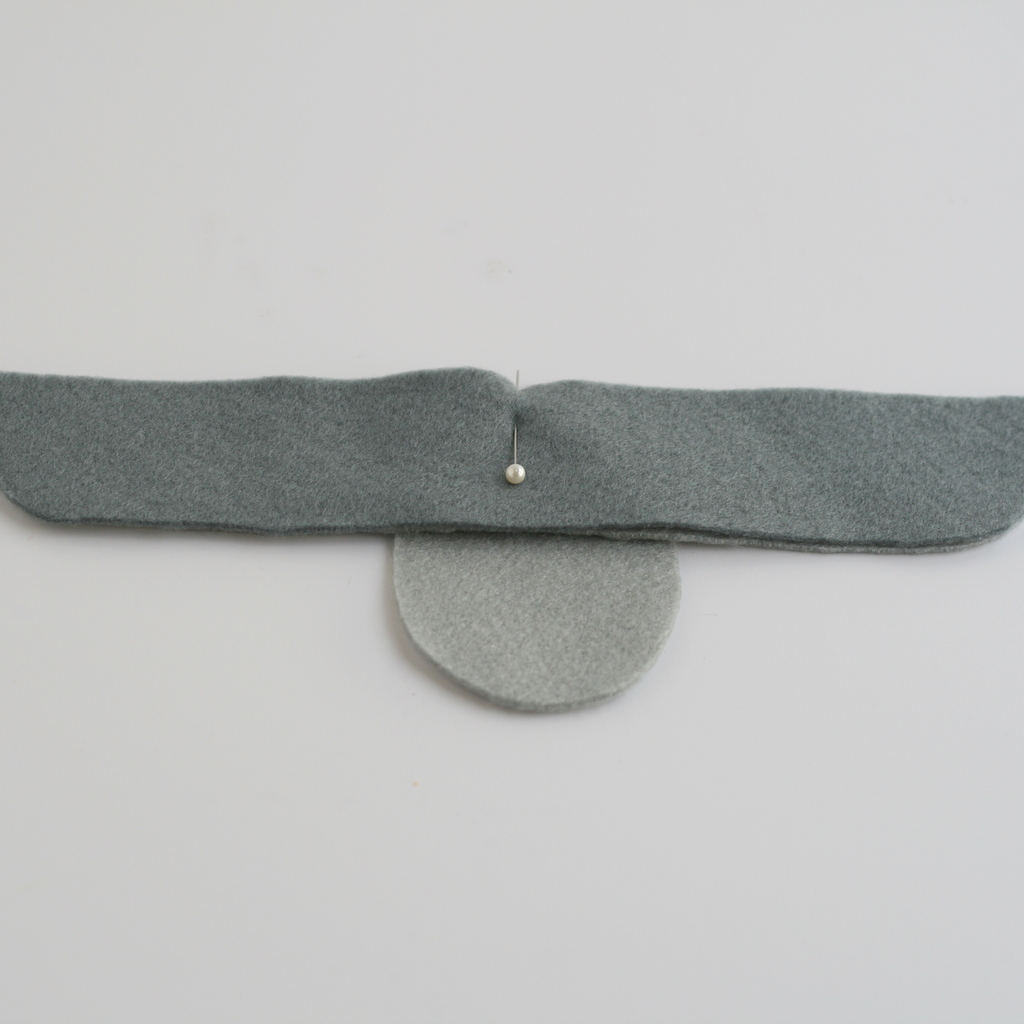
2. Next, pin each letter onto two pieces of felt and cut them out.

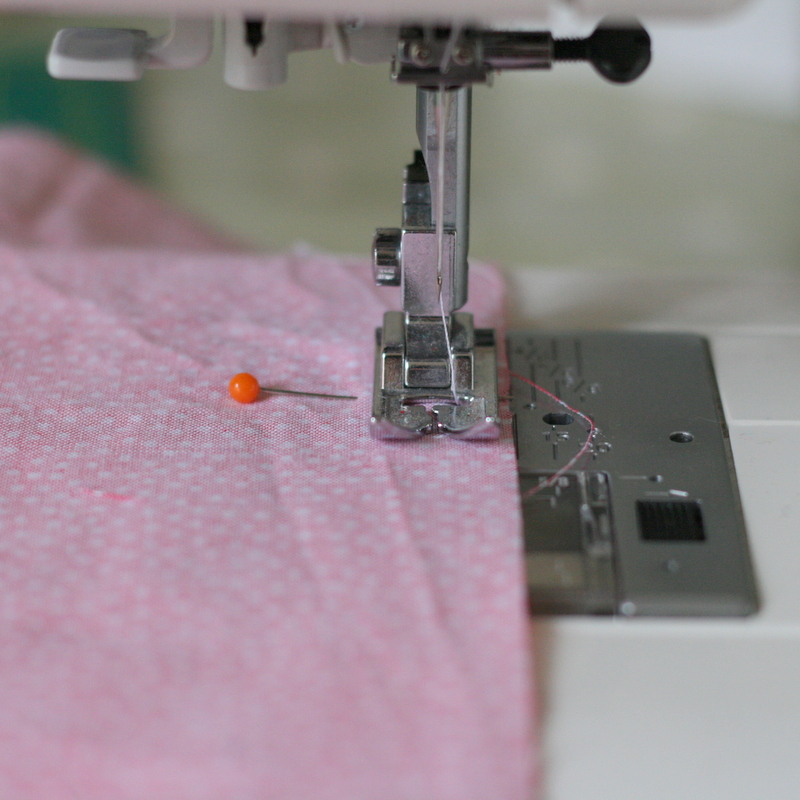
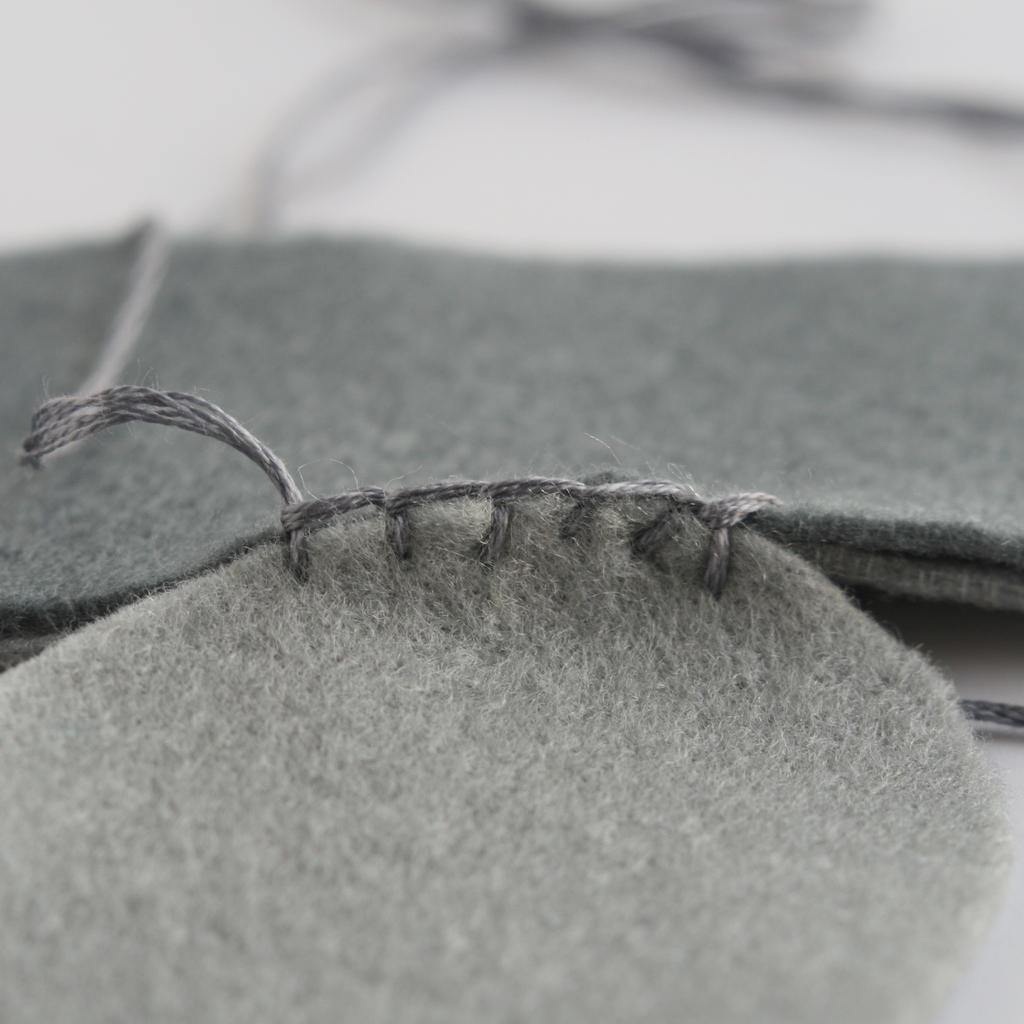
3. Pin them together and sew. Trim the excess threads and neaten up the edges.

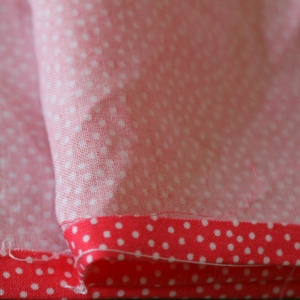
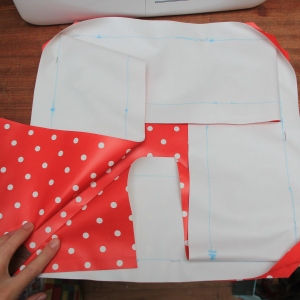
4. To make the bag you will need 2 pieces of fabric cut to 8 inches x 12 inches. Begin by placing your fabric right sides together.

5. Sew the fabric together. Begin down one side starting 2 ½ inches from the top. Sew and backstitch at the start and sew down one side, along the bottom and up the other side, stopping 2 ½ inches from the top on the other side. Backstitch to secure.
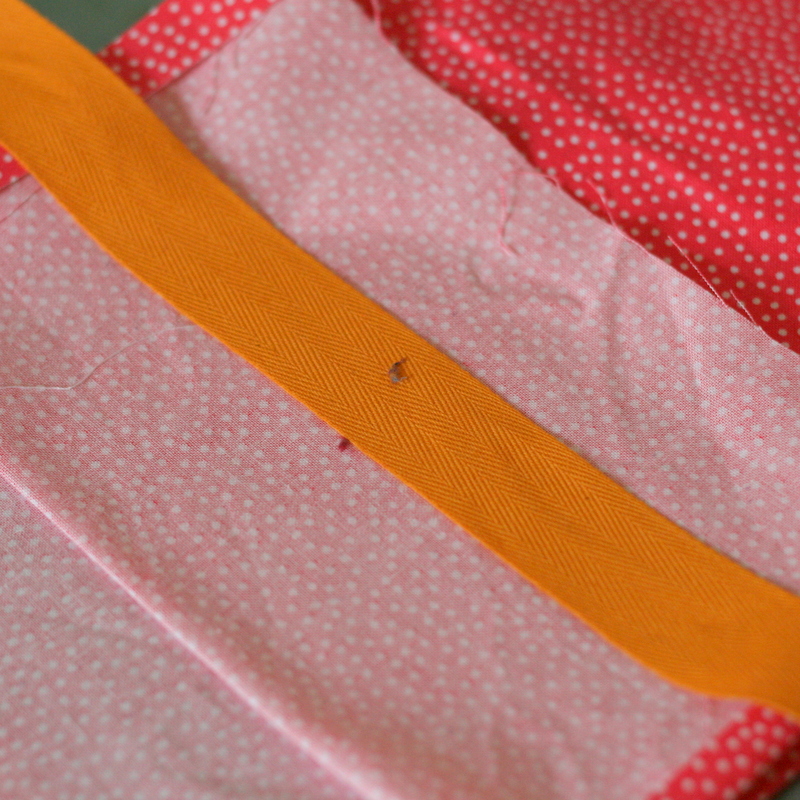
6. To make the drawstring part, iron your seam closed and sew. Repeat on the other side.

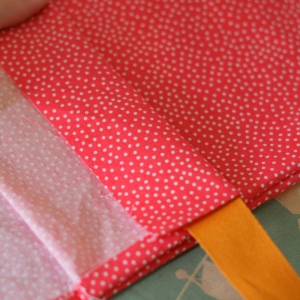
7. Next, fold the top over twice making sure the tie can easily fit through. Sew along the bottom of this section to secure it in place. Repeat on the other side of the bag.

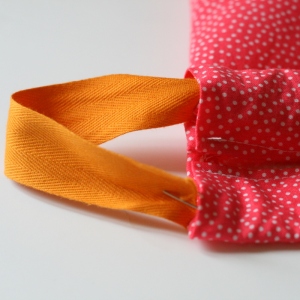
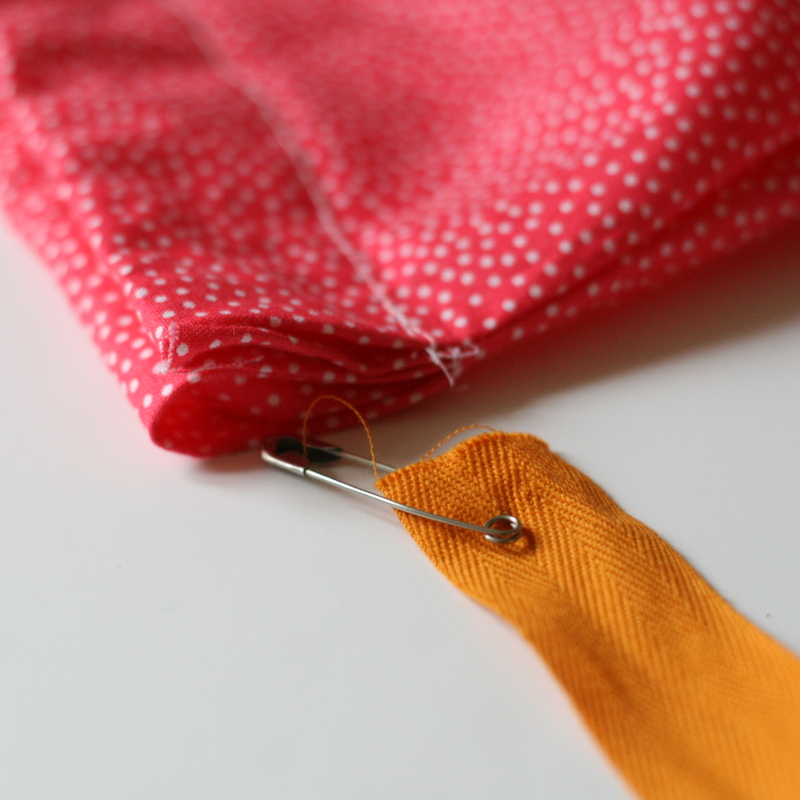
8. Using a safety pin, thread the cotton tape through the top and secure with a knot.
This project was as easy as…well A-B-C! The bag is also perfect for storing a few toys in.


If you like our blog, we would love you forever if you could take a tiny two seconds to nominate us for the Best Craft Blog at the 2015 BIB awards… click below to vote. Scroll to section 12 and select us. Thank you!

~ Laura xx ~


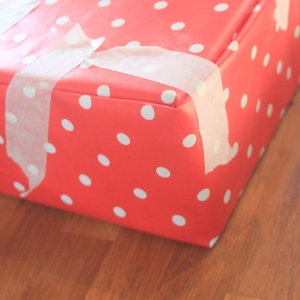
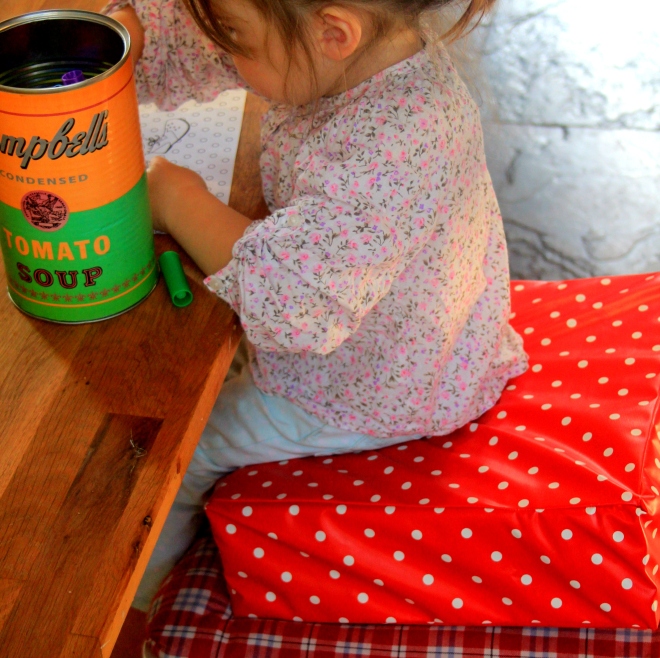
 My little girl is in a sort of no-man’s land at the moment when it comes to sitting at the table. She’s too big for a high chair, but she’s too small for a chair. I thought about buying a booster chair – I haven’t seen any in the shops but I’m sure you can get them. Then I realised that all you really need is a bit of foam. And its easy to cover a bit of foam! You can buy upholstery foam from EBay, its really cheap and readily available. So that’s what I did. And here’s how I did it.
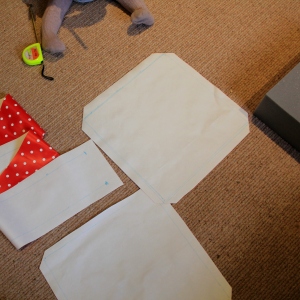


