Nap time crafts: Polymer Princesses

polymer princess little button diaries 13

For another project, I’ve recently been making a lot of very cute and girly things that I haven’t been able to give to Amelie. It’s made me feel so bad, she comes into my craft room (I say craft room, I’ve basically stolen the conservatory and renamed it. Anyone else find that craft stuff seems to just breed?!), she gets all excited and I have to quickly remove her from the area before she creates damage. So I decided to make her some little princesses from fimo. I gave her some lumps too (small ones, this stuff is expensive!) and she made some grotesque looking warped princesses too.

These are really easy to make, and take about 15 minutes per doll. These ones are only tiny, about 5cm high, but you could make them any size.

You will Need (Per Princess):

  • Polymer clay (I use fimo soft) – about 1cm lump of skin tone and 2cm in your chosen dress colour
  • Super Glue
  • Embroidery thread for hair
  • black and red permanent fine liner

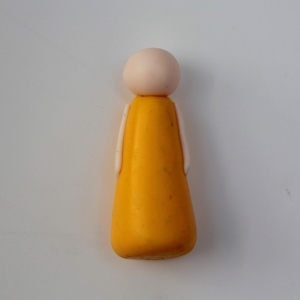
1. Thoroughly clean your hands and dry them on something non-fluffy. Odd as that might sound, this stuff picks up dust and fluff and quickly looks manky!! Begin by rolling the lumps you need. From pink, roll a pea sized ball for the head and two thin sausages, about 2cm long, for the arms. Then take the body lump – here I’m making Belle (obviously…) so I’ve used dark yellow. Roll the lump into a ball, then a sausage, then roll one end so that it is slightly narrower at the top. Press the bottom on the work surface to flatten and make it stand.

polymer princess little button diaries 1

2. Press the arms onto the side of the body, and the head on the top. You can learn from my mistakes here as I didn’t secure the head enough (it popped off on first play and had to be glued back), so really make sure the pieces are adhered to one another, you can use a cocktail stick or a knife to blend the edges together.

polymer princess little button diaries 2

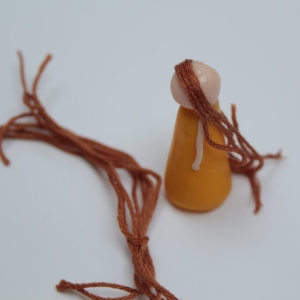
3. Place the princess(es) on a lined baking tray and bake in the oven according the manufacturers guidelines. Whilst they cook, prepare the hair. Create a loop of embroidery thread around your fingers, about 10cm long, and wrap the thread around 6 times. Cut through the loops to create strands. Once the dolls are out of the oven and cooled, place some glue onto the back of the head and stick the strands on one by one, starting from the front and working your way down till there are no more bald bits!

polymer princess little button diaries 3 polymer princess little button diaries 4

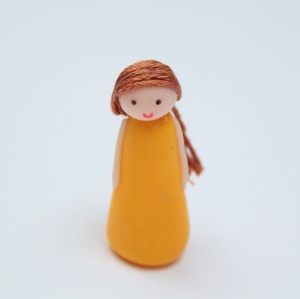
4. Tie or plait the hair however you like, then take a fine permanent pen and draw on a smiley little face.

polymer princess little button diaries 5 polymer princess little button diaries 6

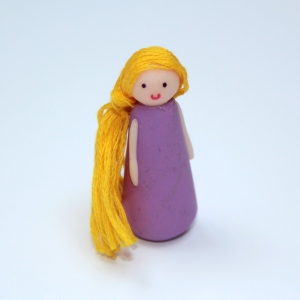
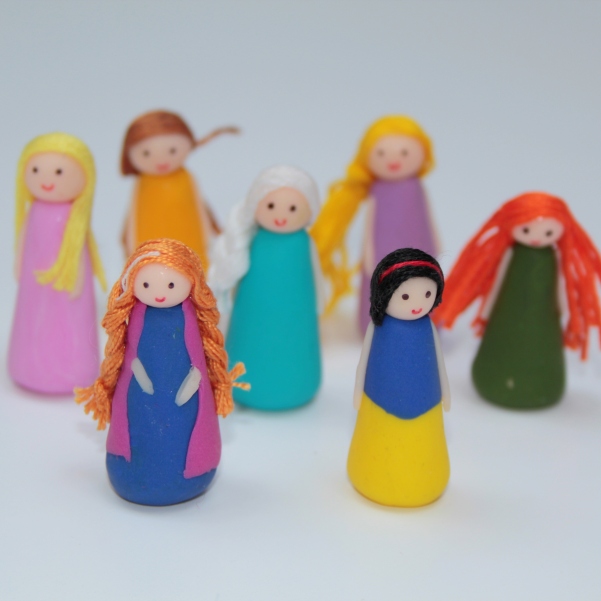
Here are the some of other dolls I made:

polymer princess little button diaries 10 polymer princess little button diaries 8polymer princess little button diaries 9 polymer princess little button diaries 12

Can you work out who they are?! I liked the Anna princess best – I just added a cape and rolled it in place, put a bit of white thread in her hair and plaited it. Snow White’s body was made from two lumps of clay rolled together, with red thread for the hairband.

polymer princess little button diaries 11

Tia xx

PS. If you like our blog, we would love you forever if you could take a tiny two seconds to nominate us for the Best Craft Blog at the 2015 BIB awards… click below on the picture to vote. Scroll to section 12 on the form and select us. Thank you!

craft bibs 2015

x

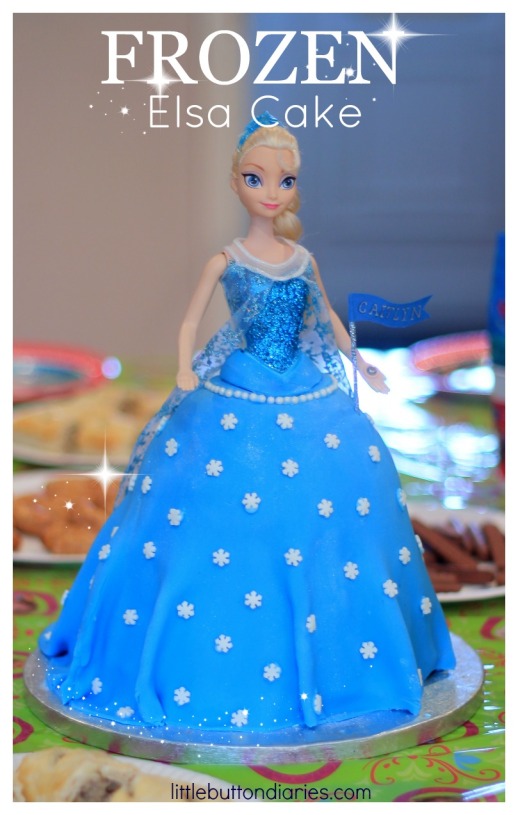
Frozen Elsa Cake Video Tutorial

frozen elsa cake tutorial from little button diaries

A couple of weeks ago my gorgeous little niece turned 8. Like 99.99% of all 8 year old girls, she loves Frozen. Obviously we had to have a cool little Frozen themed party to celebrate, and OBVIOUSLY we had to have an Elsa cake. This cake is pretty easy to make – the only tricky bit is the pancake flip of the rolled out icing onto the cake. Yikes. It takes a little time, but you have nothing better to do right?

Here is a little video showing you how to make the cake – with full instructions below.

You will Need:

  • 3 cakes (2 made from a 20cm cake tin and 1 from a 1L pudding basin)
  • Butter icing (enough to cover and fill 1 large cake)
  • 1kg pale blue Fondant Icing
  • Icing sugar
  • Sprinkles – Icicles and baubles
  • Pale blue cake dust?
  • 3″ cookie cutter
  • An Elsa doll

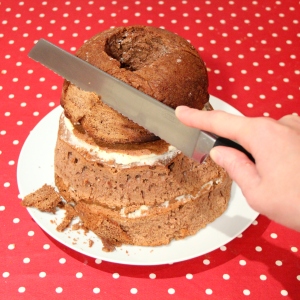
1. Begin by placing your base cake on a plate and, using a cookie cutter, cut and discard (read: eat) the centre. Spread buttercream onto the cake and repeat the process with the other two cakes, stacking them up. The buttercream does not need to go to the edge as you will be trimming this away. Now take a bread knife and shape the cake to resemble a dress shape.

 frozen doll cake little button diaries 30 frozen doll cake little button diaries 1

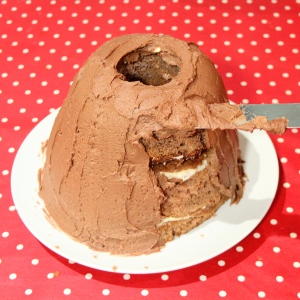
2. Spread buttercream thickly all over the cake.

frozen doll cake little button diaries 3 frozen doll cake little button diaries 4

3. Place a ruler down the centre of the cake to check the height against that of the doll. If it needs to be a little taller, roll a small lump of icing and cut a hole with the cutter, and place this on top.

frozen doll cake little button diaries 5

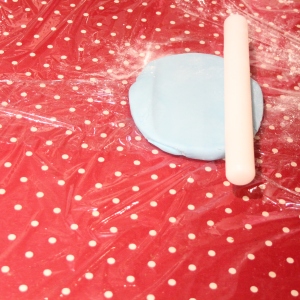
4. Wrap a tape measure over the cake to work out what size your icing needs to be. Place a couple of sheets of cling film on your work surface, sprinkle with icing and roll it out to about 3mm thick. Now for the scary bit. Gently pick up the clingfilm underneath the icing and quickly place it on top of the cake. EEEEEK! Ease out any folds immediately before they tear the icing. This is a bit of a no-going-back moment!

frozen doll cake little button diaries 6 frozen doll cake little button diaries 7

5. Smooth out the lumps and tease the icing so that the folds resemble a skirt. When you are happy with how it hangs, trim away the loose ends with a sharp knife. Use the cutter to cut a hole through the top of the icing. Wrap clingfilm around the waist and legs of the Elsa doll and insert her into the top of the cake.

frozen doll cake little button diaries 8 frozen doll cake little button diaries 9

6. Cut a strip of icing, about 3″ long, and wrap it around her waist. Cut off the loose ends neatly and smooth in place. Mix a paste by combining a couple of tablespoons of icing sugar with about 1/4 teaspoon of water. Use this paste as a glue to attach the frozen embellishments and decorate the skirt.

frozen doll cake little button diaries 10 frozen doll cake little button diaries 11

Finally, dust the cake with a little pale blue edible glitter for an extra bit of icy shine.

frozen doll cake little button diaries 12

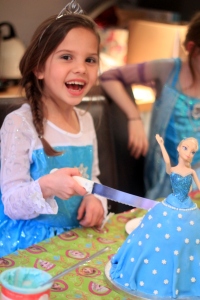
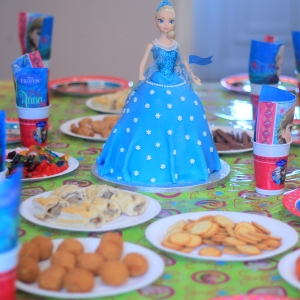
She’s finished! She took a while to make it, but it was very worth it to see the look on Elsa’s (and Elsa, Elsa and Elsa’s) face.

frozen doll cake little button diaries 25 frozen doll cake little button diaries 17 frozen doll cake little button diaries 22 frozen doll cake little button diaries 20

Tia xxx