
I don’t know if you watch cbeebies. I mean… If you have a 2 year old, like me, you may feel like Mr Tumble is an old family friend and have a very slight crush on Mr Bloom (what!). If you don’t, you have no idea what I’m blathering on about and this post probably isn’t for you!
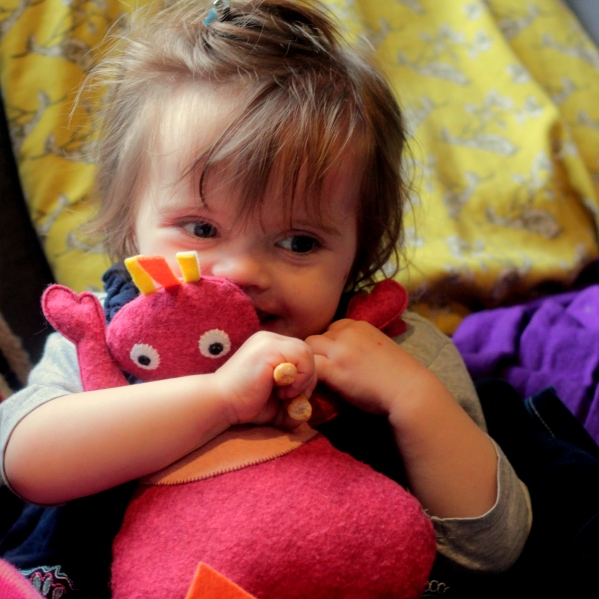
A new programme, called Twirlywoos, recently entered our lives and both my little ones are obsessed with it. Here they are:

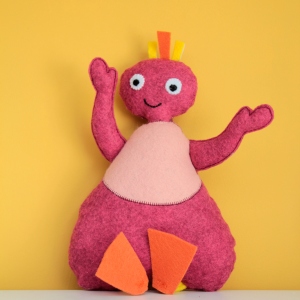
You can’t buy twirlywoos yet, so I thought I’d make one for them. If you want to do the same, read on – its really easy.
You will need:
- Felt – Maroon (2 sheets), pink, orange (1/2 sheet), yellow, white, black (scraps)
- Soft toy stuffing
- black & white embroidery thread
- a little glue
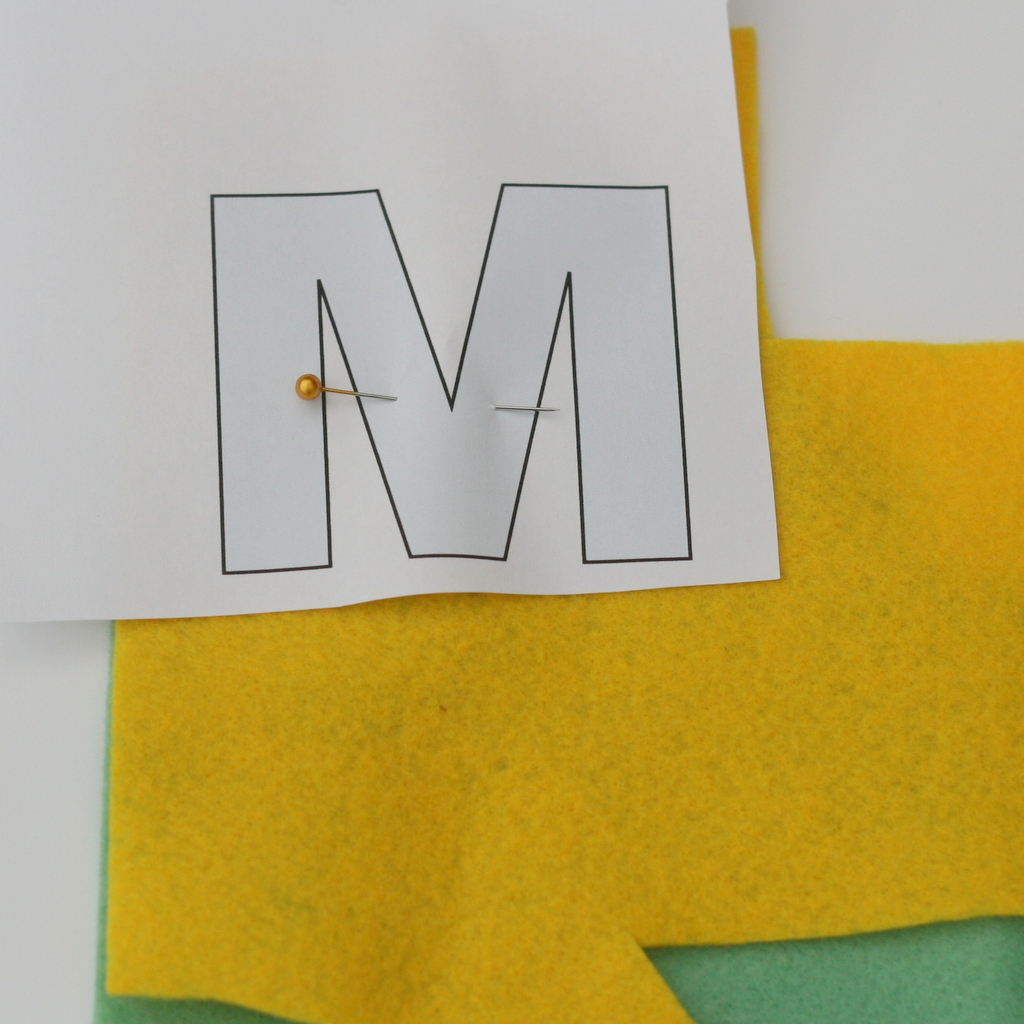
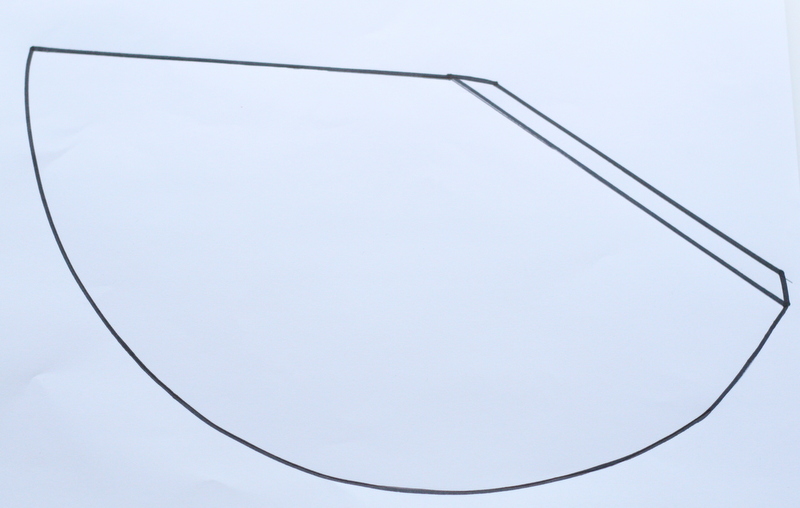
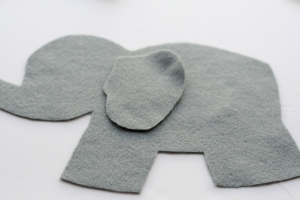
1. Begin by printing and cutting out the template below (scale the image to A4).
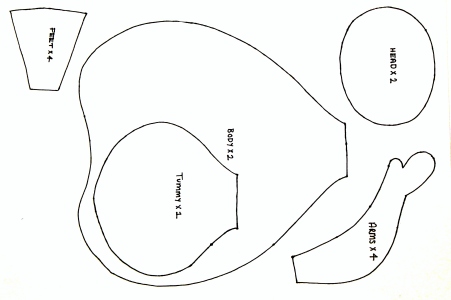
2. Pin the template to the felt and cut out.
From the maroon, cut 2 x body, 2 x head and 4 x arm pieces
From the pink cut 2 x tummy pieces
From the orange cut 4 x feet pieces
You will also need to cut 2 white circles and 2 tiny black circles for eyes, a 2 x 14cm strip of yellow that will become the legs and a few little strips of orange and yellow felt for the hair tufts.

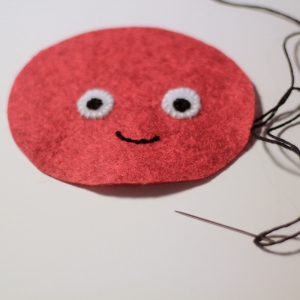
3. line up the eyes and sew to the face with embroidery thread. Stitch on a little smile too.

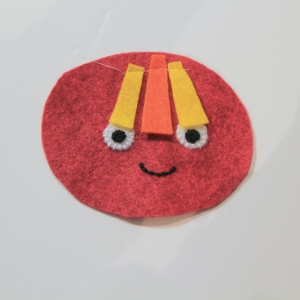
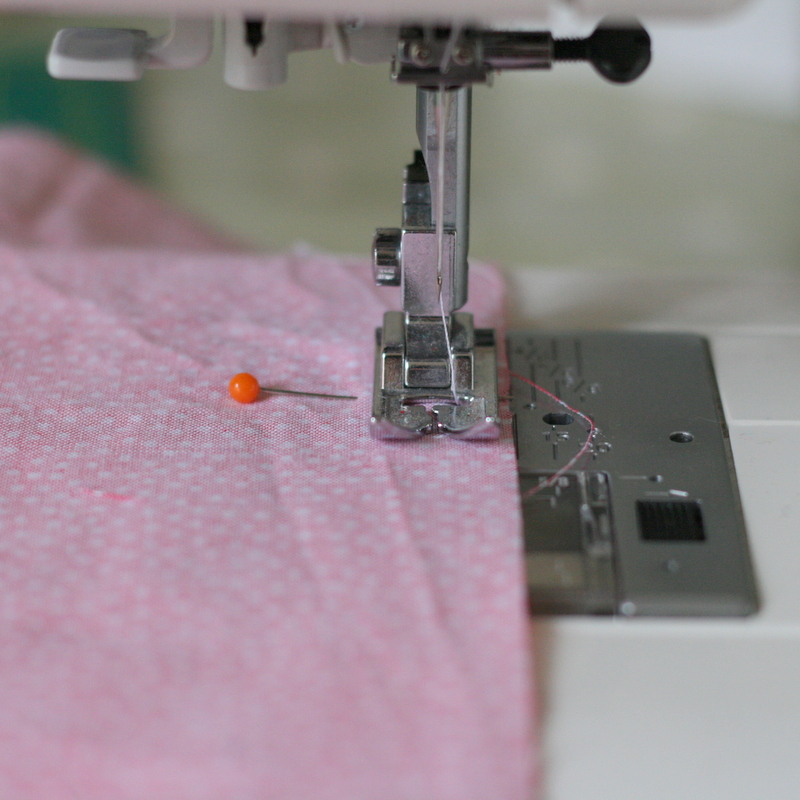
4. Place the hair pieces on top, pointing inwards. Stitch along the top to secure, then sew the head pieces right sides together, with a 5mm seam allowance. Leave a 3cm gap at the bottom to turn. Snip all the way around the edge.

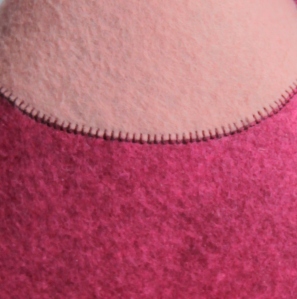
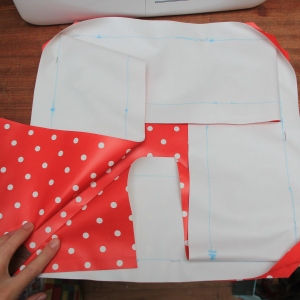
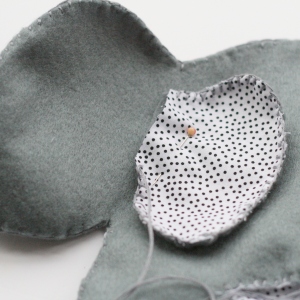
5. Place the tummy piece on the body and blanket stitch together along the edge of the fabric.
6. Sew the arm pieces together with a gap at the end to stuff – as it is felt these will not need to be turned out. Poke some stuffing into the arms then pin, facing in, on the sides of the body piece. Roll the strip of yellow felt lengthways, pin and sew along the length of it to make the legs. Cut this in half and pin to the bottom of the body piece, again facing in.
7. Sew the body pieces together with a 4cm gap at the top. Turn out, then stuff the head and body pieces. Pin the head into the body piece and sew in place – I used a visible stitch to match the blanket stitch (although it wasn’t my neatest!).


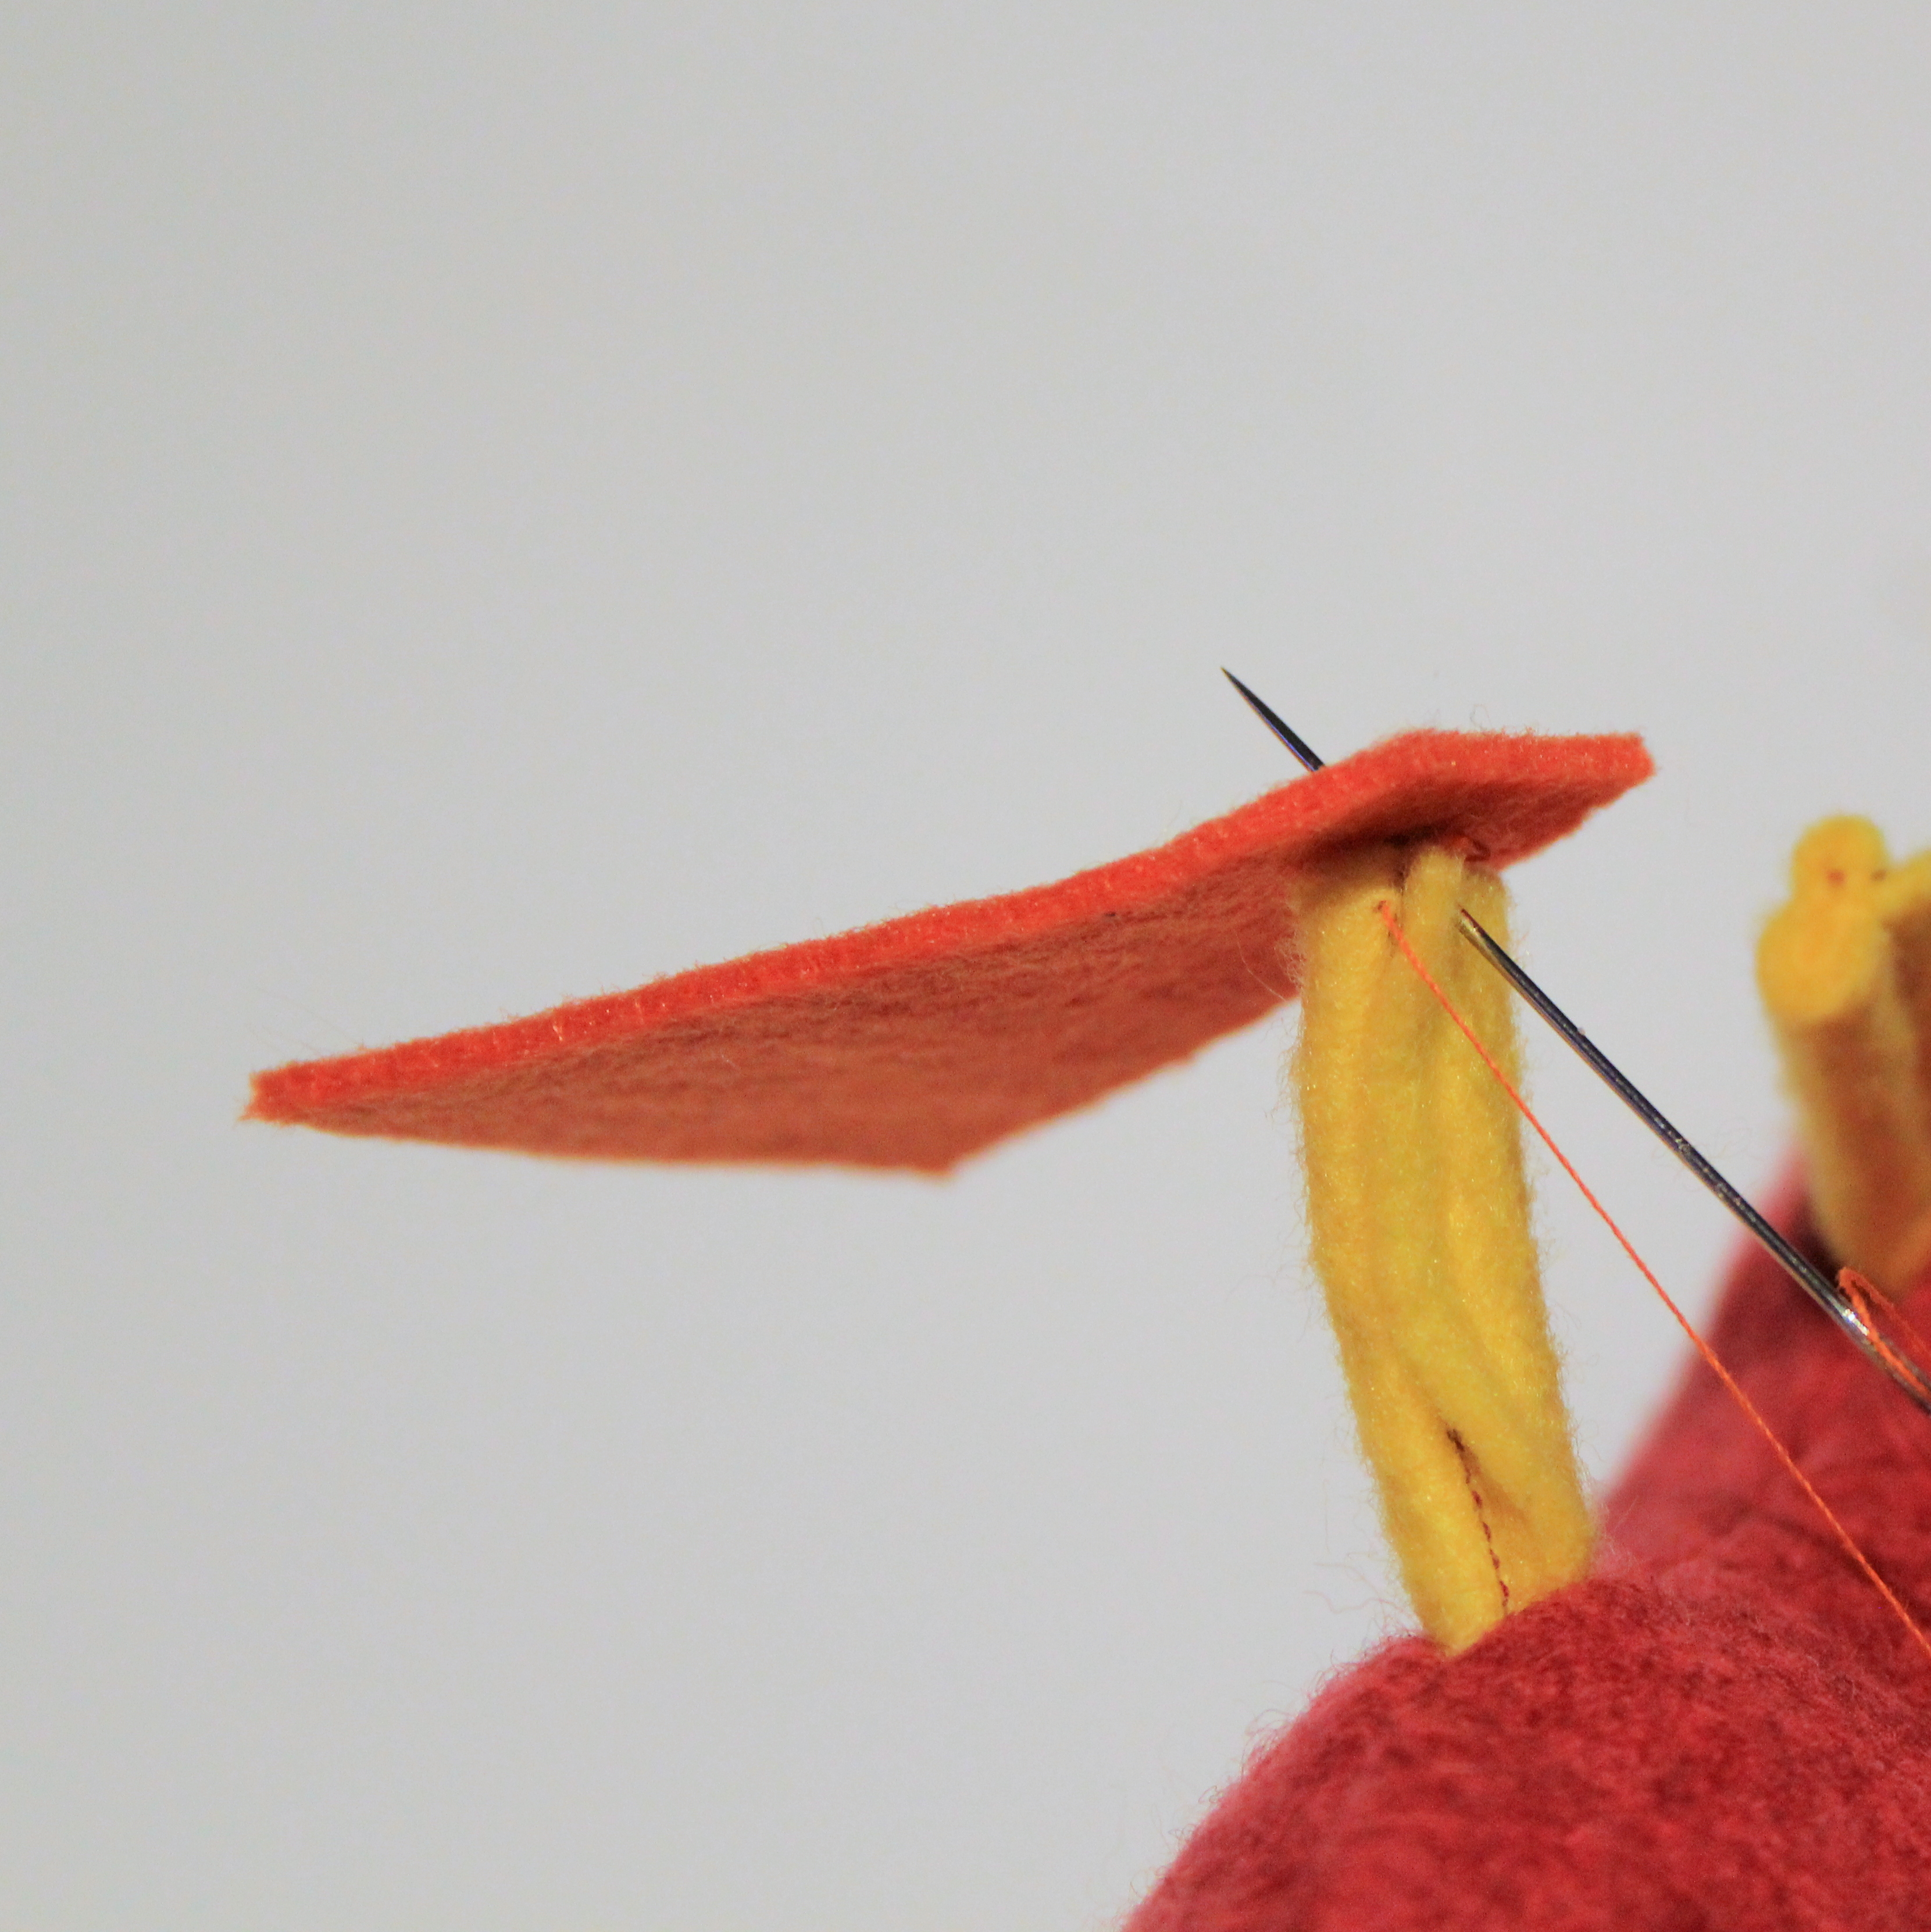
Finally, glue the feet pieces together to strengthen them, then stitch the feet onto the bottom of the legs.

I think she looks a little bit like E.T. and she isn’t quite as rotund as the tv version, but she’s a Twirlywoo, right? Lilah was very happy with her new friend. I’ll make another one for Amelie at some point (maybe…).
Tia x


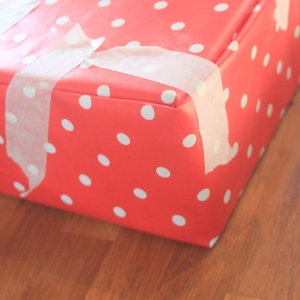
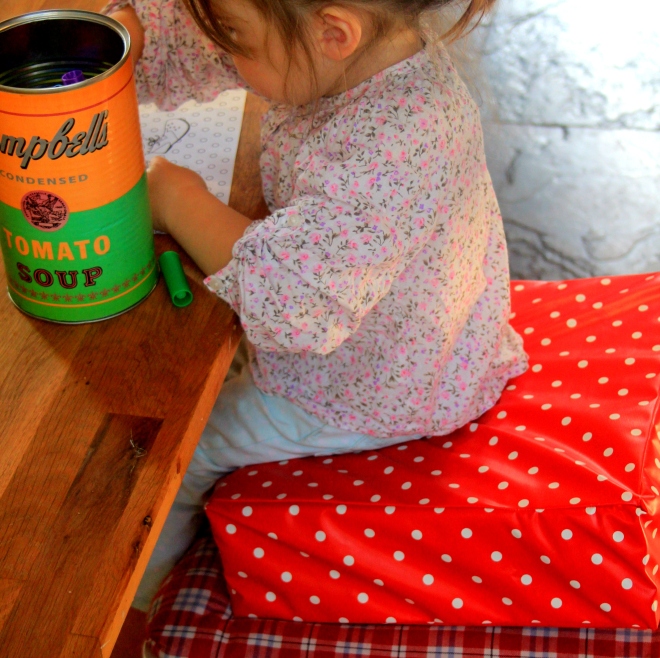
 My little girl is in a sort of no-man’s land at the moment when it comes to sitting at the table. She’s too big for a high chair, but she’s too small for a chair. I thought about buying a booster chair – I haven’t seen any in the shops but I’m sure you can get them. Then I realised that all you really need is a bit of foam. And its easy to cover a bit of foam! You can buy upholstery foam from EBay, its really cheap and readily available. So that’s what I did. And here’s how I did it.
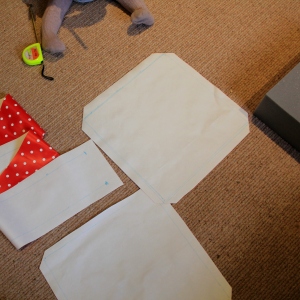


