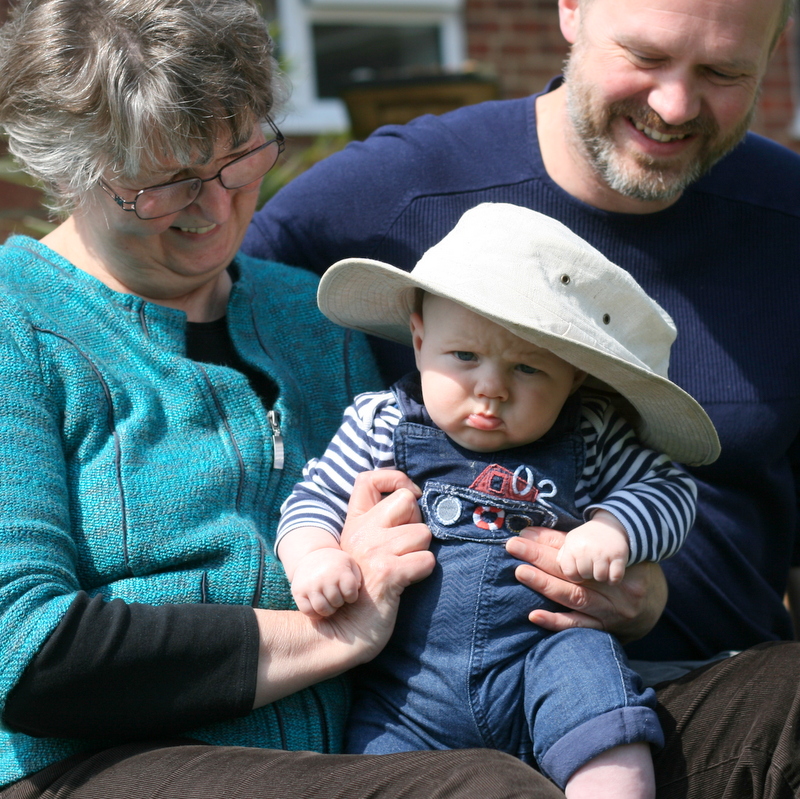
Life in Pictures is our weekly mini-gallery of what we have been up to over the past seven days. This week we’ve been hanging out with Grandparents, enjoying the lovely bluebells and making said Grandparents take pictures of us in them!


Life in Pictures is our weekly mini-gallery of what we have been up to over the past seven days. This week we’ve been hanging out with Grandparents, enjoying the lovely bluebells and making said Grandparents take pictures of us in them!
Life in Pictures is our weekly mini-gallery of what our Little Buttons have been up to over the past seven days. This week we’ve been enjoying getting out in the sunshine, having fun at the farm with the grandparents and our youngest Little Button had his first experience of a swing!


Our little toddlers have one thing in common: they are both OBSESSED with bunnies. They can’t sleep without their bunnies, they squeal at anything bunny related and they always have their bunnies in tow. So in time for easter, we decided to make them a pair of little bunny dresses. We adapted a gorgeous pattern by Kirsty Hartley featured in Mollie Makes Mama for a little mouse dress. Pattern template can be found here.
To make 1 dress you will need:
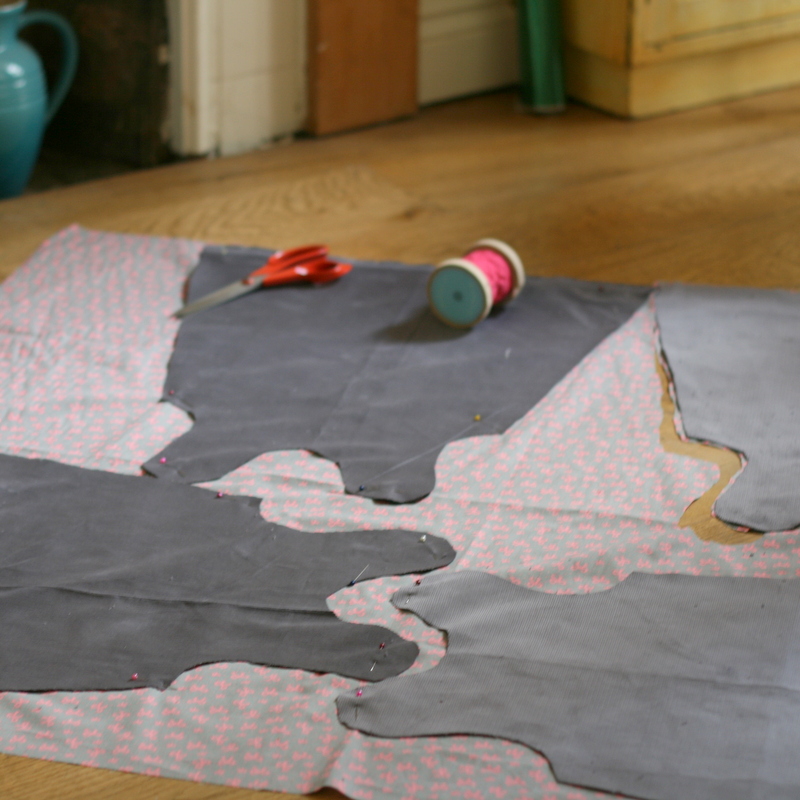
We began by printing off and cutting out the template, then cutting 2 x front pieces and 2 x back pieces in each fabric. We ensured that the grain of the cord ran down the dress. The dress has a slightly lower neck at the front.
Next, we made the pockets – these are the little paws for the bunny dress. We cut 2 x oval pieces of cord and 2 x pieces of lining fabric measuring about 9cm diameter. Each pocket was sewn right sides together with a 1cm allowance, leaving a gap at the base to turn out. Turn and iron flat. Cut out paw shapes from pink fabric, attach bondaweb and press them carefully onto the pocket as in the picture. Sew in place along the bottom of the front piece of cord (allowing for seam turn up).

To make the bunny face we cut two small oval shapes in black fabric to make the eyes. We attached the bondaweb and ironed in place. Using the pink fabric we cut out a nose shape, bondawebbed and ironed on. To do the whiskers we marked three lines either side of the nose with taylor’s chalk and stitched them with the sewing machine.

Once the face was in place we cut ear shapes from pink fabric and cut out. Bondaweb was attached to the back of the fabric and the ear was ironed in place. We placed the ears right near the top of the dress.
Now the decoration is done it’s time to sew the dress together. Place the front and back cord pieces of the dress side by side and sew right sides together with a 1cm allowance. Repeat for the lining but sewing the opposite sides together. Press open. Pin both pieces right sides together and sew along the neck and armholes. snip the curved edges, turn and press. Sew along the remaining open sides right sides together.
Along the bottom of the dress, turn the fabric back twice and sew to create a 1cm hem.
Next, attach the buttons. We placed the button on the back piece of the dress and the button hole at the front. This gave the ears a standing up effect and means that half the ear doesn’t get lost.
Finally, we added a pom pom to the back. We tacked the pom pom into place around the bum line!


Just in time for Easter!
If you like our crafts, then please do vote for us for Best Craft Blog at the MAD Blog Awards. We’re one of the five finalists and would really love your support! Click on the picture below to vote. Thank you!

Laura & Tia x
