Mrs Flowerpot Lady

DIY flower pot tutorial

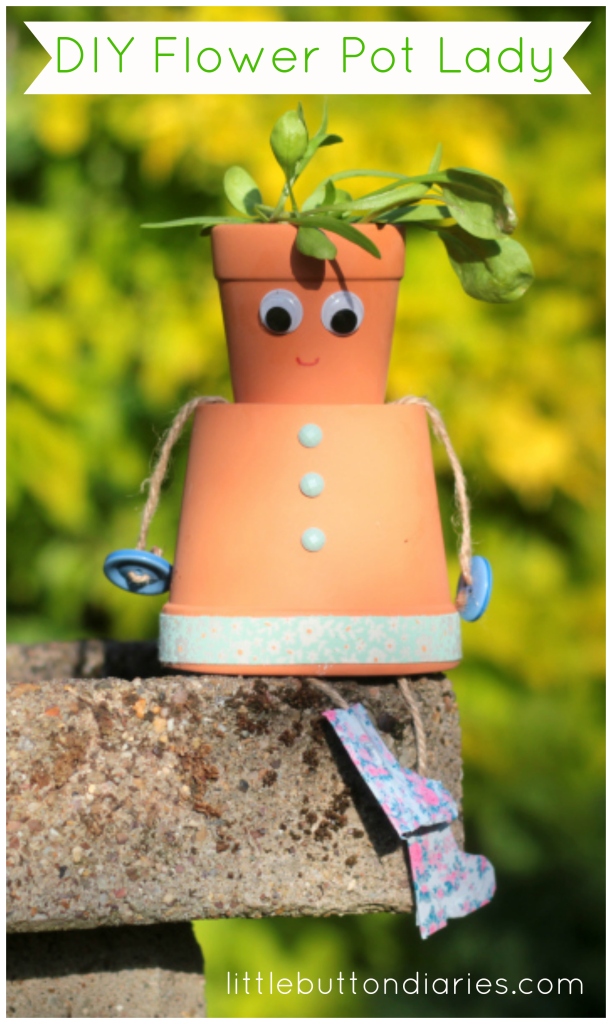
We love a challenge, especially a craft one! Hobbycraft set us the challenge of making something out of just a few items selected for us, and we decided to make a lovely little flower pot lady. Mrs. Pot is easy to make, takes very little time and is the perfect craft to do with little ones. For the full tutorial on how to make her visit Hobbycraft!

flower pot lady tutorial 7

 ~ Tia & Laura xx ~

How to make a Twirlywoo Soft Toy

twirlywoo toy tutorial little button diaries

I don’t know if you watch cbeebies. I mean… If you have a 2 year old, like me, you may feel like Mr Tumble is an old family friend and have a very slight crush on Mr Bloom (what!). If you don’t, you have no idea what I’m blathering on about and this post probably isn’t for you!

A new programme, called Twirlywoos, recently entered our lives and both my little ones are obsessed with it. Here they are:

twirlywoos-1

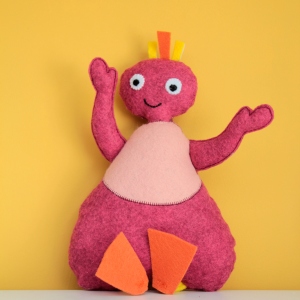
 You can’t buy twirlywoos yet, so I thought I’d make one for them. If you want to do the same, read on – its really easy.

You will need:

  • Felt – Maroon (2 sheets), pink, orange (1/2 sheet), yellow, white, black (scraps)
  • Soft toy stuffing
  • black & white embroidery thread
  • a little glue

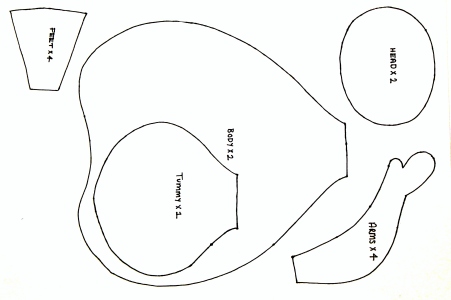
1. Begin by printing and cutting out the template below (scale the image to A4).
twirlywoo tutorial little button diaries 9

2. Pin the template to the felt and cut out.

From the maroon, cut 2 x body, 2 x head and 4 x arm pieces
From the pink cut 2 x tummy pieces
From the orange cut 4 x feet pieces
You will also need to cut 2 white circles and 2 tiny black circles for eyes, a 2 x 14cm strip of yellow that will become the legs and a few little strips of orange and yellow felt for the hair tufts.

twirlywoo tutorial little button diaries 8

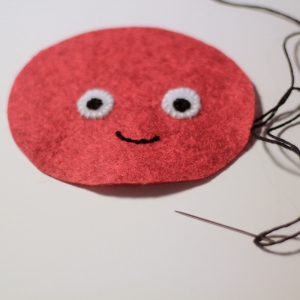
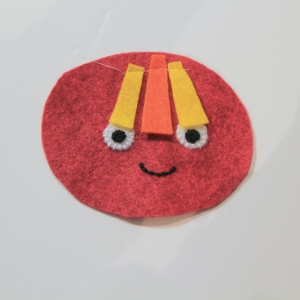
 3. line up the eyes and sew to the face with embroidery thread. Stitch on a little smile too.

twirlywoo tutorial little button diaries 7 twirlywoo tutorial little button diaries 6

4. Place the hair pieces on top, pointing inwards. Stitch along the top to secure, then sew the head pieces right sides together, with a 5mm seam allowance. Leave a 3cm gap at the bottom to turn. Snip all the way around the edge.
twirlywoo tutorial little button diaries 5 twirlywoo tutorial little button diaries 4

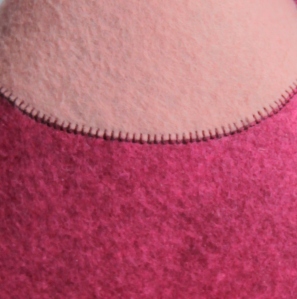
 5. Place the tummy piece on the body and blanket stitch together along the edge of the fabric.
twirlywoo toy tutorial little button diaries 14

6. Sew the arm pieces together with a gap at the end to stuff – as it is felt these will not need to be turned out. Poke some stuffing into the arms then pin, facing in, on the sides of the body piece. Roll the strip of yellow felt lengthways, pin and sew along the length of it to make the legs. Cut this in half and pin to the bottom of the body piece, again facing in.

7. Sew the body pieces together with a 4cm gap at the top. Turn out, then stuff the head and body pieces. Pin the head into the body piece and sew in place – I used a visible stitch to match the blanket stitch (although it wasn’t my neatest!).

twirlywoo tutorial little button diaries 1 twirlywoo tutorial little button diaries 2

Finally, glue the feet pieces together to strengthen them, then stitch the feet onto the bottom of the legs.

twirlywoo tutorial little button diaries 3

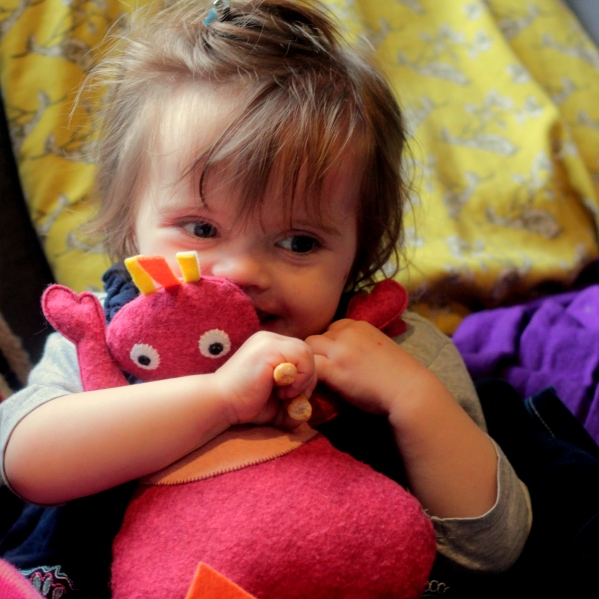
I think she looks a little bit like E.T. and she isn’t quite as rotund as the tv version, but she’s a Twirlywoo, right? Lilah was very happy with her new friend. I’ll make another one for Amelie at some point (maybe…).

Tia x
twirly woo 2twirlywoo tutorial little button diaries 12 twirlywoo tutorial little button diaries 11

Nap Time Crafts: Easy Peasy Party Hats

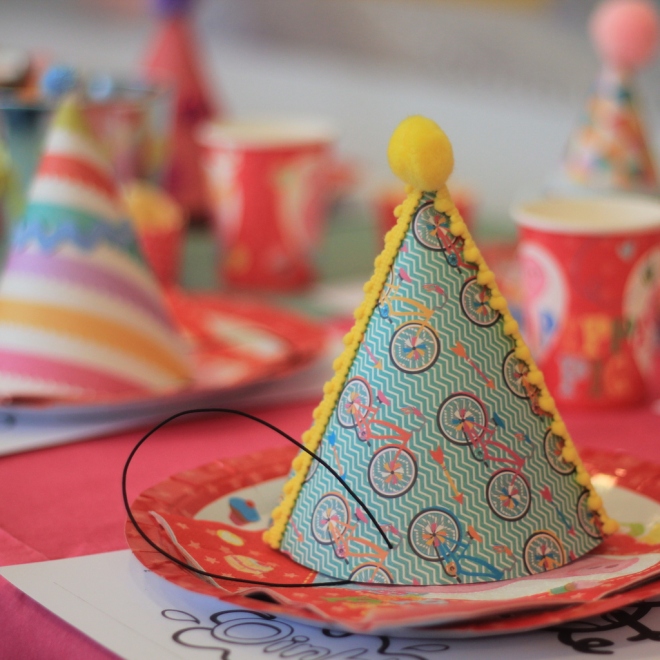
party hats diy

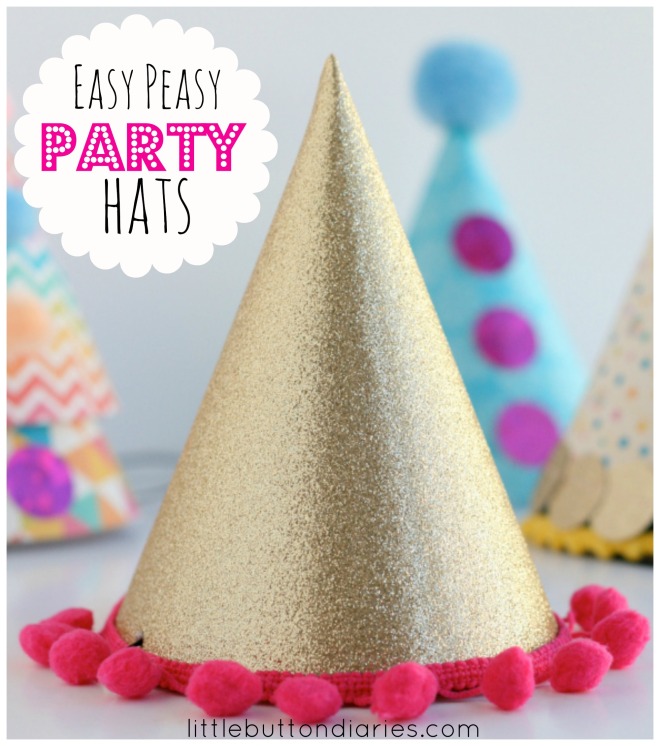
It was my Little Button’s 2nd birthday recently so I made a batch of party hats for them all to wear. These hats are really simple to make and fun to decorate. One hat can be finished in the space of a short nap.

For this project you will need:

  • Pretty scrapbooking paper
  • Strong glue
  • An assortment of pom poms, ric-rac, ribbons, felt scraps and colourful card
  • Thin elastic (for a toddler I used 45cm per hat)

party hat diy template
 1. Begin by printing and cutting out the template to fit A4 paper. Draw round the template onto the scrapbook paper and cut out.

party hat diy party hat diy

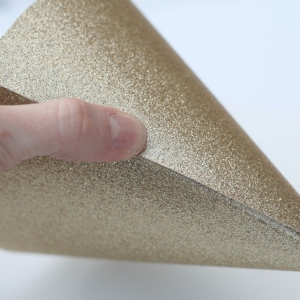
2. Fold the tab over and glue on the patterned side of the scrapbook paper.

party hat diy

3. Roll the hat up and stick it together. You will need to hold it in place while the glue becomes tacky.

party hat diy party hat diy

4. Now for the fun bit, attach your decorations around the rim and centre of the hats.

easy peasy party hats DIY easy peasy party hats DIY

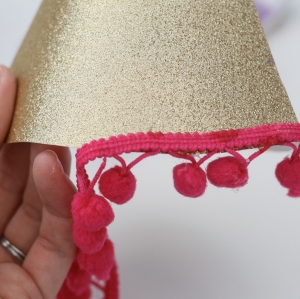
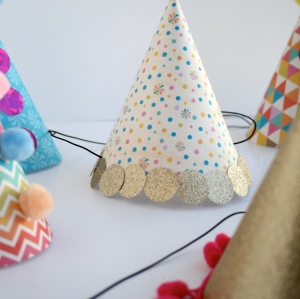
5. I made 20 hats so did an assortment of different designs. I used the pom poms as trim and on top of the hats. I also used a sewing machine to stitch together circles cut from card, and glued those onto the bottom of some hats. Basically… anything goes.

easy peasy party hats DIY

6. The final step is to attach the elastic to the hat. Using a pin, make two small holes at either side of the hat. Then thread the elastic through and secure with a knot on the inside of each side.

IMG_9954

They make a fun and colourful addition to any birthday table.

If you like our blog, we would love you forever if you could take a tiny two seconds to nominate us for the Best Craft Blog at the 2015 BIB awards… click below to vote. Thank you!

craft bibs 2015

 ~ Laura xx ~

Peek-a-Boo Carrot Cupcakes

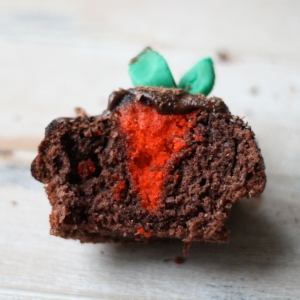
carrot   IMG_8035 IMG_8037

My father-in-law is a keen gardener and has an impressive array of vegetables growing in his garden. I created these peek-a-boo cupcakes for his birthday as a nod to his green fingers.

To make 12 cupcakes you will need:

For the sponge:

  • 250g unsalted butter
  • 250g caster sugar
  • 250g self-raising flour (sifted)
  • 4 eggs
  • 2 teaspoons of baking powder
  • Orange food colouring gel
  • Cocoa powder

For the ganache:

  • 450g dark chocolate
  • 200g unsalted butter

For the topping:

  • Grated dark chocolate
  • Ready to roll green icing

1. Begin by preheating the oven to 180 degrees. Cream the butter and sugar together. Add the eggs and combine. Fold in the flour and baking powder until fully mixed.

IMG_7947

2. Line a baking sheet. Take a quarter of the mixture and scoop into a separate bowl. Add the orange food colouring and stir until the mixture is bright orange.

IMG_7950

3. Spoon onto the baking tray and smooth using a palette knife. Cook for approximately 8-10 minutes or until done. Leave to cool.

IMG_7977

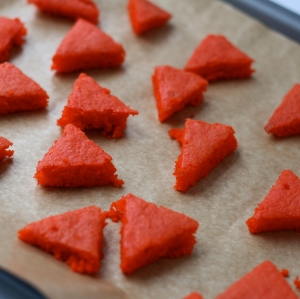
4. Once cooled, cut into triangles so they resemble carrots. They need to be the length of the cupcake case, and you need two per cake. Place on a lined baking tray and pop in the freezer to harden a little.

carrot carrot

5. Add the cocoa powder to the remaining cake mixture and mix until combined. Half fill the cupcake cases. Remove the carrots from the freezer and place two back to back in the centre of the cupcake. Cover the carrots with the remaining cake mixture. Place in oven for 20 minutes or until cooked. Transfer to wire cooking rack and leave to cool.

IMG_7981 IMG_7982

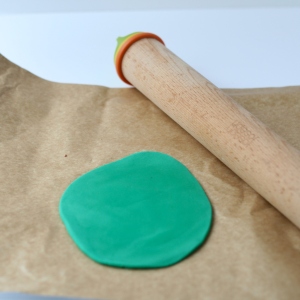
6. Whilst the cakes are cooling make the soil and leaves. For the soil, grate dark chocolate. For the leaves, roll the icing out to 0.5cm in thickness. Using a sharp knife, cut out leaf shapes and add small details onto the top of the leaves.

IMG_7988 carrot cake

7. Next, make the ganache. Melt chocolate then add butter and stir until melted. Once the ganache has cooled (but isn’t set) pour on top of the cakes.

IMG_8040

8. Sprinkle the grated chocolate on top so it resembles soil and arrange the leaves in the centre of the cake.

IMG_8045

These would also look great on your Easter table.

~ Laura xx ~

Kids Project: Duck Tape Pencil Case

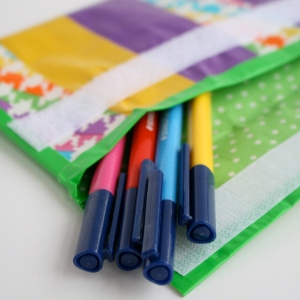
pencil case

It’s half-term. and we’ve teamed up with Hobbycraft to come up with crafts to keep your little (and slightly bigger) ones entertained this week. Our first project is this Duck Tape Pencil Case – it’s quick and fun to make. To see how to make it, hop on over to Hobbycraft where you’ll find our video tutorial.

duct tape pencil case

~ Laura & Tia xx ~

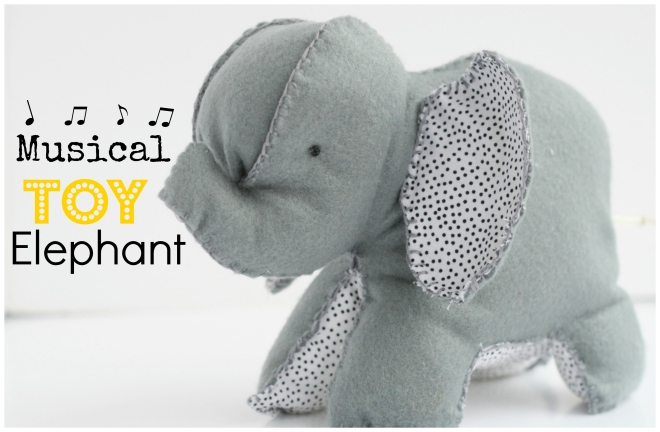
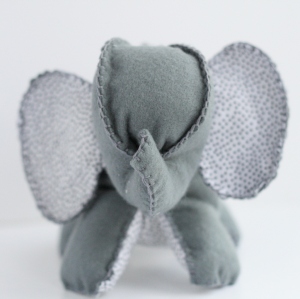
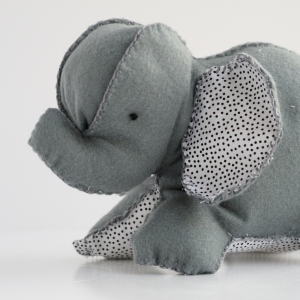
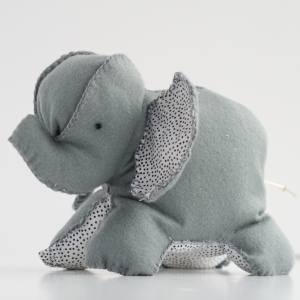
Musical Toy Elephant

elephant


I wanted to make something for the new arrival that might help him sleep (fingers crossed!). When Harper was a baby we had a toy with a musical box inside that seemed to work a treat. That toy became really tatty, so I decided to salvage the musical part of it and make a new one for the baby. This toy could alternatively be turned into a rattle if finding a musical box part is tricky.

For this project you will need:

  • 3 pieces light grey felt
  • Grey embroidery thread
  • Black embroidery thread
  • Material for elephant’s belly (approximately a 30cm square)
  • Toy stuffing
  • Musical box element, rattle or bells

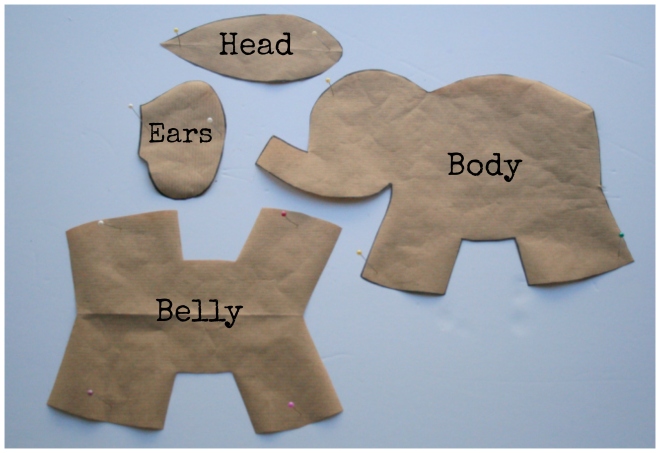
Musical Elephant Toy Template1. Cut out your elephant pieces by pinning your template to the fabric.  You need to cut the following:

  • Two elephant body pieces in light grey felt
  • One head piece in felt
  • One belly piece in your other fabric
  • Four ear pieces – 2 in felt and 2 in your other fabric

 musical elephant toy DIY

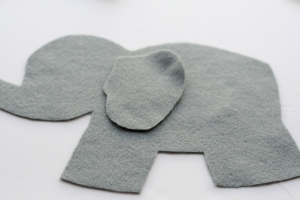
2. Next, pin your body pieces together and blanket stitch from the back around towards the head.

3. Before sewing the head, pin in the head piece and blanket stitch in place. Sew around the trunk back to the neck.

musical elephant toy DIY

4. For the belly, line up and pin your other fabric piece to your legs and attach using blanket stitch. Sew the front two legs and tummy part only at this point so there is a gap to add the toy stuffing.

musical elephant toy DIY

musical elephant toy DIYmusical elephant toy DIY

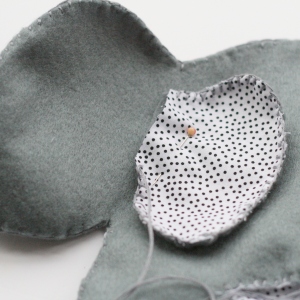
5. Next, pin your ears together. You need one fabric piece on top of one felt piece for each ear. Blanket stitch around the edge of each ear and attach to the head using blanket stitch.

musical elephant toy DIY musical elephant toy DIY

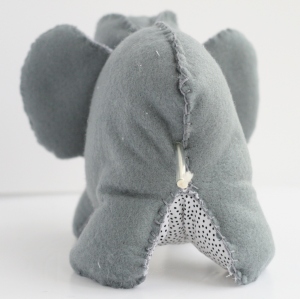
6. Stuff the front of your elephant so he is nice and plump. Then insert your music box and pull the cord through the back of the elephant to become his tail. You want to make sure that you have lots of stuffing around the music box so the elephant is still nice and cuddly.

musical elephant toy DIY  musical elephant toy DIY

7. Once you have stuffed the elephant fully, close up the gap in the legs and belly using blanket stitch again.

musical elephant toy DIY

8. Finally, using black thread, embroider on the eyes using French knots.

musical elephant toy DIY musical elephant toy DIY

~ Laura xx ~

Geometric Baby Quilt

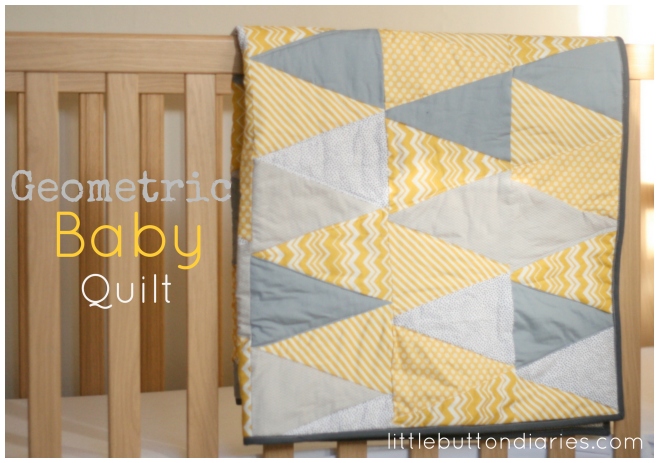
geometric baby quilt tutorial

When I was pregnant, I decided I’d make a quilt for my new Little Button. As I’d never attempted a quilt on this scale before I took to the Internet for help. I knew I wanted to do something modern and gender-neutral and this tutorial was exactly what I had in mind.

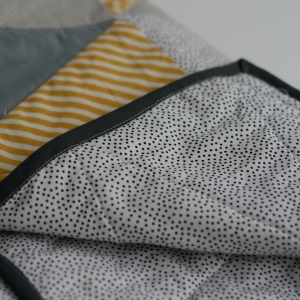
I opted for greys and yellows with a black and white polka dot backing because babies love high-contrast fabrics.

For this project you will need:

  • 1/2 metre of 6 different fabrics for the triangles
  • 1 ½ metres of backing fabric
  • 1 ½ metres of wadding
  • 1 ½ metres of bias binding

newborn quilt tutorial

1. Begin by cutting out your triangle pieces using this template. For each of your six fabrics, cut 19 triangles (allowing for a ¼ inch seam). Cut one of the triangles for each fabric in half vertically to fit on the ends of each row.

IMG_2283-001

2. Sew your triangles together using this template (scroll down to see pattern) and press all the seams out.

newborn baby quilt diy newborn quilt DIY

3. Sew your long strips together from top to bottom and press the seams out again. You want to try to line up your triangles but if your quilt turns out anything like mine it might not quite happen that way!

IMG_2287-001

4. Cut your backing fabric and wadding slightly bigger than your front panel and sandwich your backing fabric, wadding and front panel together. Pin in place.

geometric quilt DIY5. Now it’s time to quilt. This takes a while to do and you need to be careful that the layers stay intact. Sew just slightly off from the triangle seam and quilt each triangle.

geometric newborn quilt diy geometric newborn quilt diy

6. Trim any excess backing fabric and wadding off using scissors. Add the binding. Sew onto the front, making sure you mitre the corners. I found this tutorial clear for learning how to seamlessly join up your binding. Once you’ve done that, slip stitch the binding onto the back of the quilt and you’re done.

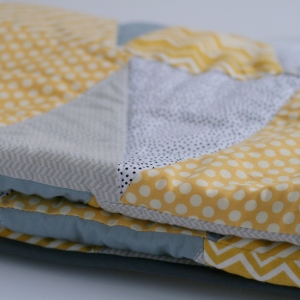
newborn quilt tutorial newborn quilt tutorial
newborn quilt tutorial

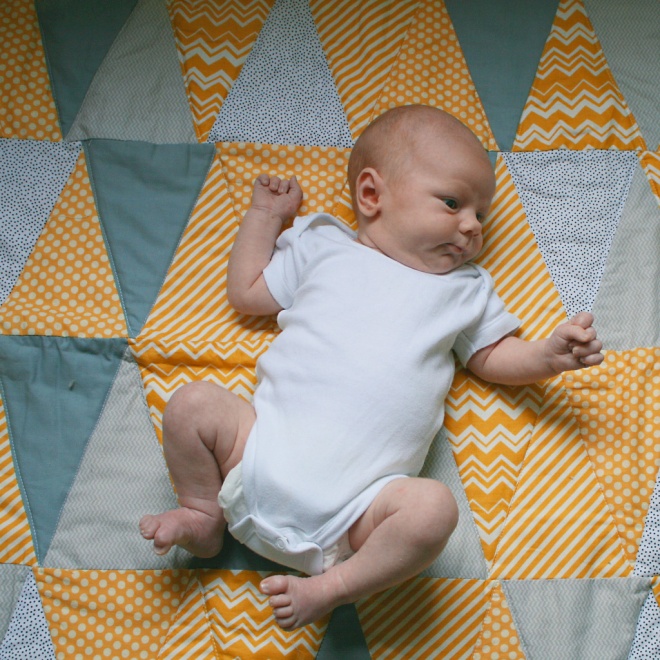
I found making this quilt stretched my sewing skills and it isn’t a beginners pattern despite what the original tutorial says. Hopefully it will be something my new Little Button will have for a long time and he won’t care about the slight wonky homemadeness of it!
newborn quilt newborn quilt

~ Laura xx ~

Toddler Wooden Picture Book

Toddler wooden word book

My Little Button is really into books and her vocabulary seems to be growing by the day. To help her learn, I made her her own wooden picture book full of all her favourite things right now. I took inspiration from here in the construction of the book and found once the wood was cut to size the assembling of the book was simple.

What you’ll need:

  • Twelve 5 x 5 inch plywood squares (4mm thick)
  • Sandpaper
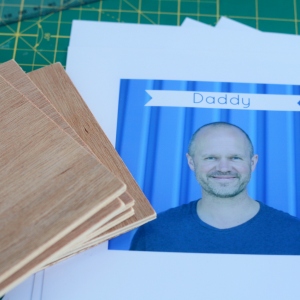
  • Photos printed on photo paper, to measure 5 x 5 inches
  • White duct tape
  • Permanent spray adhesive
  • Acrylic paint
  • Paintbrush
  • Craft knife

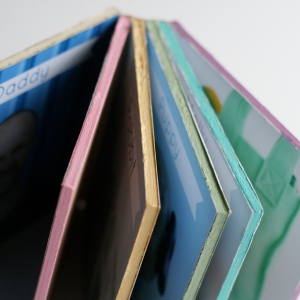
toddler board book DIY

1. Sand down your plywood squares so there are no rough edges. Before printing your photos, you may want to add text to the images. I used the free editing website picmonkey. Once you have your photos and board ready it’s time to assemble the book.

toddler board book DIY toddler board book DIY

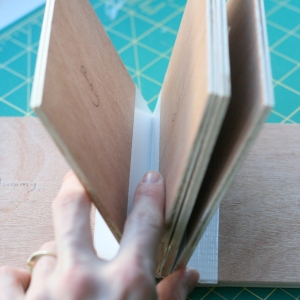
2. Using duct tape, tape each page together and trim any excess tape using a craft knife.

toddler board book DIY toddler board book DIY

3. Duct tape the spine to bind all the pages together.

toddler board book DIY toddler board book DIY

toddler board book DIY

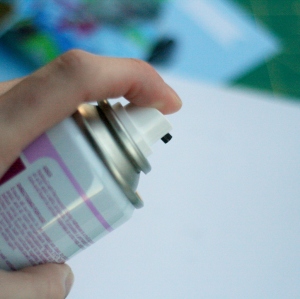
4. Using permanent spray adhesive, spray the back of each photo making sure you get into the edges. Leave the glue until it goes tacky (I left it about 30 seconds) and then place it onto your board. Wait for the glue to set before turning over to the next double page.

toddler board book DIY

5. Once the inside pages are dry, attach the front and back covers as above.

toddler board book DIY

6. Using a sharp craft knife, trim any excess paper off each of the boards. I then very gently used sandpaper on each of the edges to remove any excess glue.

toddler board book DIY toddler board book DIY

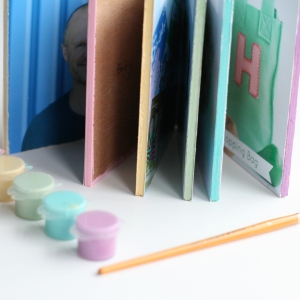
7. Paint the edges of the book (not the spine) using acrylic paint.

toddler board book DIY

I found this book very satisfying to make – and hopefully it will act as a great reminder of what my Little Button liked at this age. Best of all, she actually squealed when she saw herself on the front cover!
~ Laura xx ~

A little girl’s rucksack

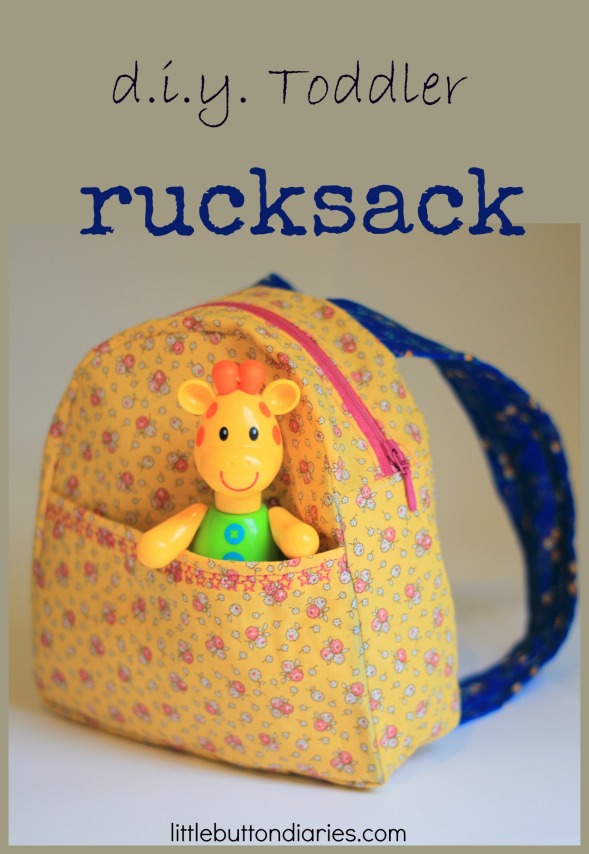
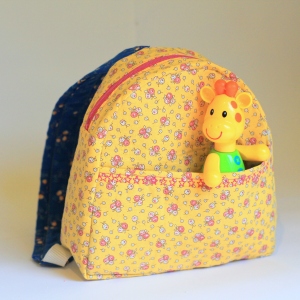
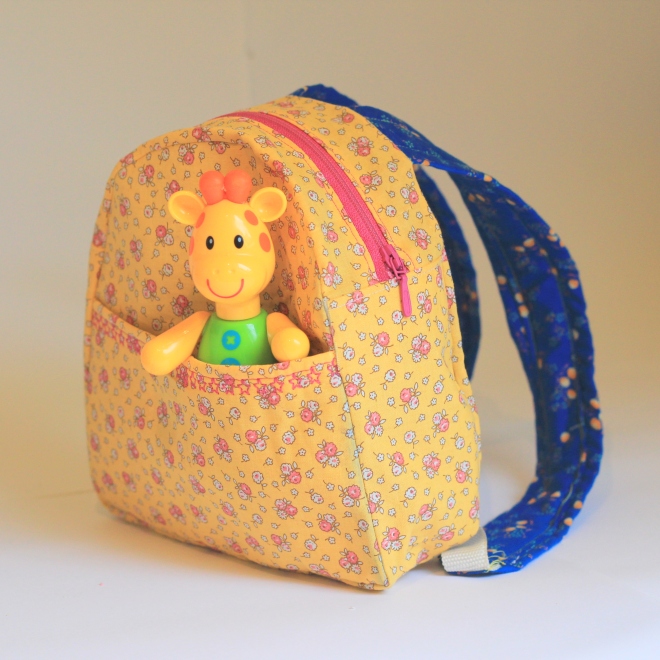
toddler rucksack tutorial little button diaries

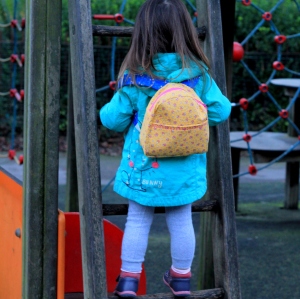
My little girl LOVES bags. And lip balm. And anything on the planet that is pink. How has this happened? I didn’t do it! We made some adorable strawberry bags in the spring and she loves hers, but she needs more space to stuff her “treasure” in, so I decided to make her a little rucksack that she can carry around.

I used 2 fat quarters of contrasting fabric and some thick fusible interfacing to make the bag. I wasn’t following a pattern so this is definitely not the “official” way to make a rucksack but I have outlined the process I took below. I guessed my way along but it did the job!

~ How its Made ~

1. I began by cutting 4 domes of fabric, 2 from lining and two from outer. I attached interfacing to the outer piece and then adhered the two together with bondaweb.

toddler rucksack little button diaries 8

2. To make a pocket, I sewed two rectangles of the contrasting fabrics together, pressed and sewed a fancy stitch along the top. This was sewn onto one of the dome pieces.

toddler rucksack little button diaries 6 toddler rucksack little button diaries 18

3.  I sewed a zip onto two strips of fabric, pressed and top stitched.

toddler rucksack little button diaries 13

4.  I sewed on strips of outer fabric (Strengthened with interfacing) onto each end of the zip piece to create one long strip that was equal to the circumference of the bag. I flipped this round and sewed equal sized lining strips on the other side of the zip to neaten the interior.

toddler rucksack little button diaries 14 toddler rucksack little button diaries 17

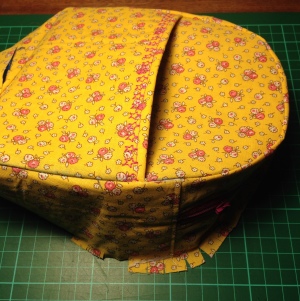
5. This strip was then pinned all along the edge of the pocketed side of the bag, right sides together. I sewed the two ends of the strip together.

toddler rucksack little button diaries 22 toddler rucksack little button diaries 23

 6. For the straps, I made two strips from lining fabric, strengthened with fusible fleece, and attached some canvas strap to each end. I pinned these onto the reverse of the bag.

toddler rucksack little button diaries 39 toddler rucksack little button diaries 41

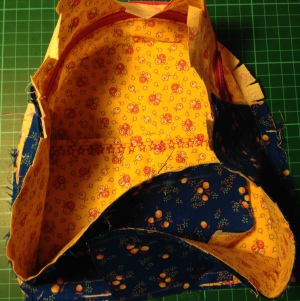
7. Tucking and pinning the straps out of the way in the middle, I then sewed the back of the bag on in the same way as the front (NB – it is important to open the zip before starting this in order to turn the bag the right way out!)

 toddler rucksack little button diaries 43

Then I turned the right way out voila – it actually looks like a rucksack!!

toddler rucksack little button diaries 47

We went straight to the park with the new bag and it promptly got filled (I mean, totally FILLED) with twigs and acorns and leaves and the odd lollipop stick. I sat and had a cup of tea whilst all this took place so already the bag is a big win!

Tia xx

 toddler rucksack little button diaries 26 toddler rucksack little button diaries 27toddler rucksack little button diaries 44

toddler rucksack little button diaries 45 toddler rucksack little button diaries 46

Our Second #CrafttheParcel Sprocket Quilt Square

Craft the parcel quilt square

A few weeks ago we took part in a craft challenge for new postal service, InPost. Along with a group of other bloggers we had to design and make a 12″ quilt square, sew it onto the last person’s square and pass the quilt onto the next blogger. The #CrafttheParcel challenge, as it’s called, is a fun way to meet new crafty bloggers and try out a new postal service.

For our first square we decided to use applique to create a starry scene. We wanted to try something different for this square so choose to create a colourful sprocket effect rainbow square.

The postal service behind this challenge, Inpost, is an alternative way of sending packages through the use of a locker system. You pay for your parcel and book a courier online, then they deliver it to one of the lockers around the country for the recipient to collect.

When the quilt arrived one other blogger had created their masterpiece and it was over to me to add my colourful addition.

To make a sprocket square…

1.  Begin by cutting a paper triangle template that is 10 inches in height and 8 inches along the bottom.

IMG_3983

2.  Next, cut out 8 different colours of fabric adding 1cm seam allowance all the way round.

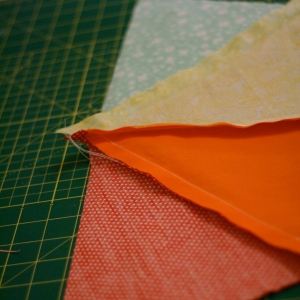
IMG_3987

3. Pin and sew together, in pairs, right sides together.

IMG_3996

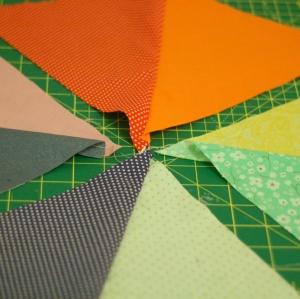
 4. Sew these pairs together to form two pieces each made of four triangles.

IMG_3992

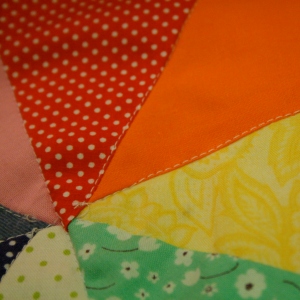
5. You’ll then have a nice straight edge to sew the two halves up. Pin, right sides together, and sew. Don’t worry if the centre is not completely lined up, that’s the beauty of putting a button on top of it!

IMG_3998

6. To turn our fabric into a 12″ quilt square we drew and cut a square slightly bigger (to allow for the seam) and cut it out.

IMG_4001

IMG_4009

6. Cut a piece of wadding 14 inches square. Pin to the front panel and sew along the lines from centre outwards to quilt it.

7. The final touch is to sew a button onto the middle.

The square was packaged up and sent with the rest to Michelle at the Purple Pumpkin Blog for the crafty challenge to continue!