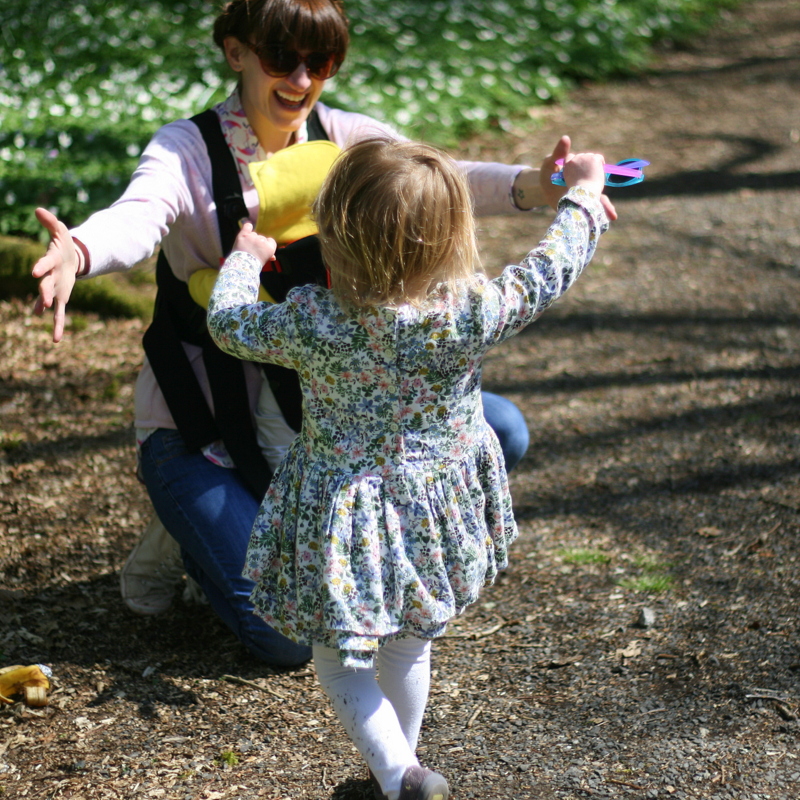
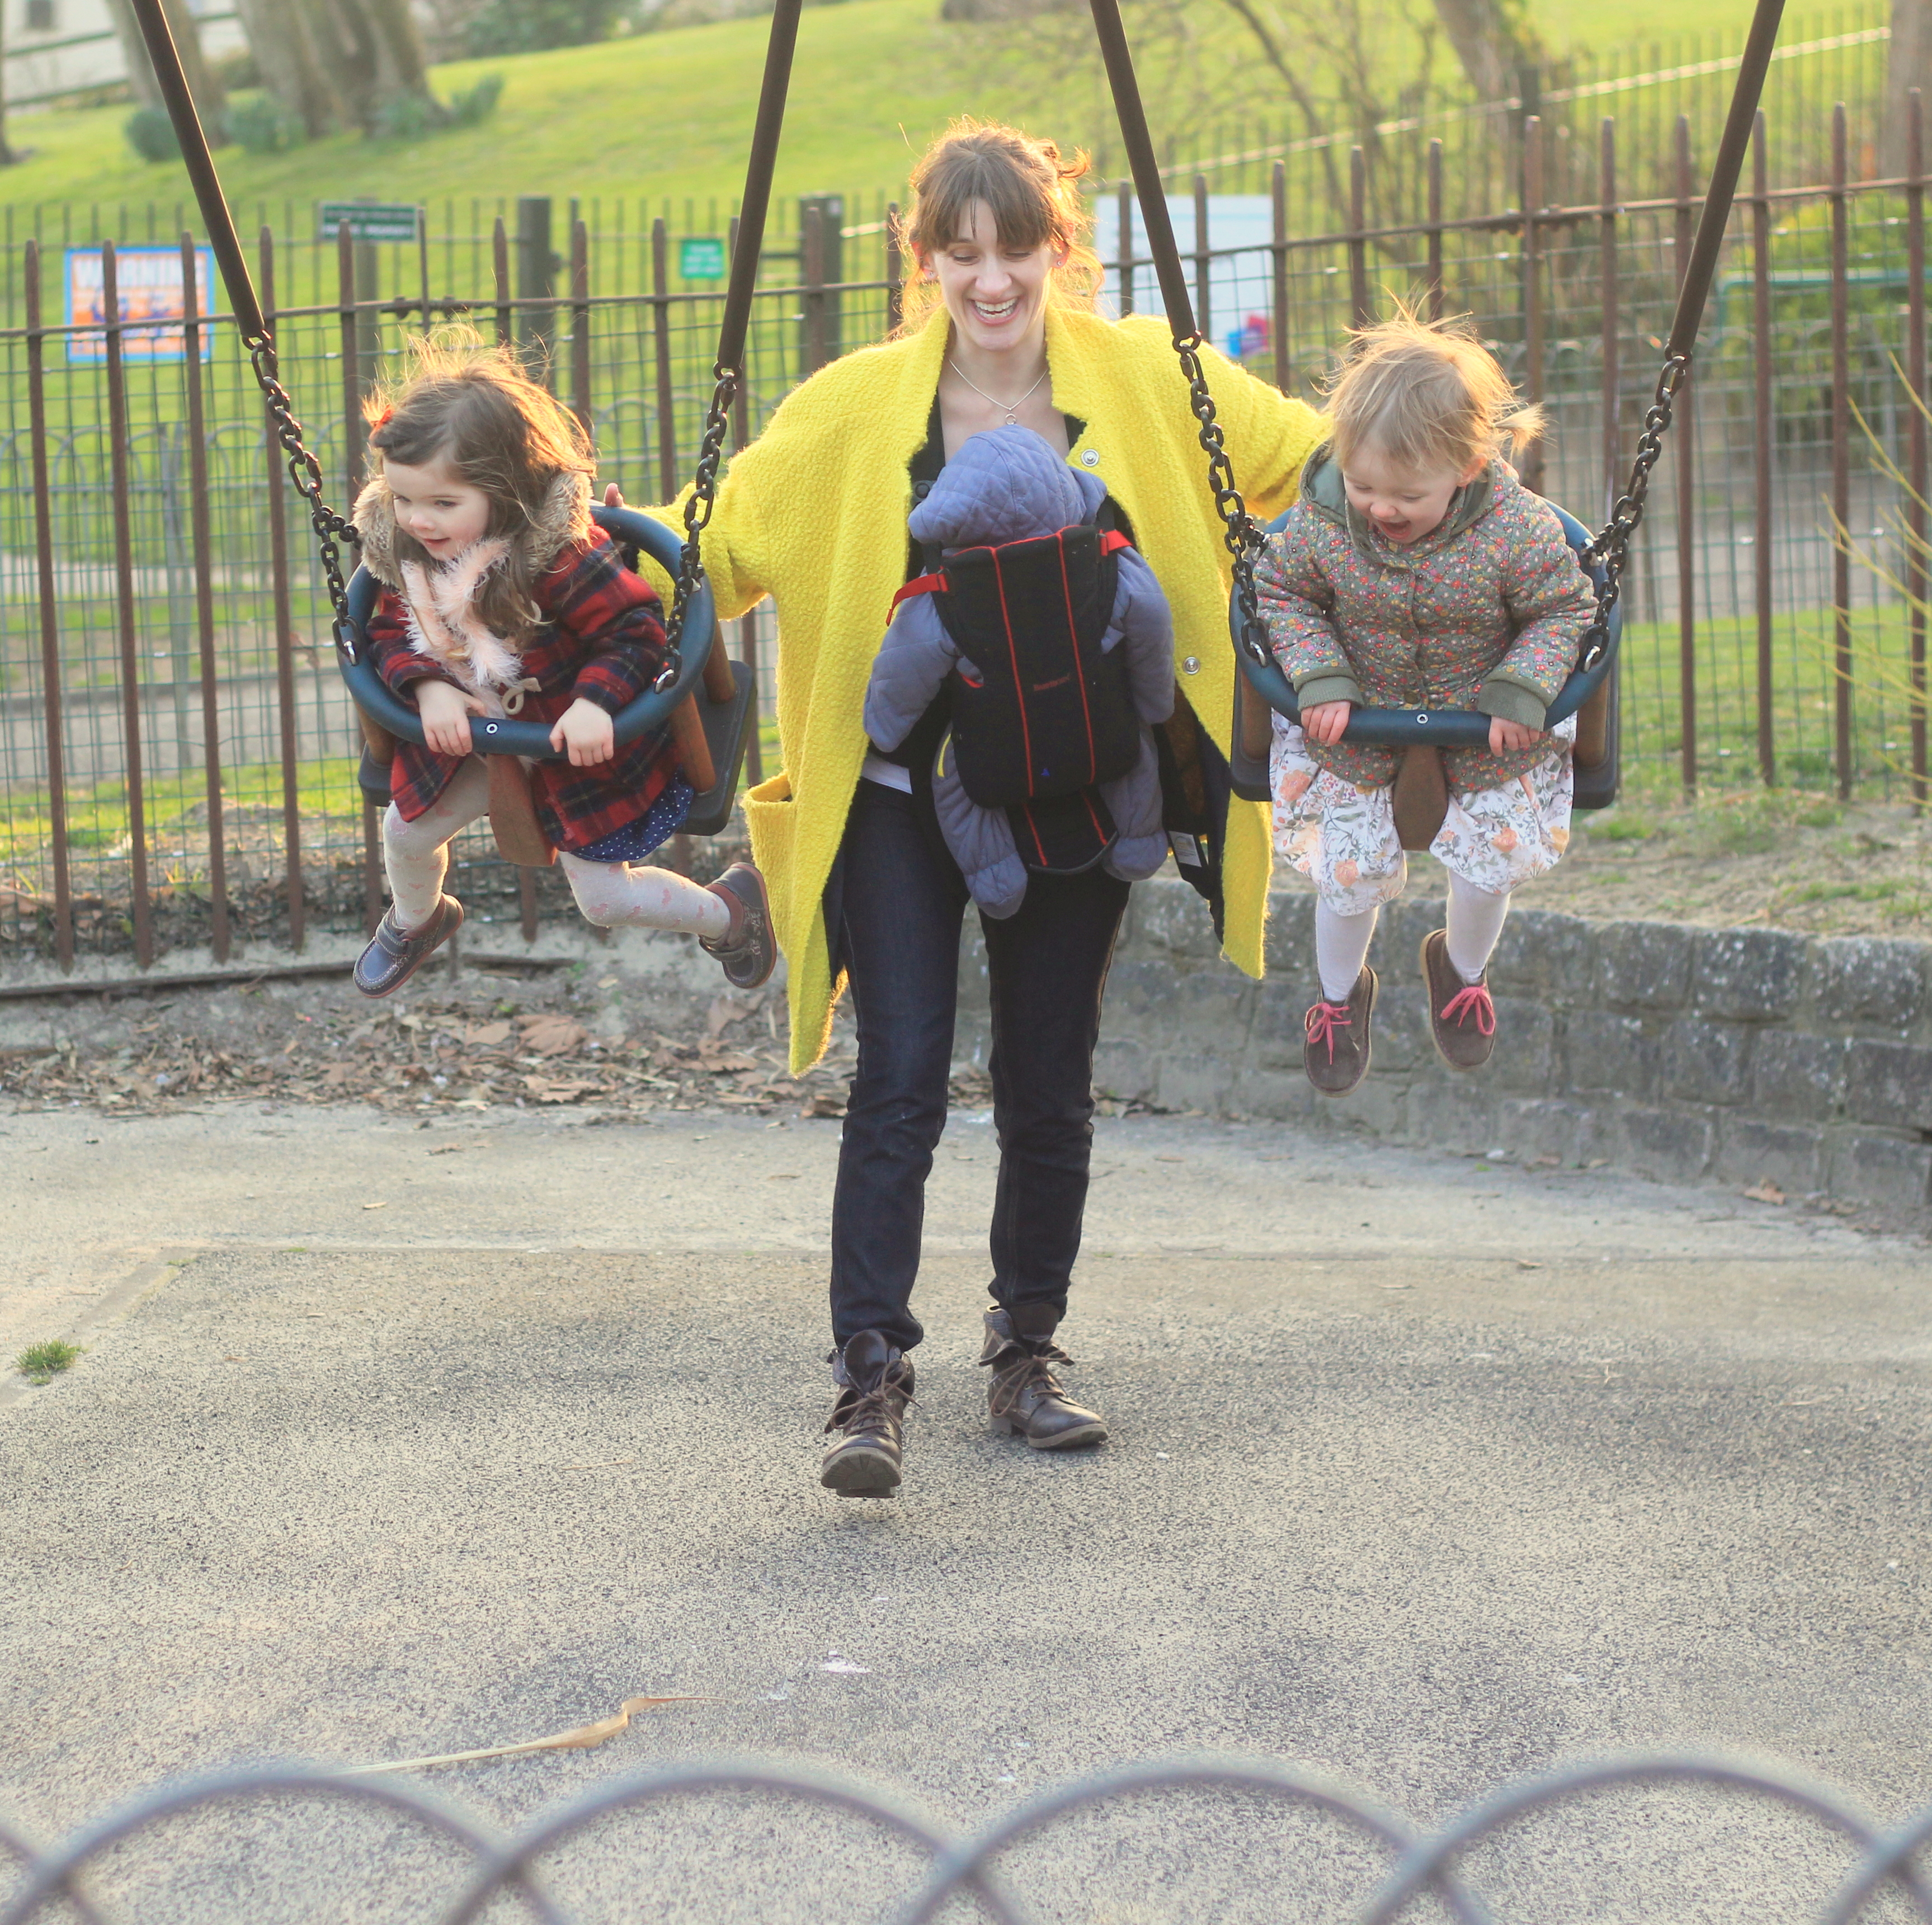
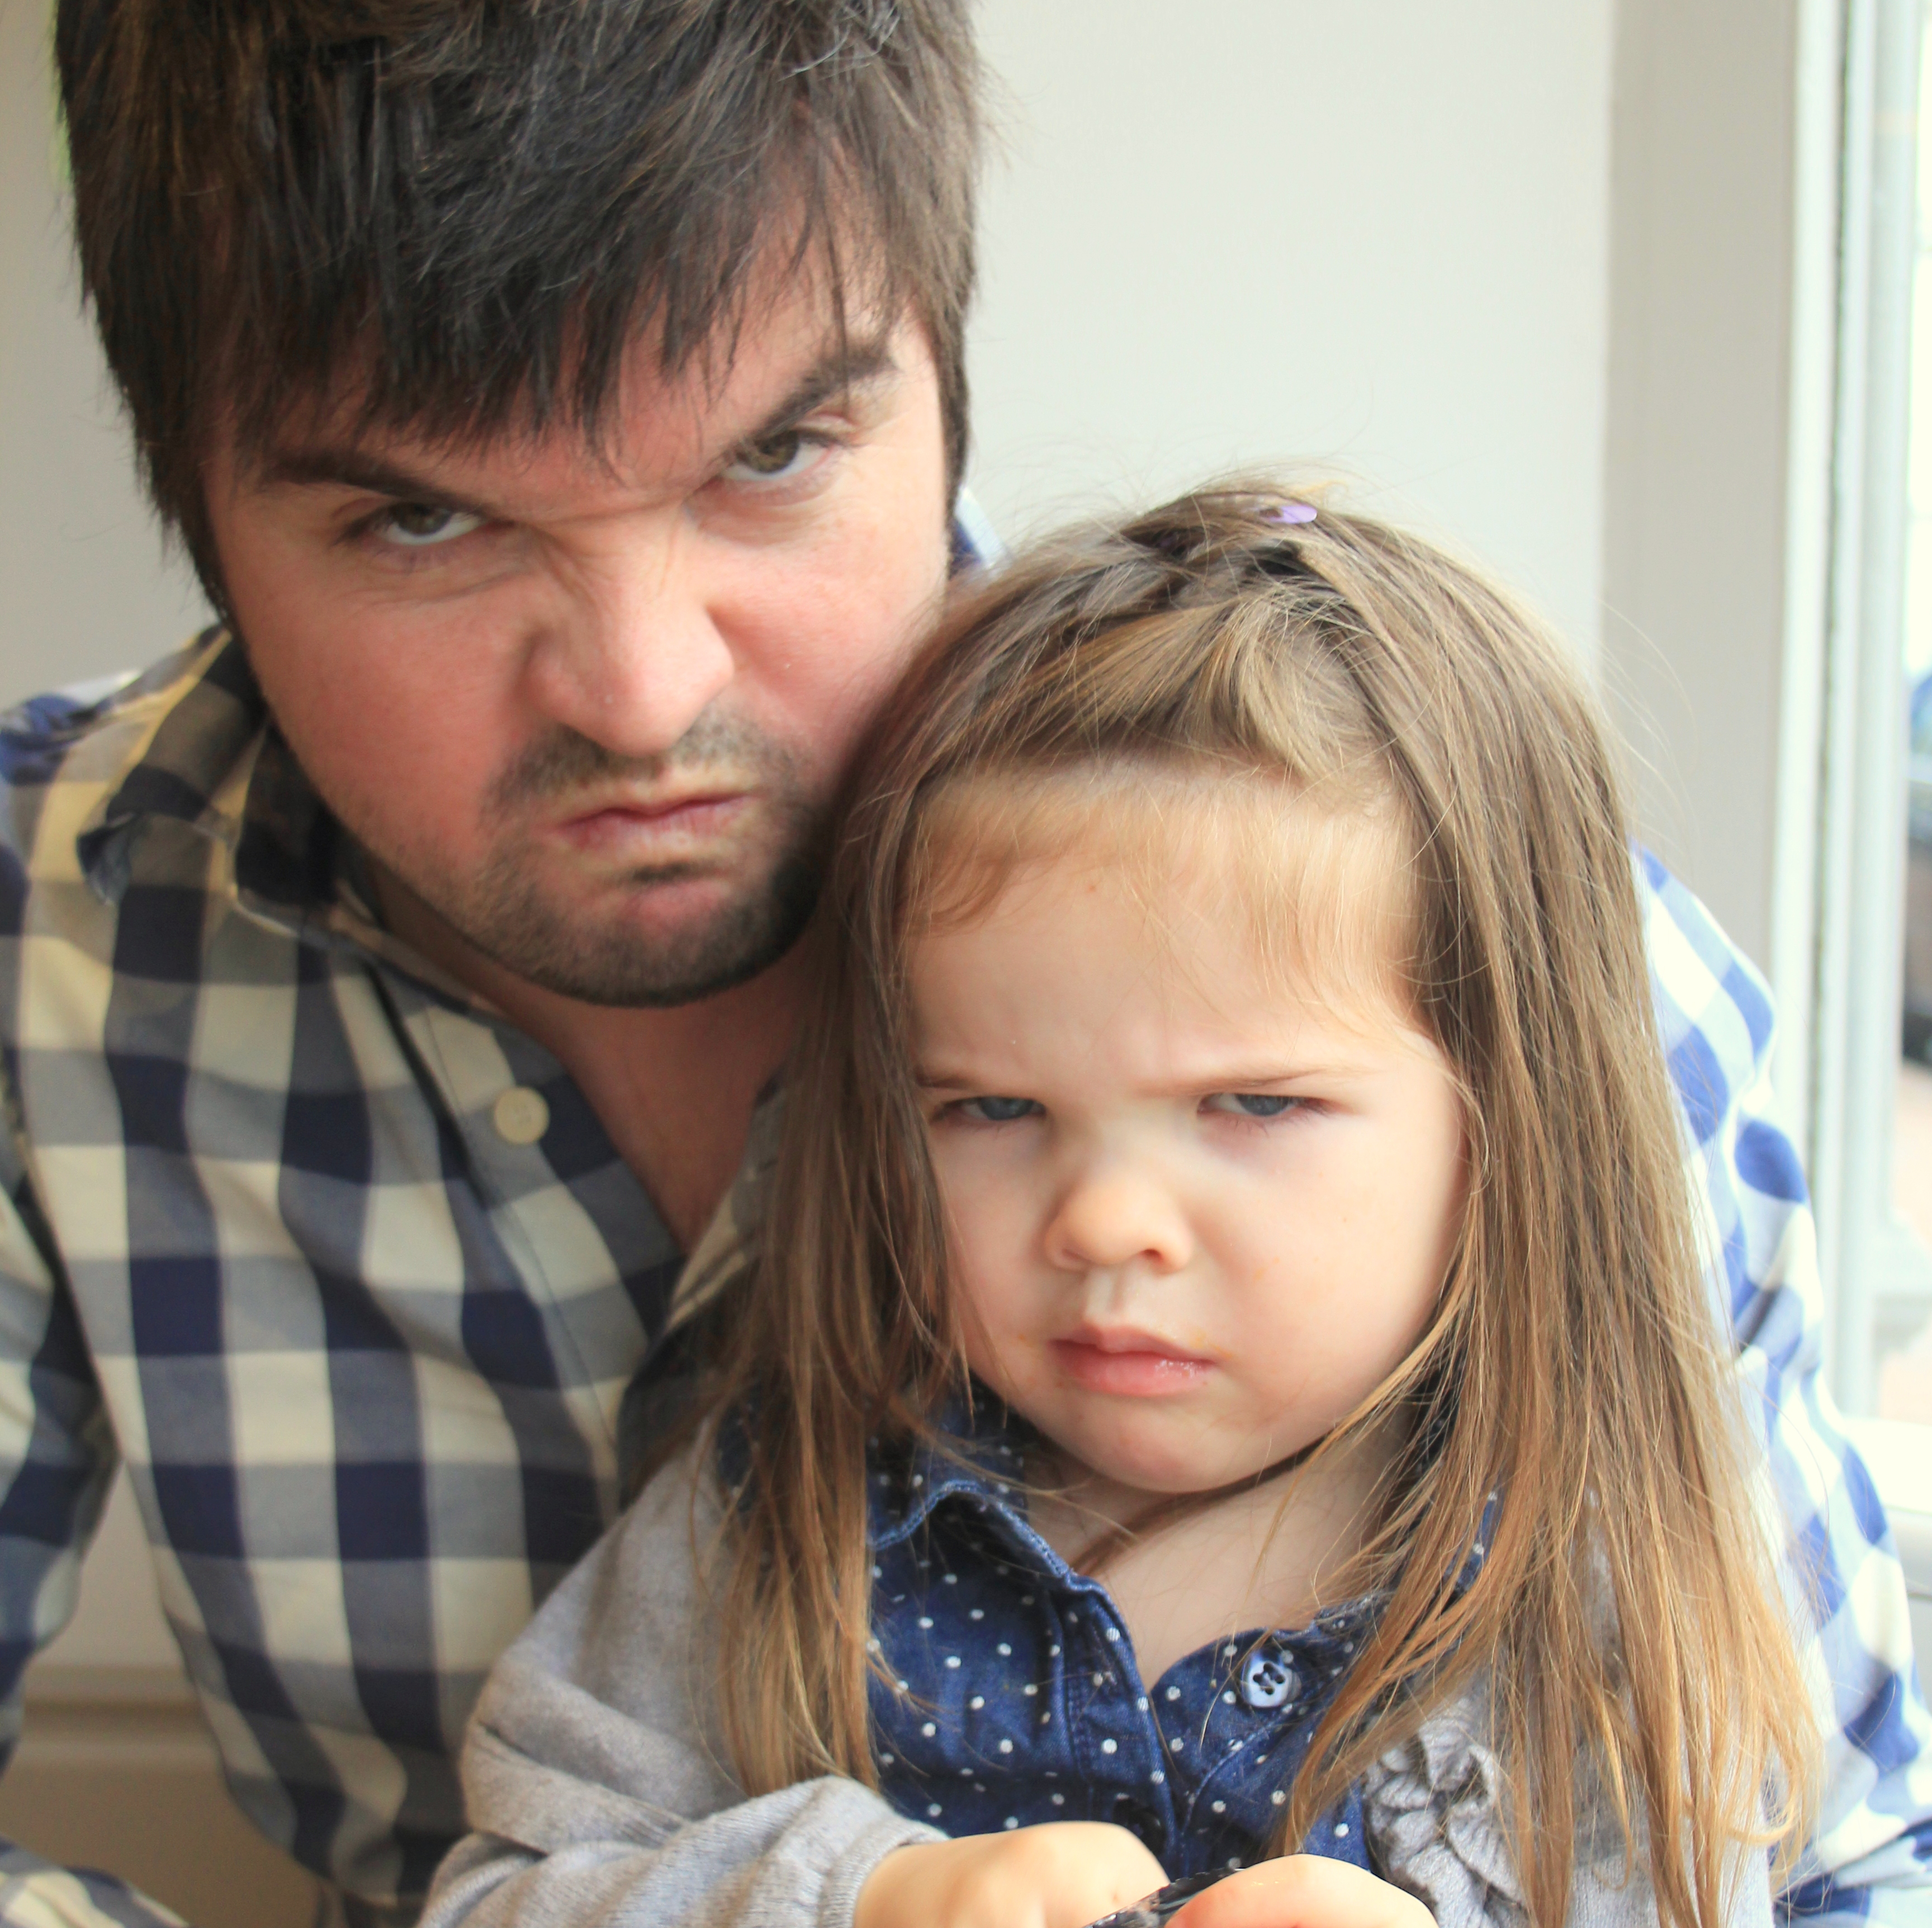
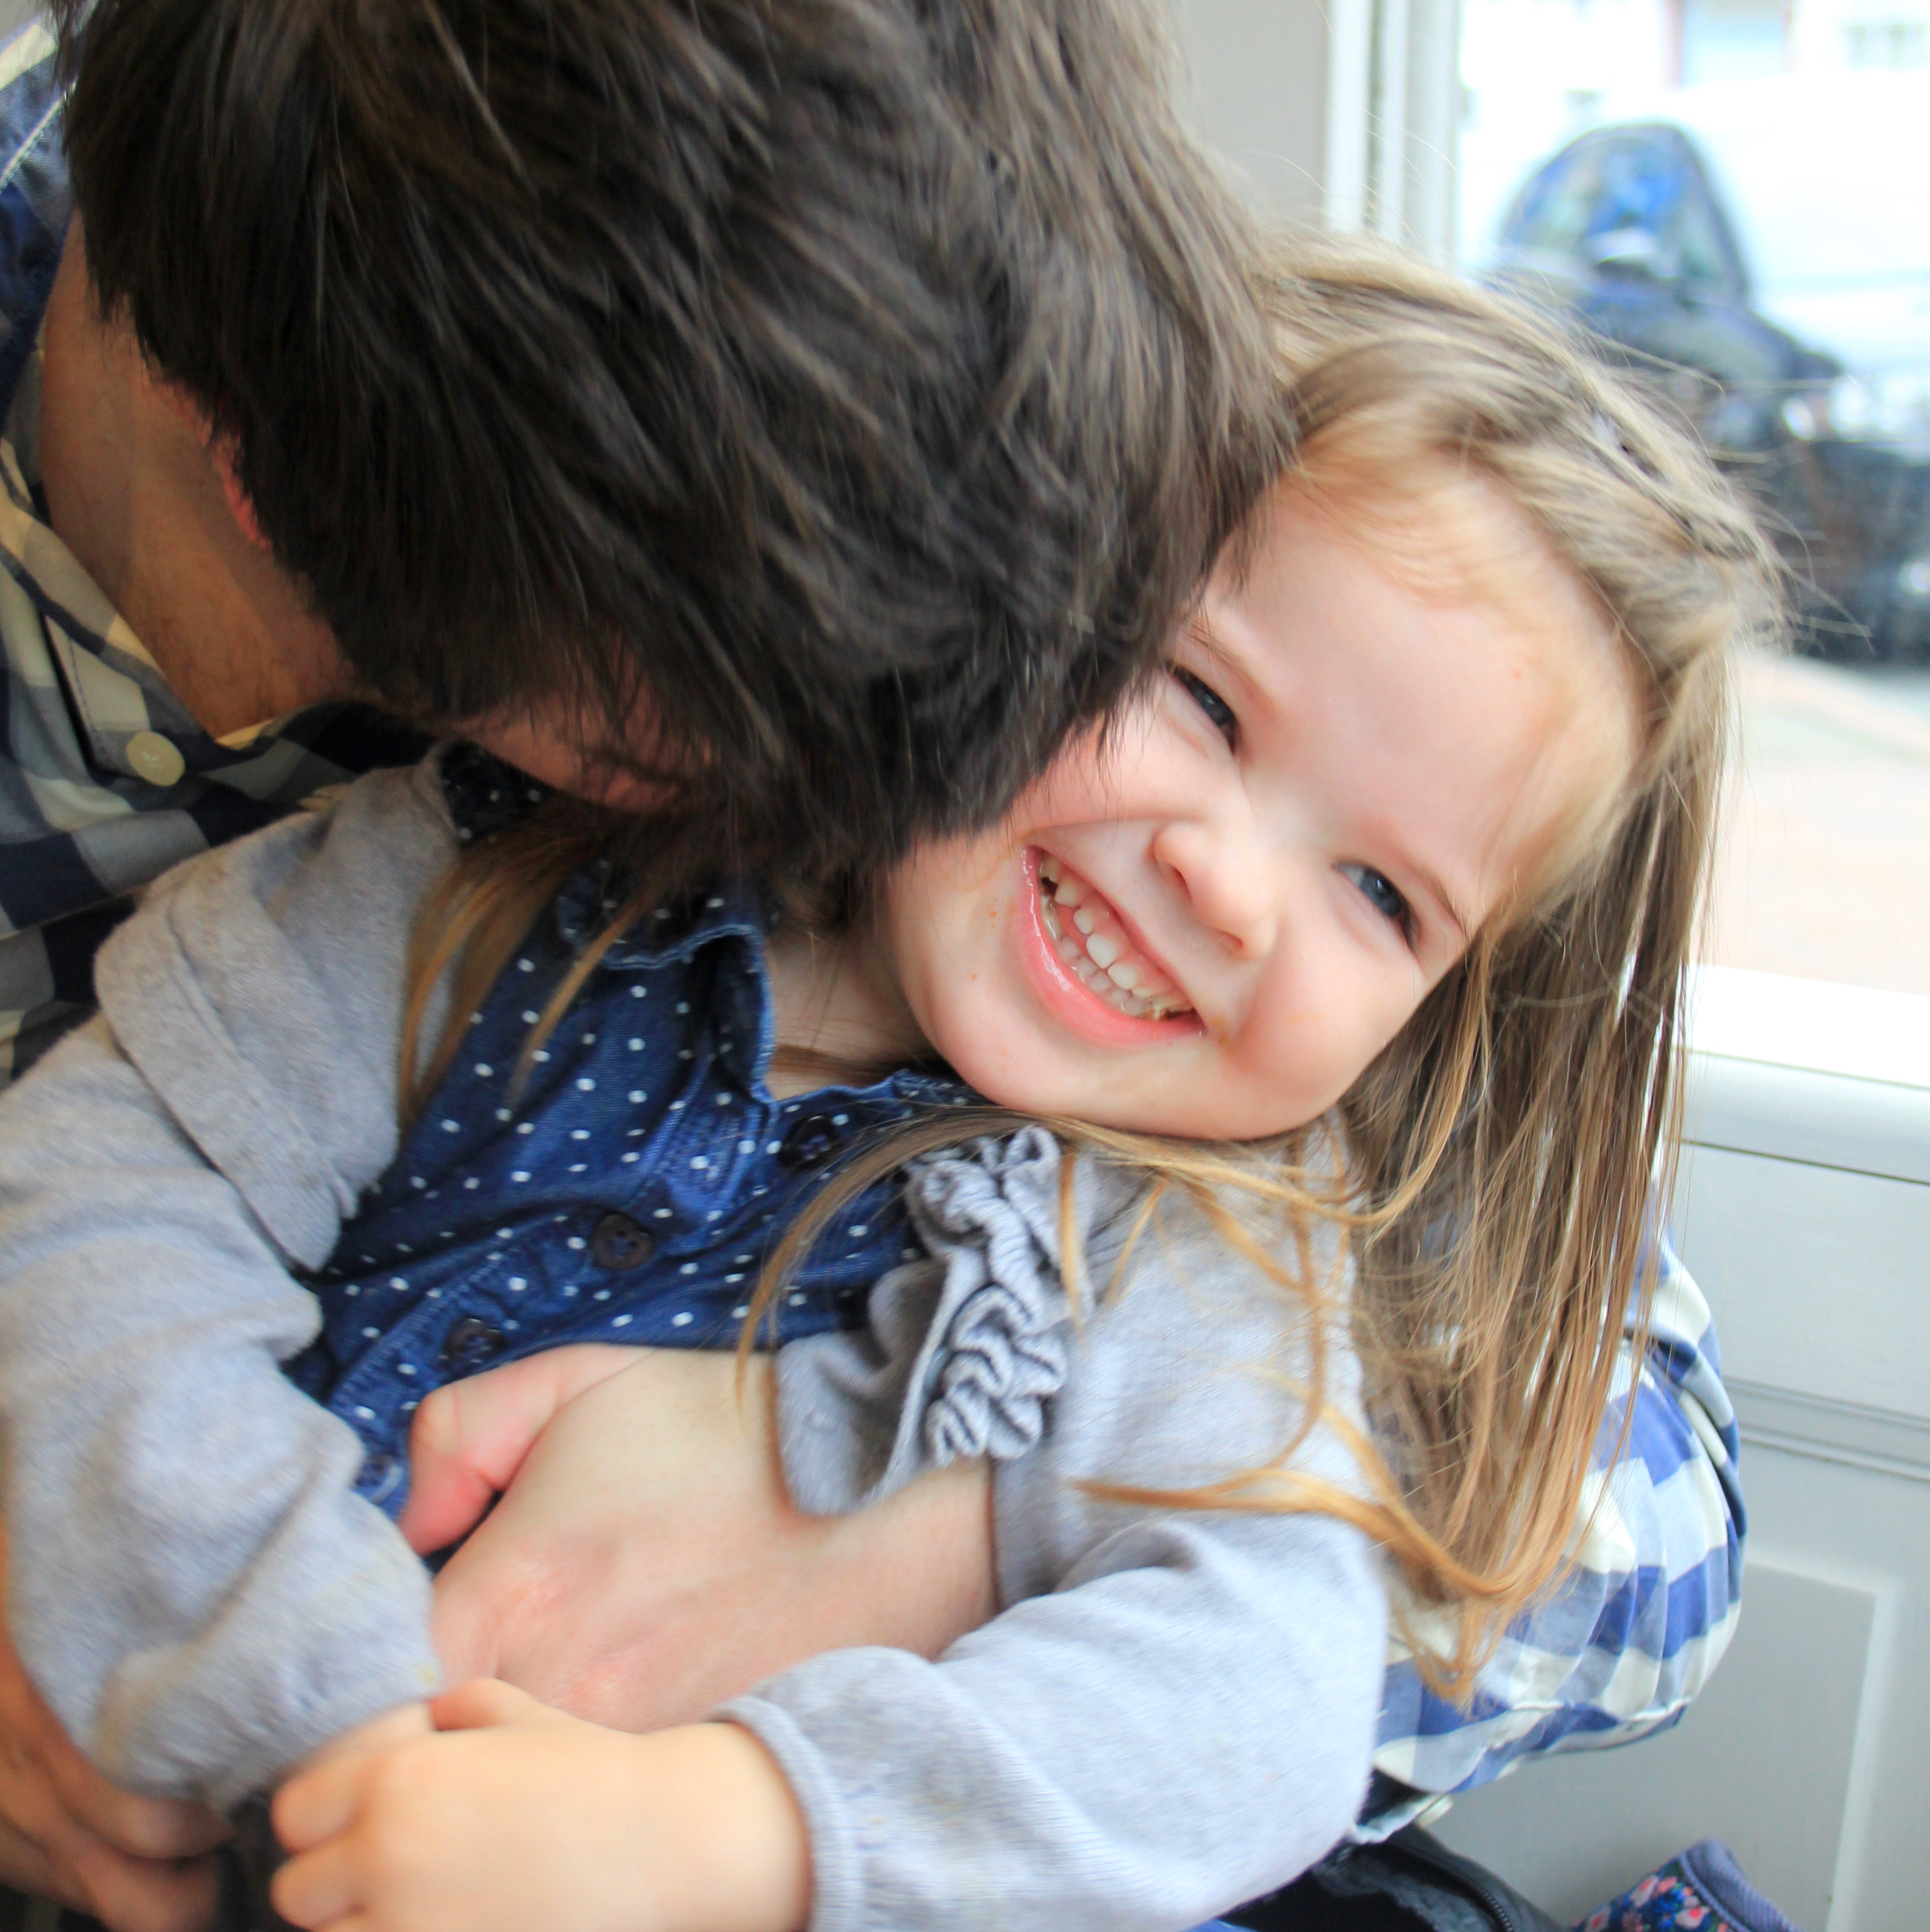
Life in Pictures is our weekly mini-gallery of what we have been up to over the past seven days. This week we’ve been enjoying getting out in the sunshine and playing in all the parks and gardens we could find. 


Life in Pictures is our weekly mini-gallery of what we have been up to over the past seven days. This week we’ve been enjoying getting out in the sunshine and playing in all the parks and gardens we could find.
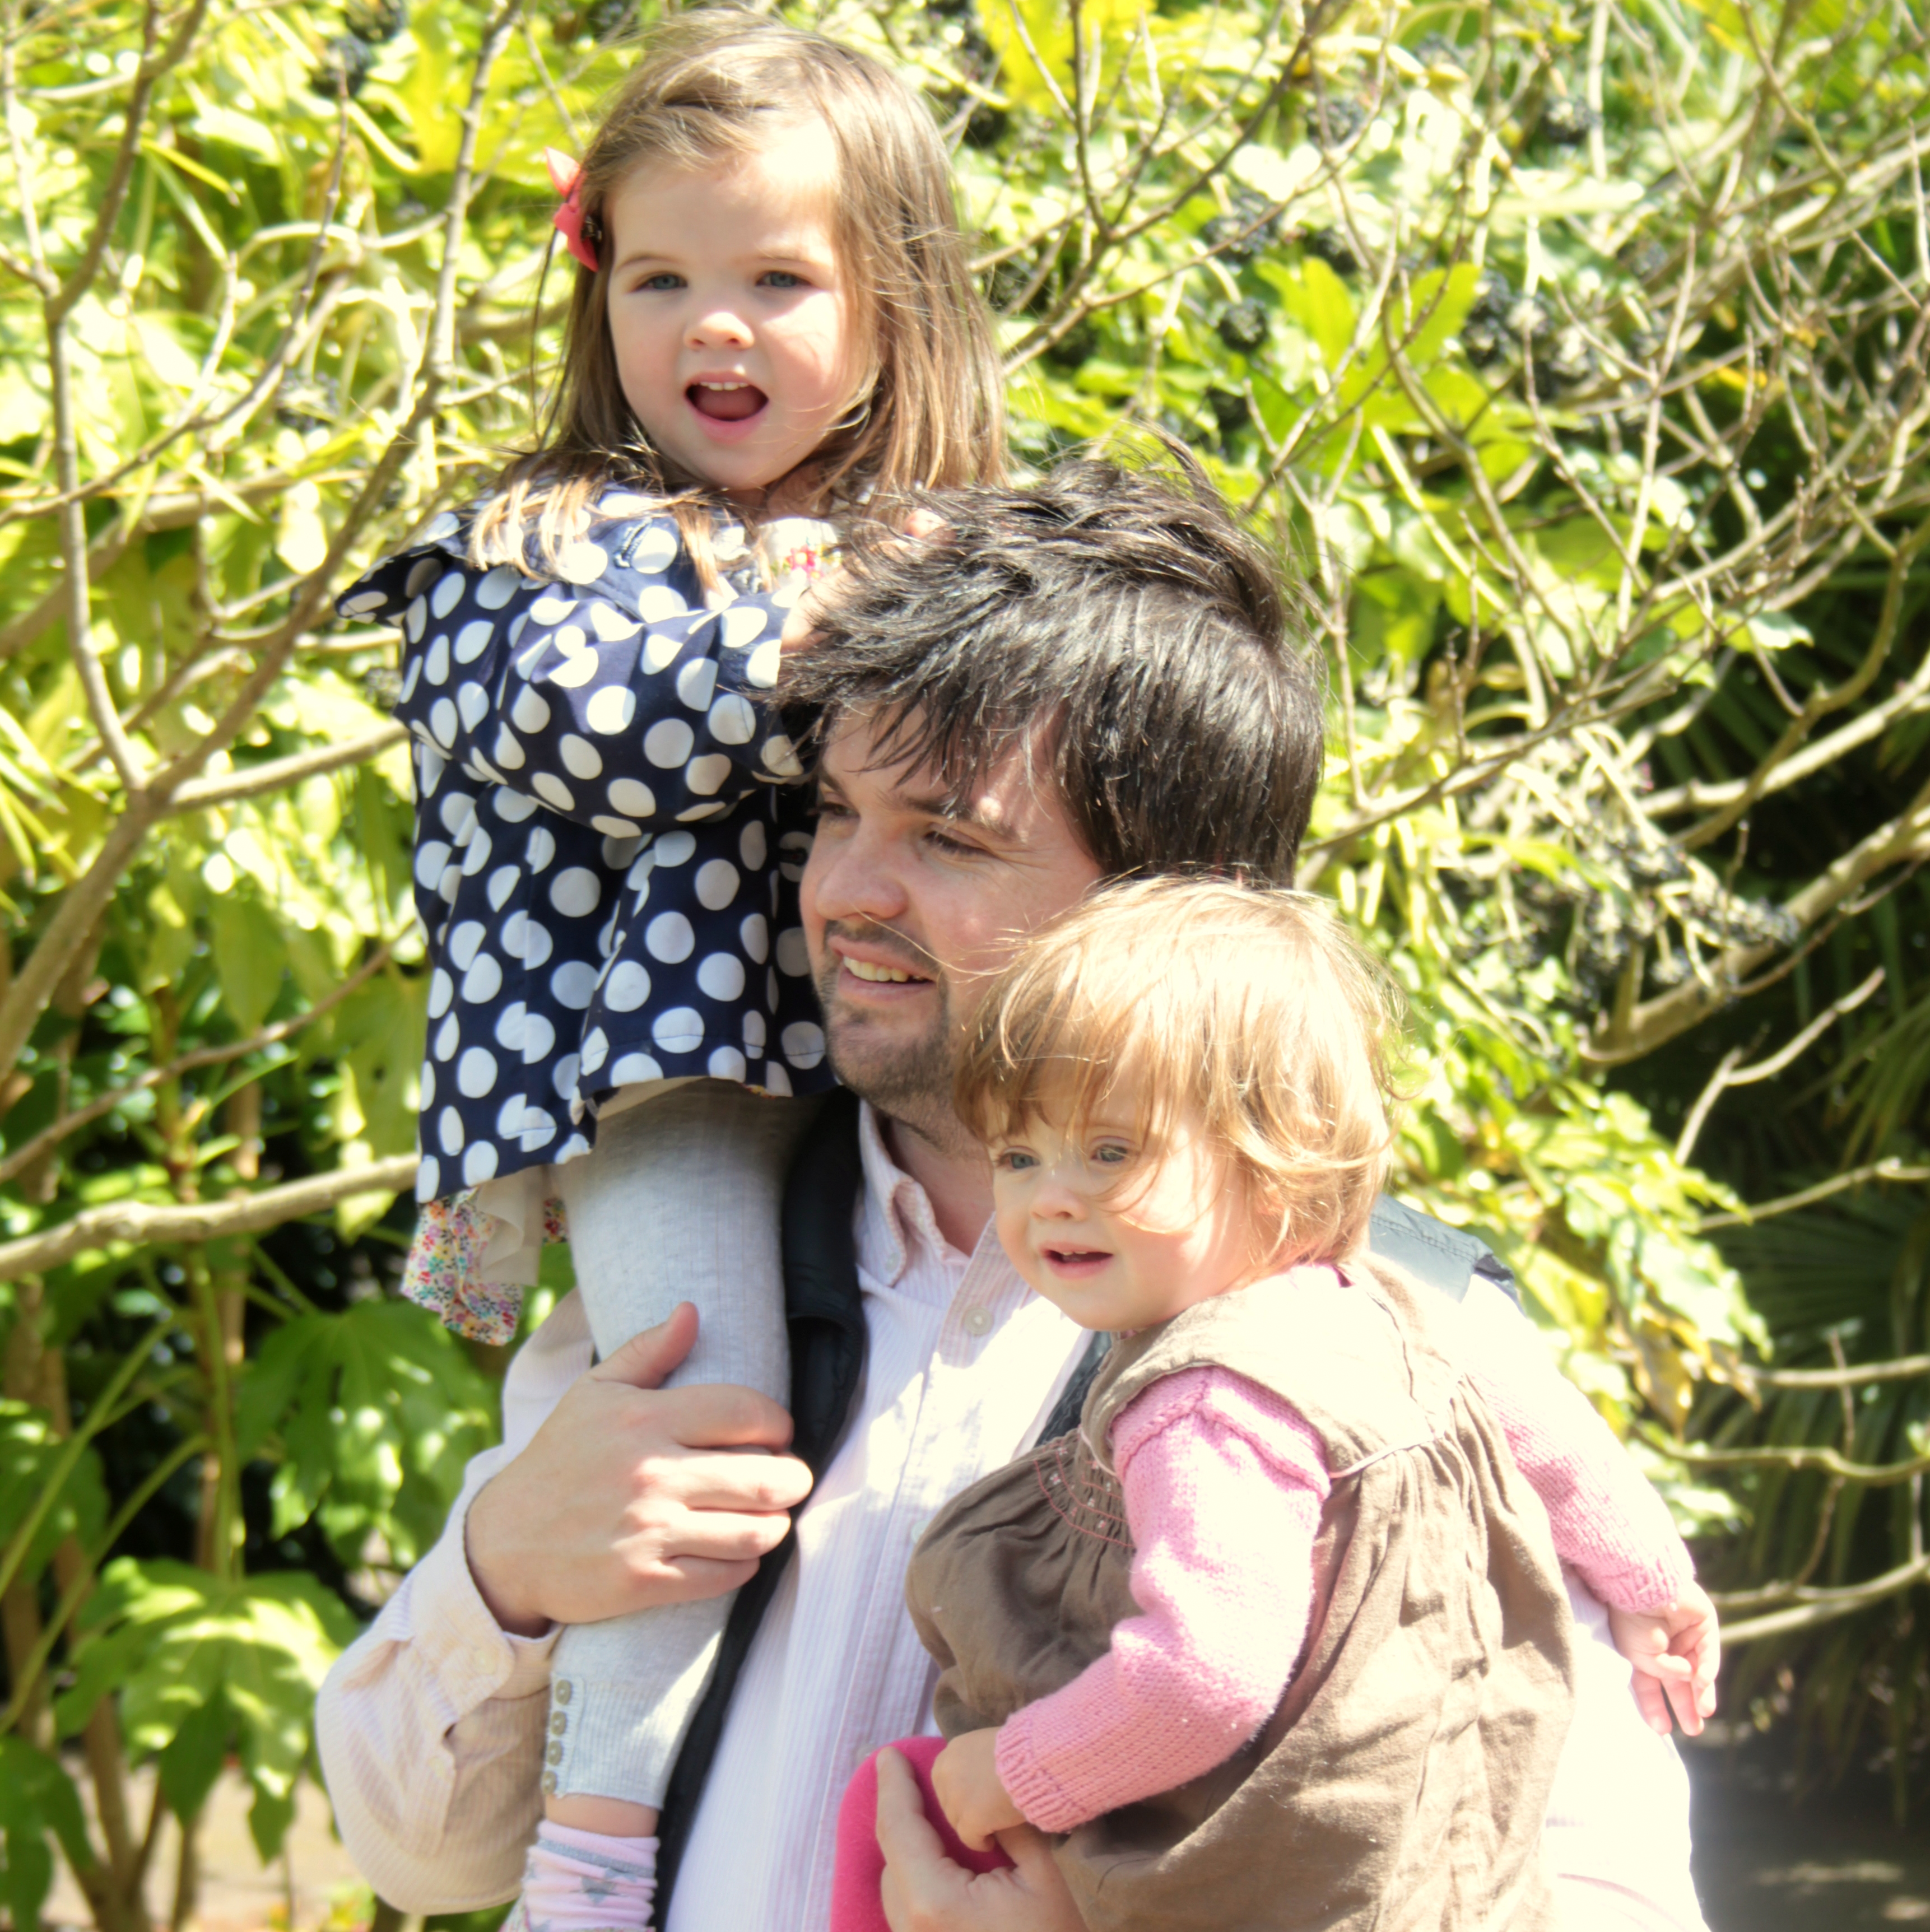
Life in Pictures is our weekly mini-gallery of what we have been up to over the past seven days. This week we’ve been hanging out with Grandparents, enjoying the lovely bluebells and making said Grandparents take pictures of us in them!


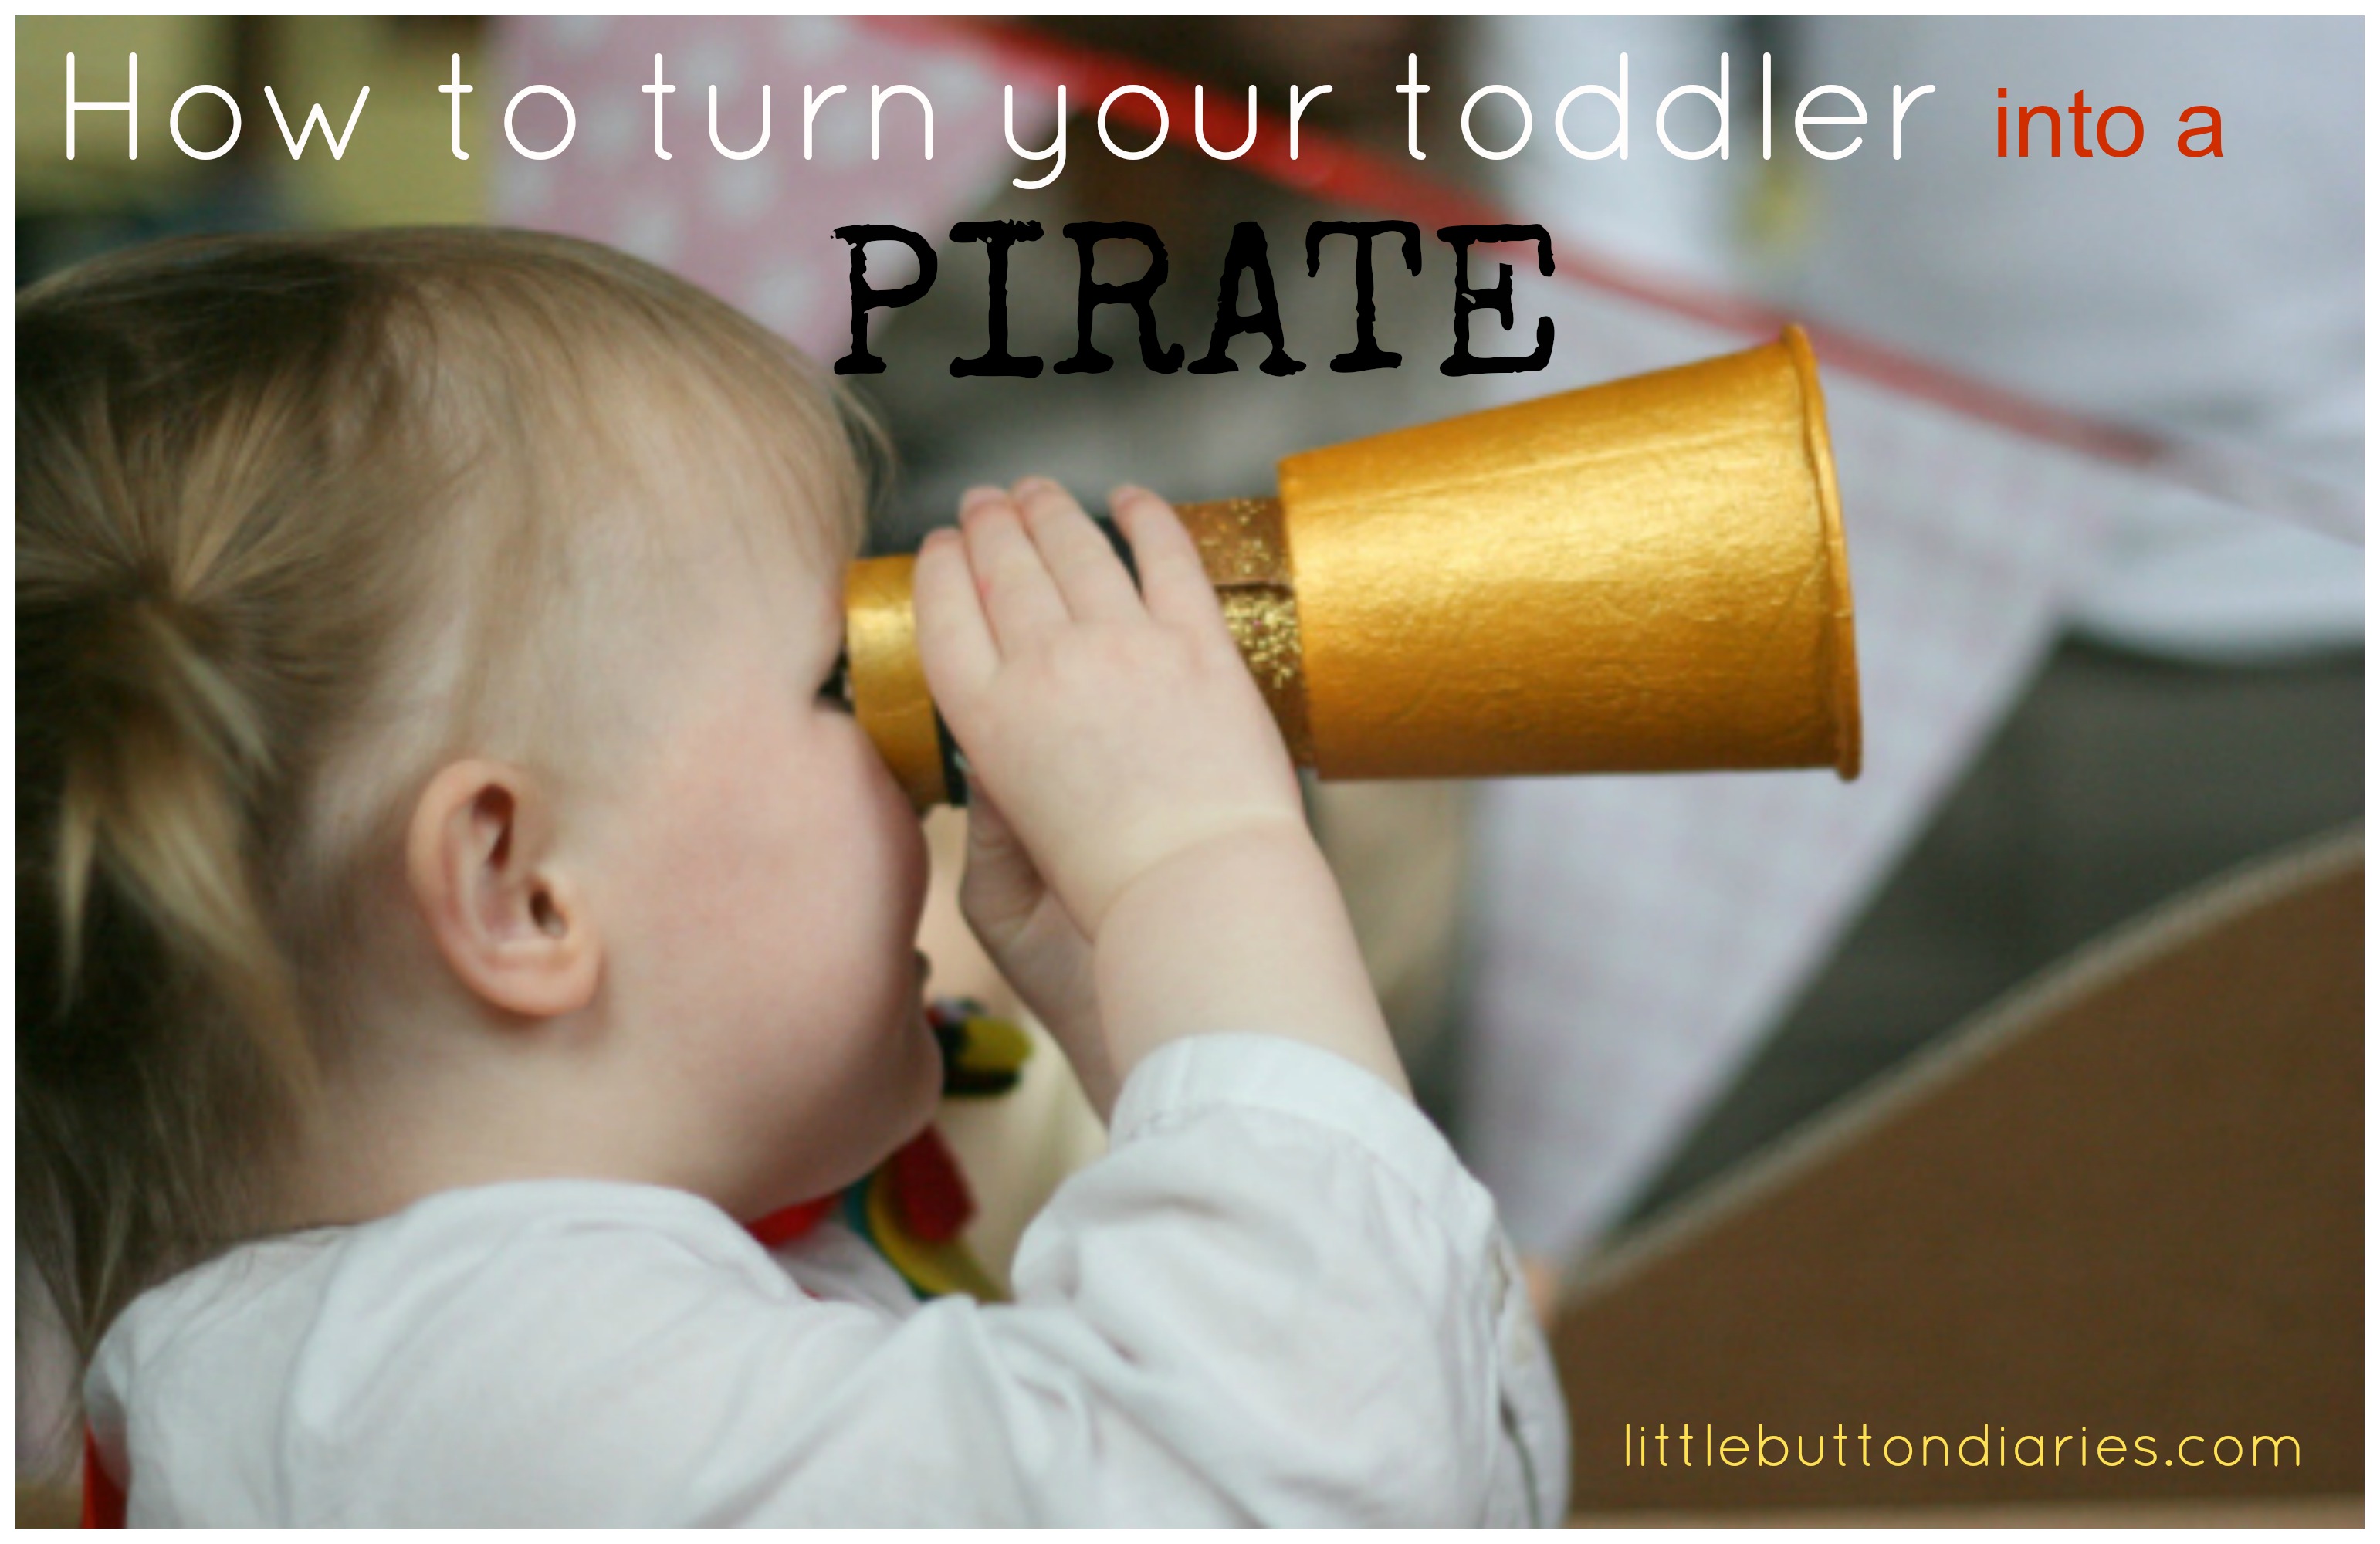
Arrrrrrrr! Coming up with costumes for parties can be tricky. We were invited to a pirate party at the weekend and instead of buying a costume I decided to make a few pirate accessories to transform my Little Button into a little scallywag. After grabbing a white top and black leggings from her wardrobe I added a length of stripy fabric around her middle, and made a felt parrot, cardboard telescope and duct tape pirate boots. For my Littlest Button I made some fabric parrot wings. Who’s a pretty boy then!
Felt Parrot
For this project you will need:
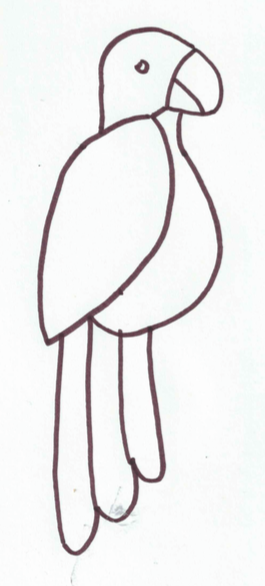
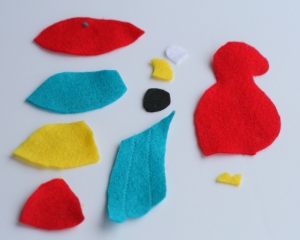 1. Begin by cutting out your pieces from the felt. You need two of each – one for each side of the parrot.

2. To make the wings cut one in red as per the template. Then cut another in blue, one third smaller, and trim the bottom and side with pinking shears. Repeat with yellow and red pieces as per the picture. Stitch or glue together at the top.
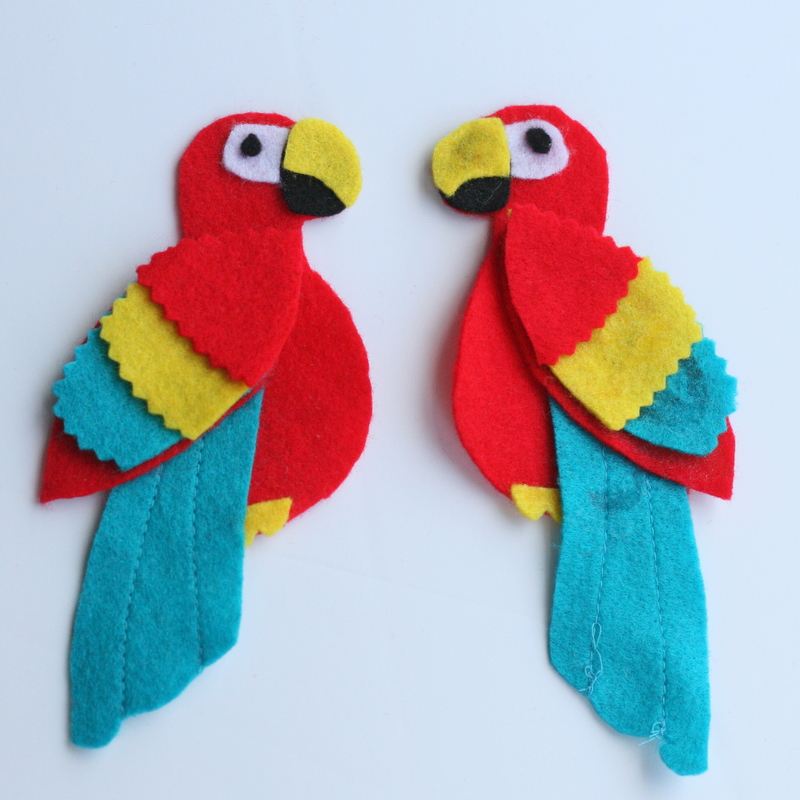 3. Glue your parrots together so they are mirror images of each other.


4. Cut a belly piece (as above) and sew the two body pieces together using blanket stitch.
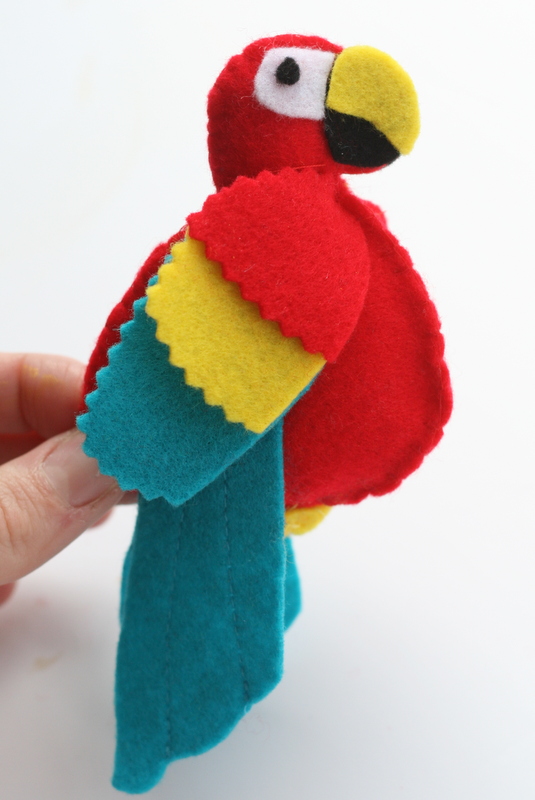


5. Use a safety pin or a few stitches to attach to the shoulder of a piratey looking top.
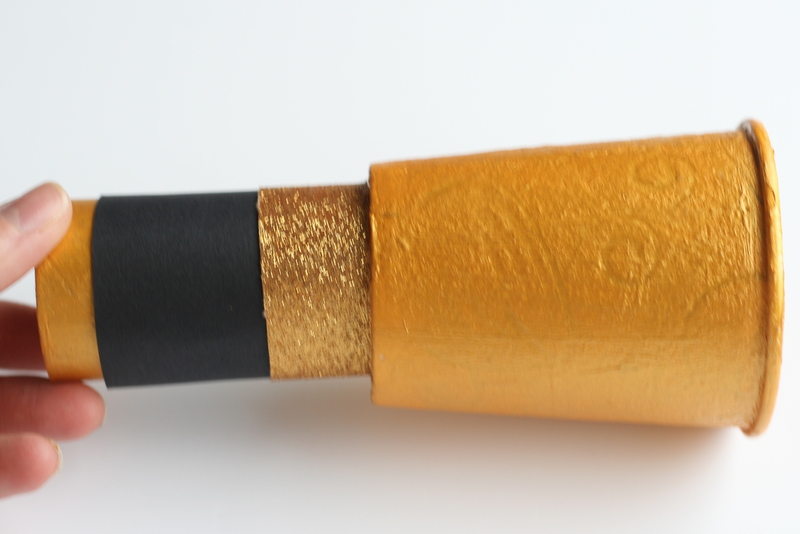
Cardboard Telescope
For this project you will need:


1. Draw around your cardboard tube on the base of your cup. Cut it out.

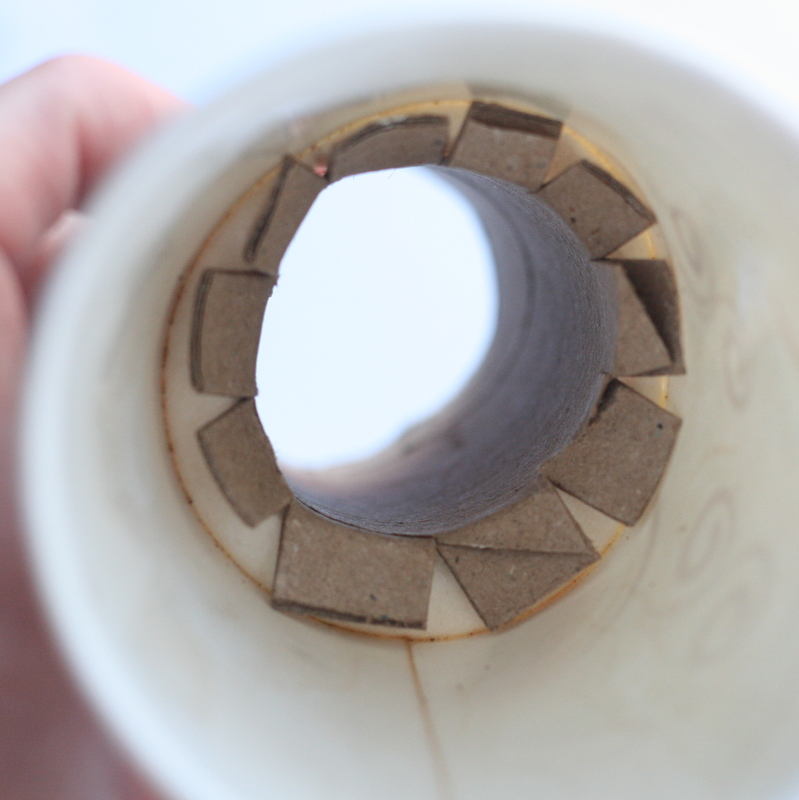
2. Make centimetre-long snips around the bottom of the tube. Push the tube into the hole in the bottom of the cup. Bend back the snips and secure with masking tape.
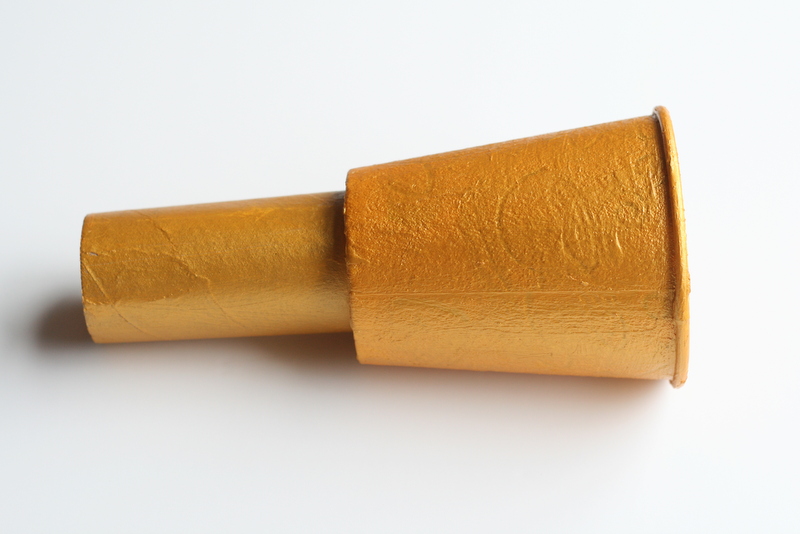
3.Paint your telescope gold by applying several coats.

4. Decorate with black and gold cards and pirate stickers.
Duct Tape Boots
For this project you will need:
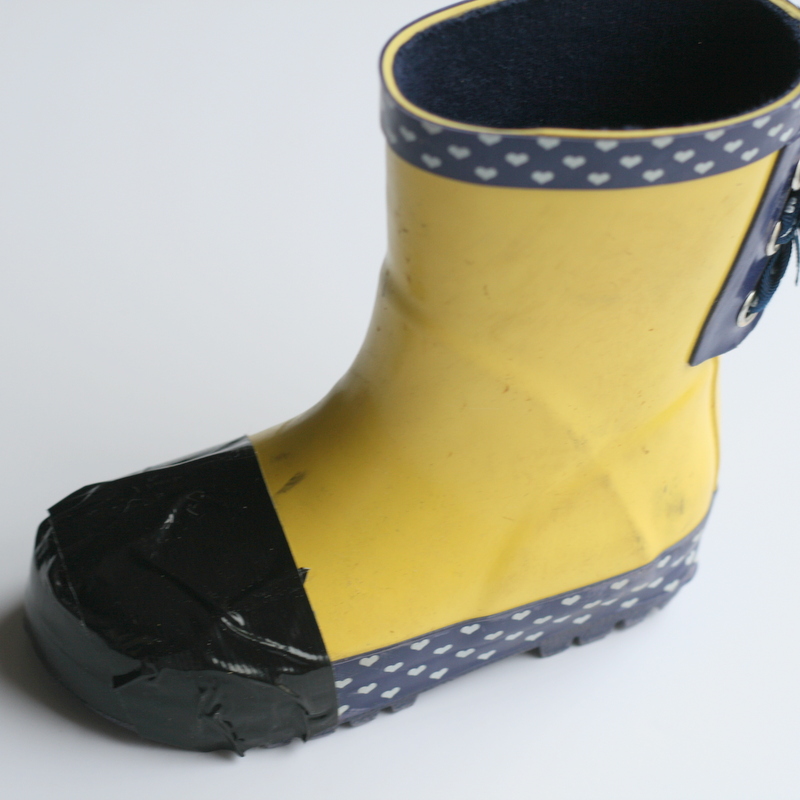
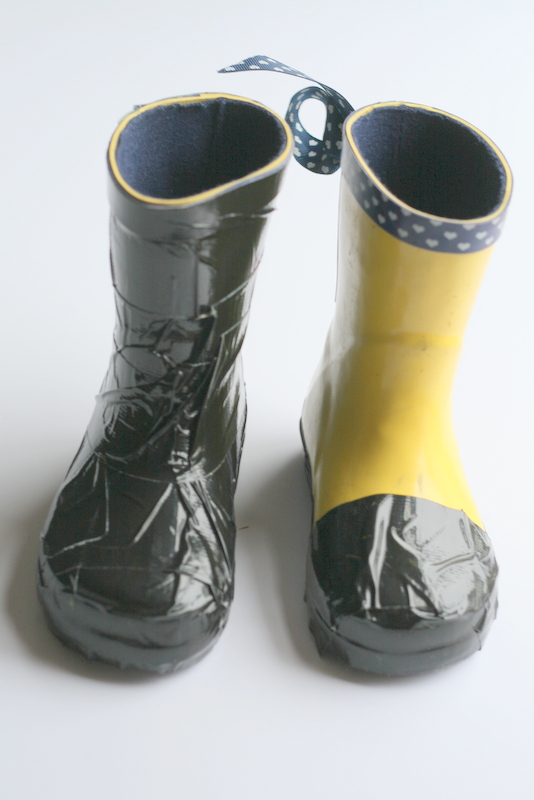
1. Very simply, wrap strips of duct tape around your wellies! This is a brilliant way of jazzing up boots as the tape can be removed without marking afterwards.
Finally, if you have a baby in need of a pirate-related costume then these parrot wings are simple to make (even though it can take a while to cut out all the wing pieces) and they are easy to sew. For our full tutorial click here.


If you like our blog, we would love you forever if you could take a tiny two seconds to nominate us for the Best Craft Blog at the 2015 BIB awards… click below on the picture to vote. Scroll to section 12 on the form and select us. Thank you!

~ Laura xx ~
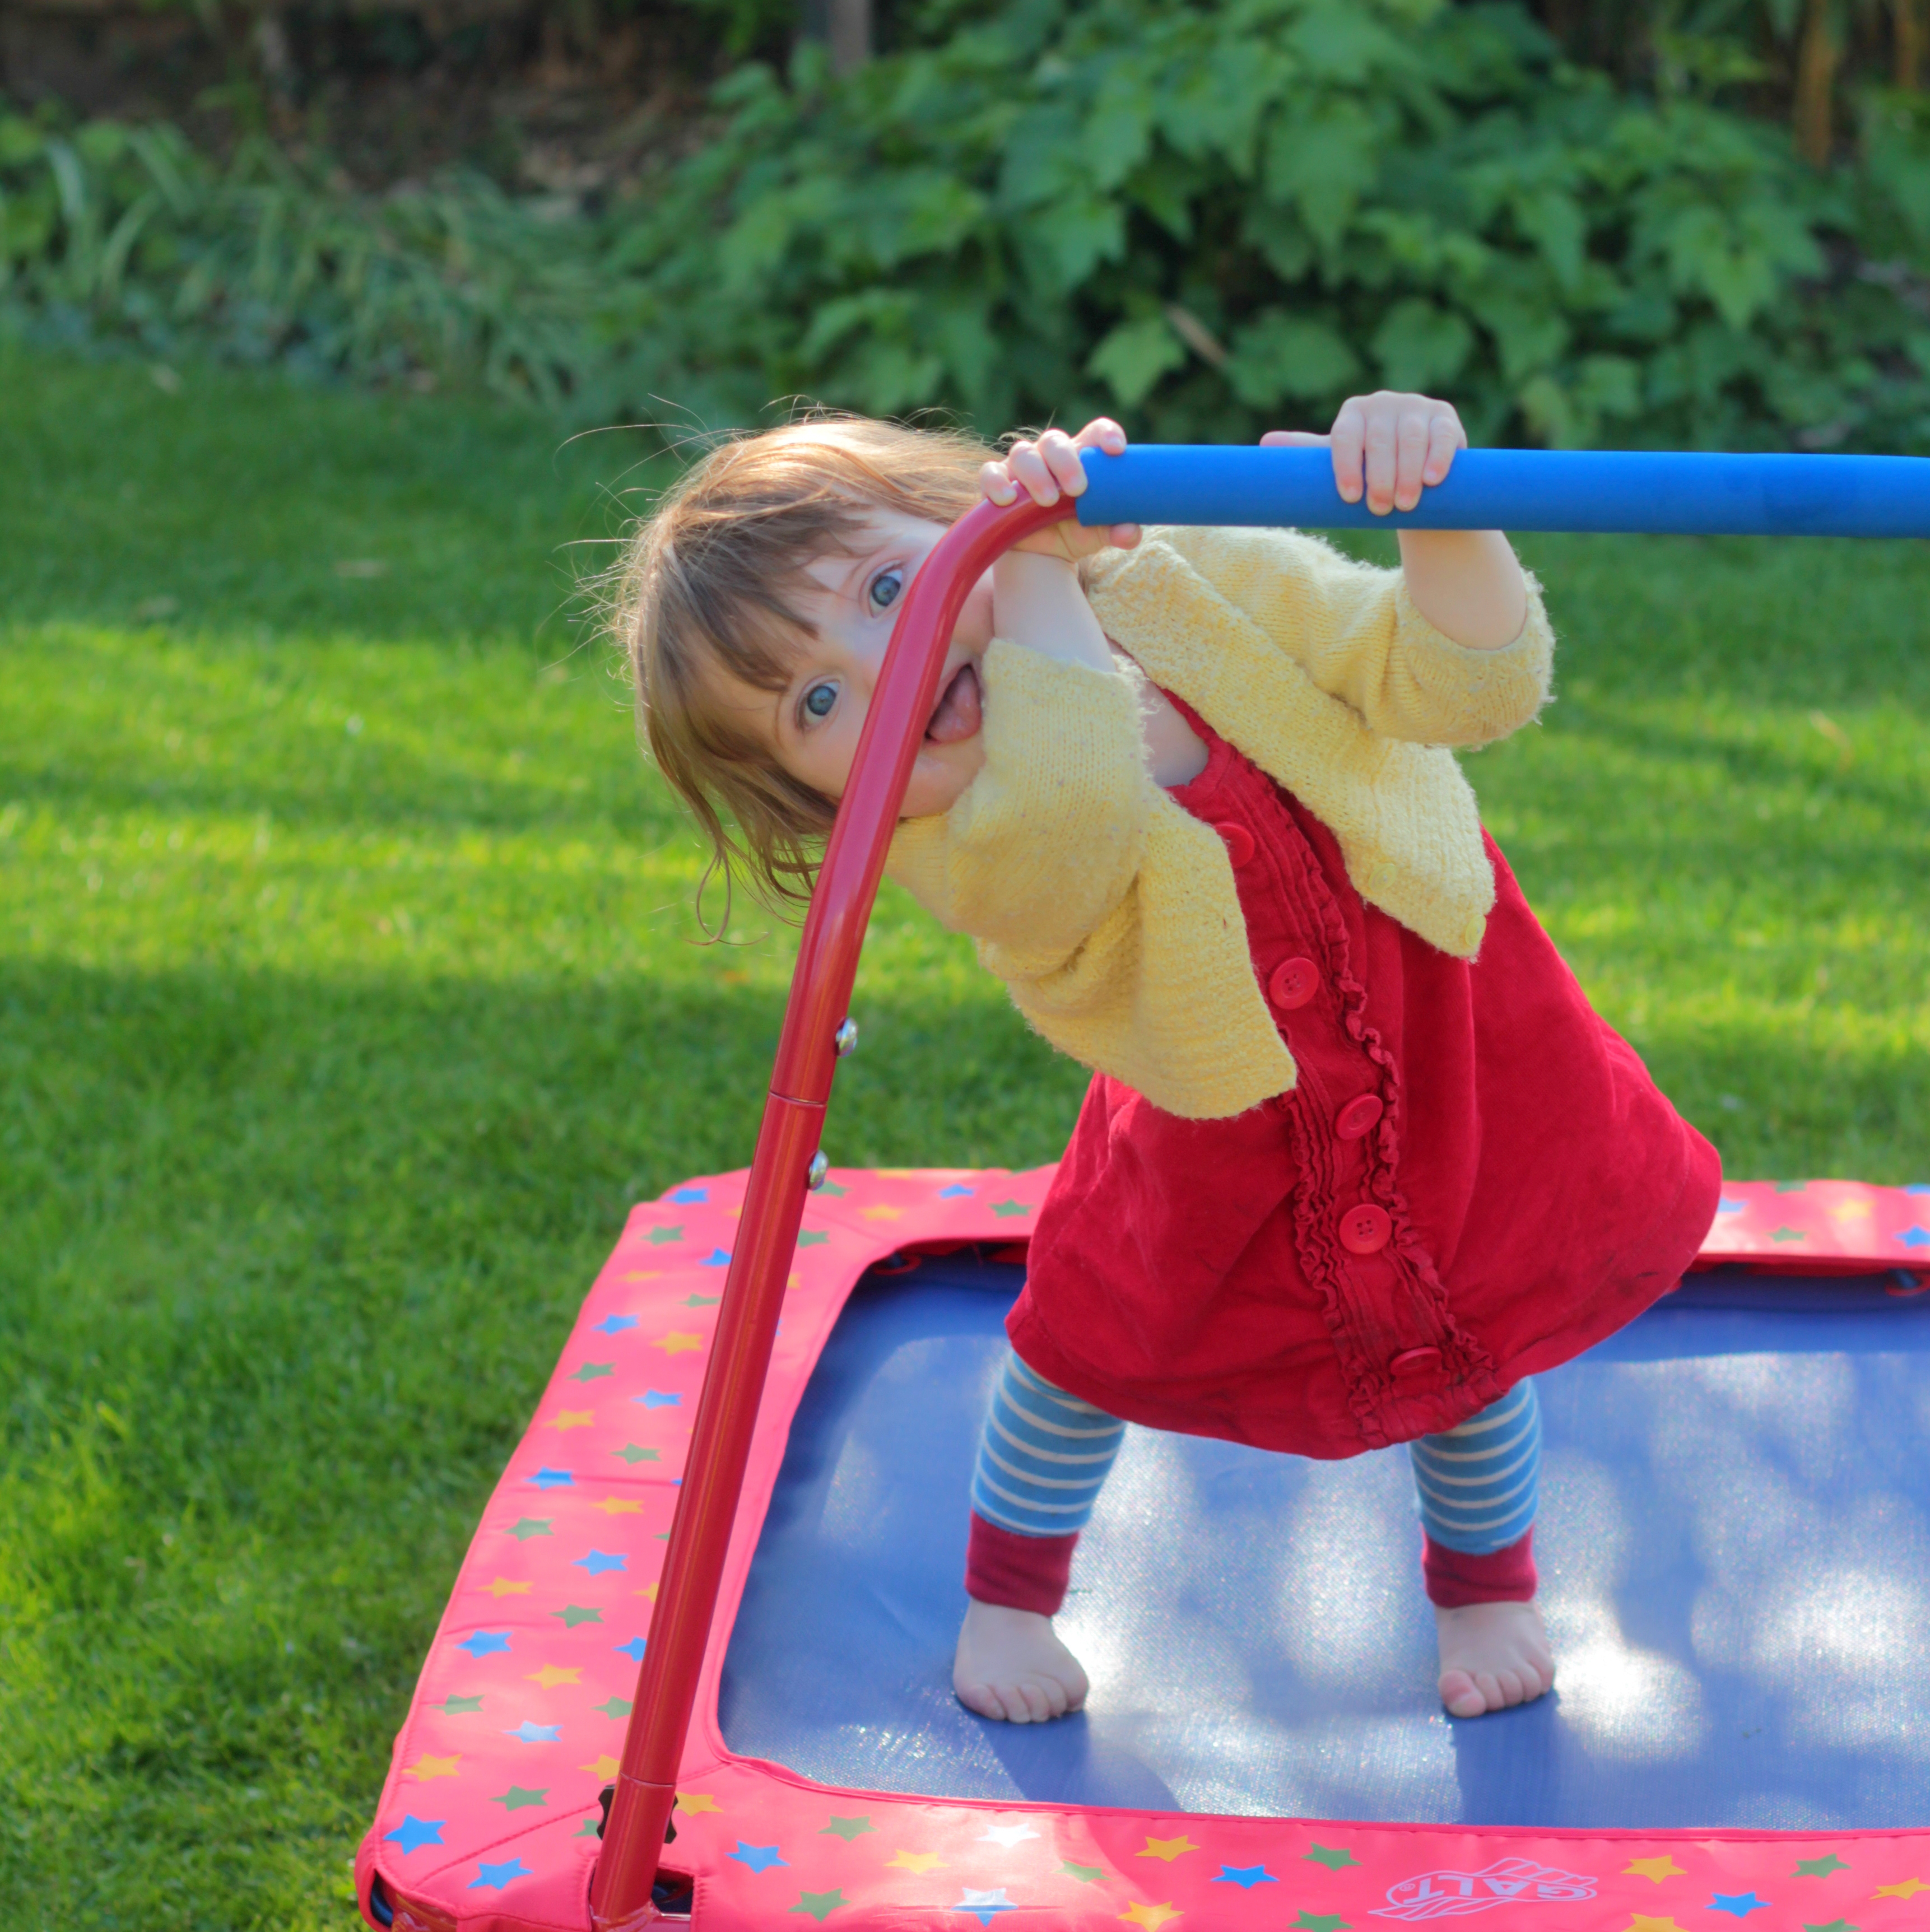
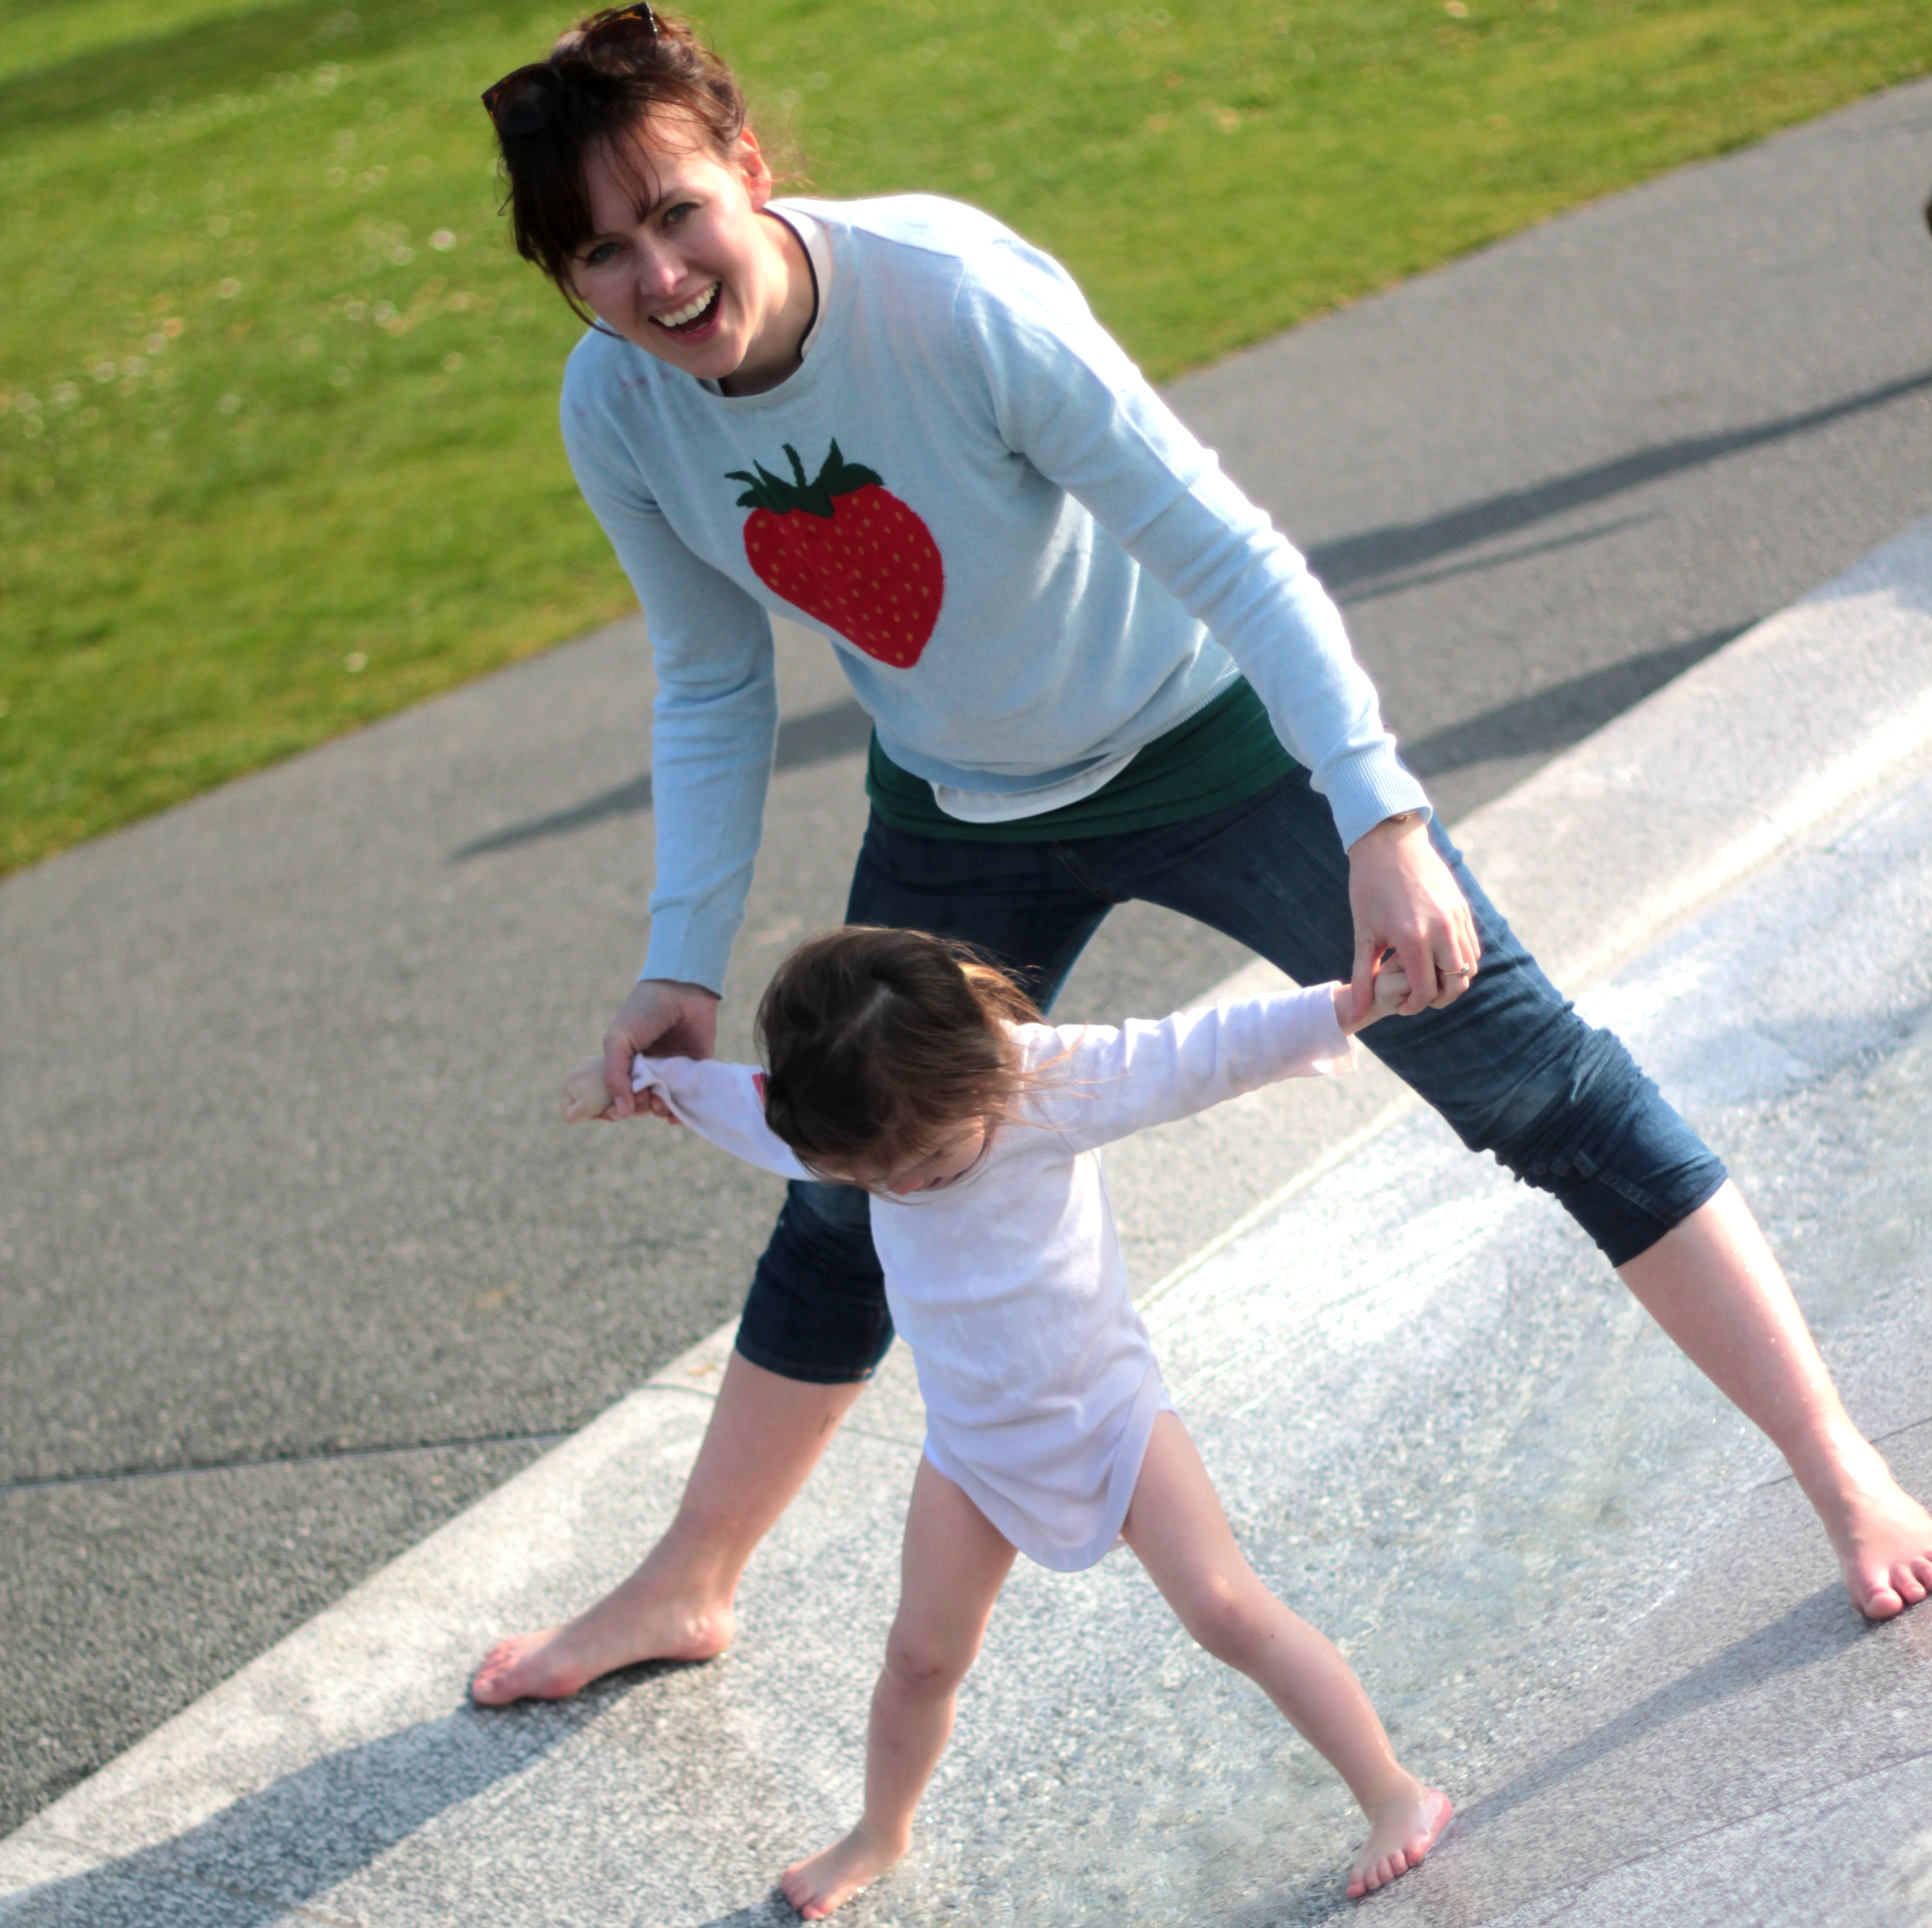
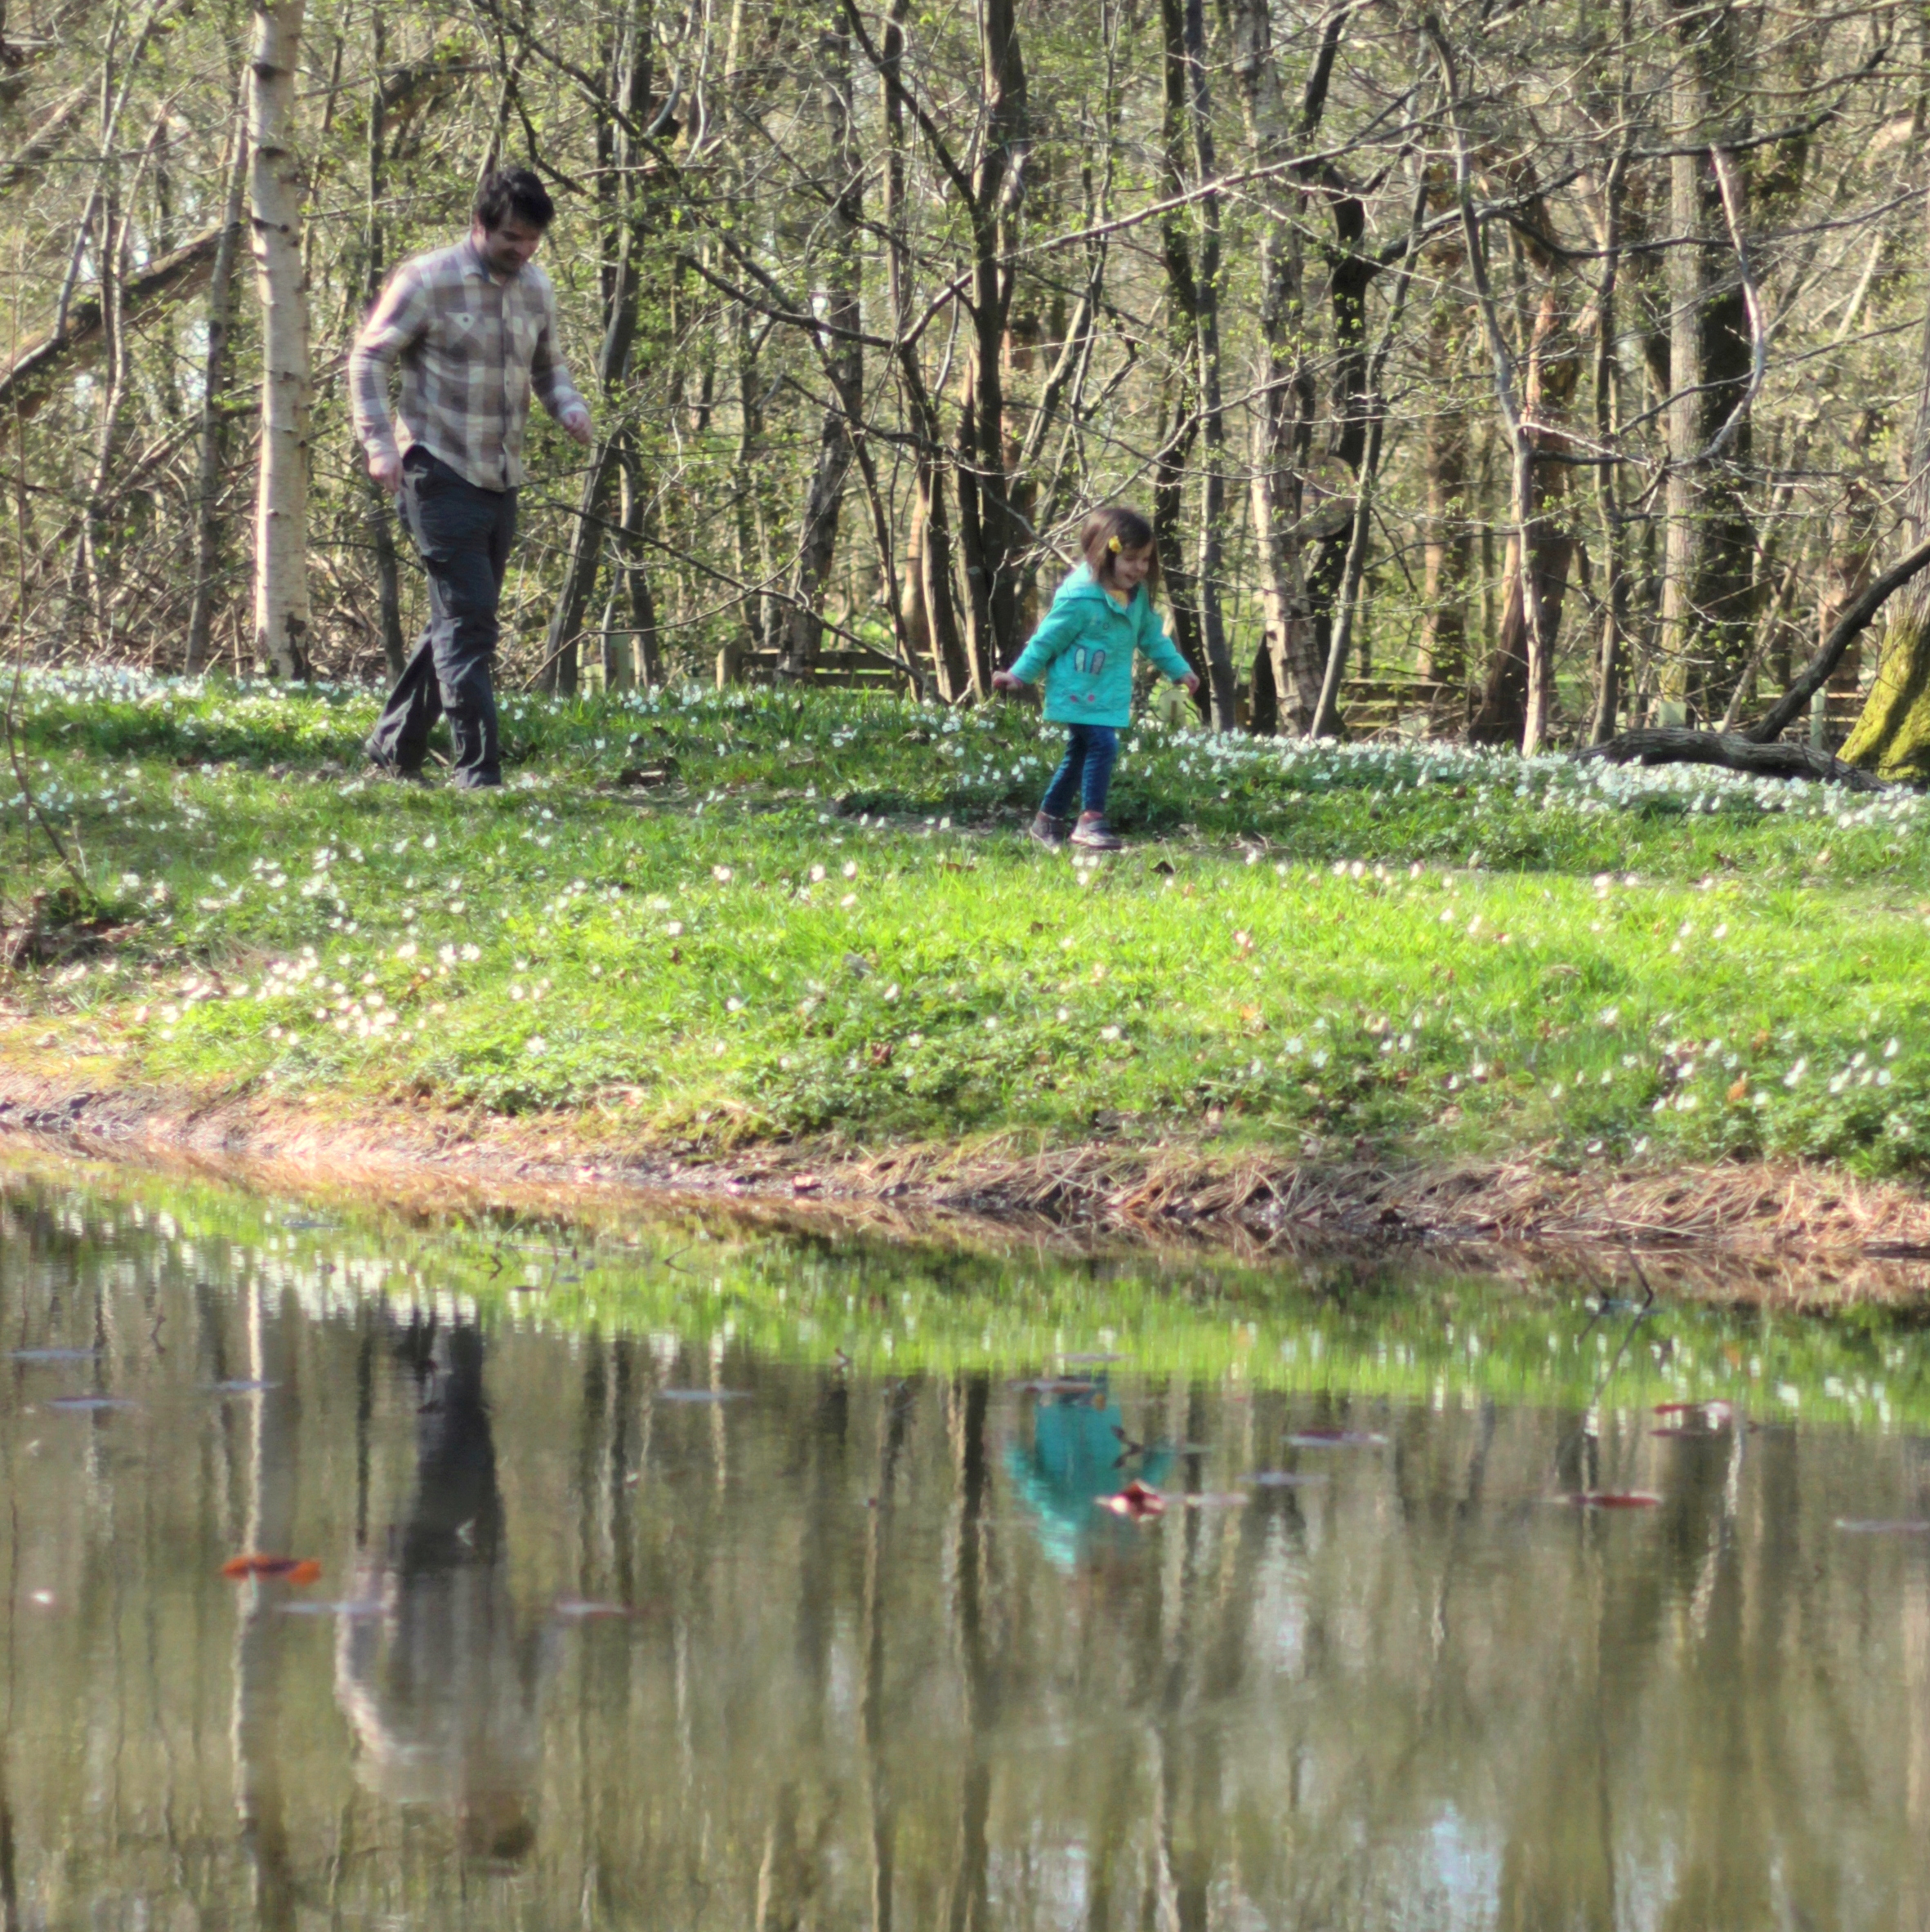
Life in Pictures is our weekly mini-gallery of what our Little Buttons have been up to over the past seven days. This week we’ve been visiting bluebell woods (although the bluebells decided not to join us) and enjoying the 3 minutes of sunshine splashing in the Diana Memorial fountain in London and seeing the sights.


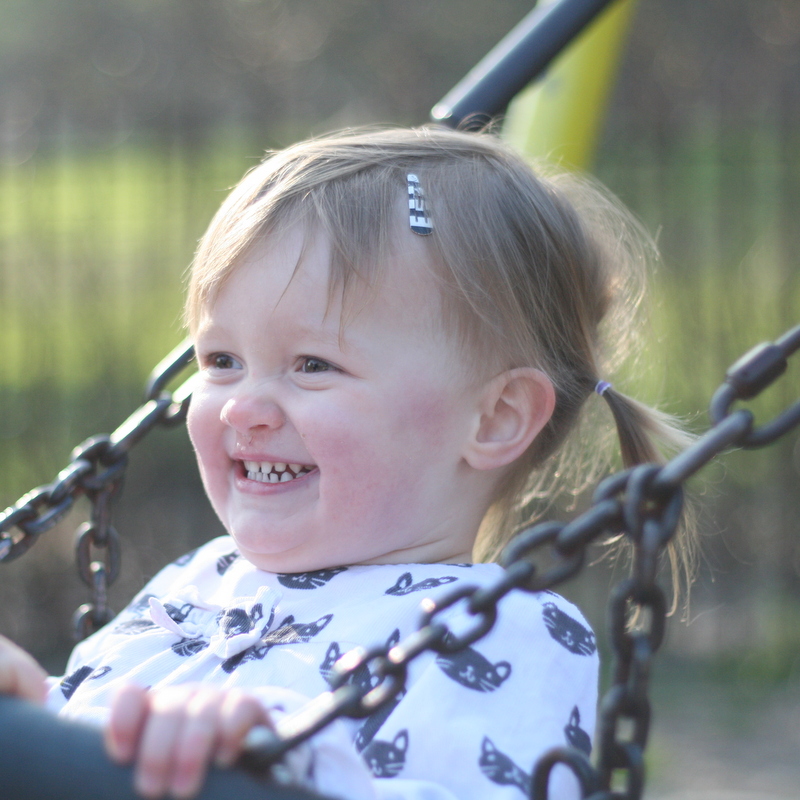
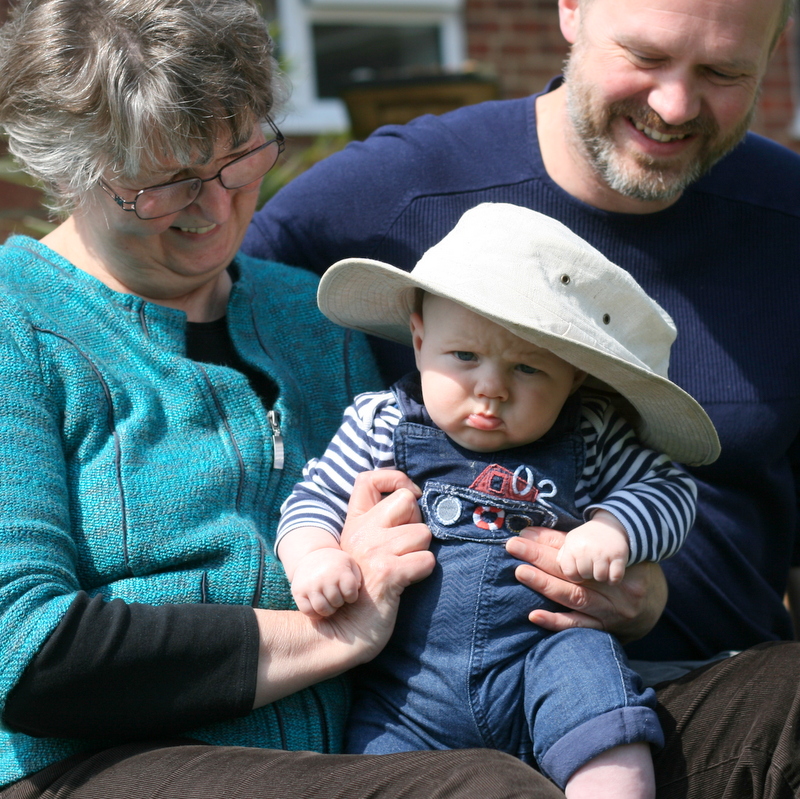
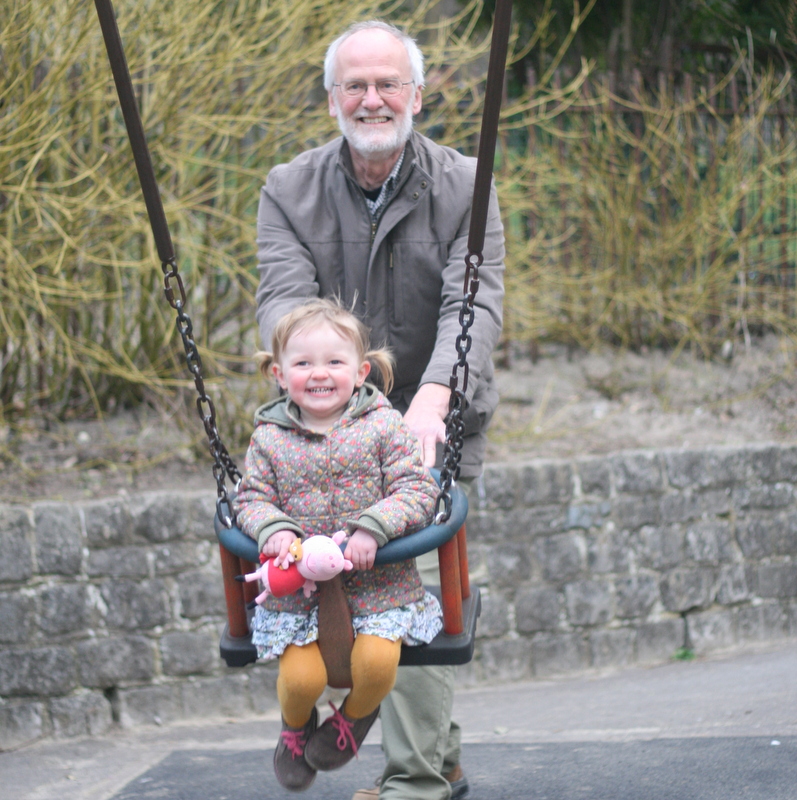
Life in Pictures is our weekly mini-gallery of what our Little Buttons have been up to over the past seven days. This week we’ve been enjoying getting out in the sunshine, having fun at the farm with the grandparents and our youngest Little Button had his first experience of a swing!


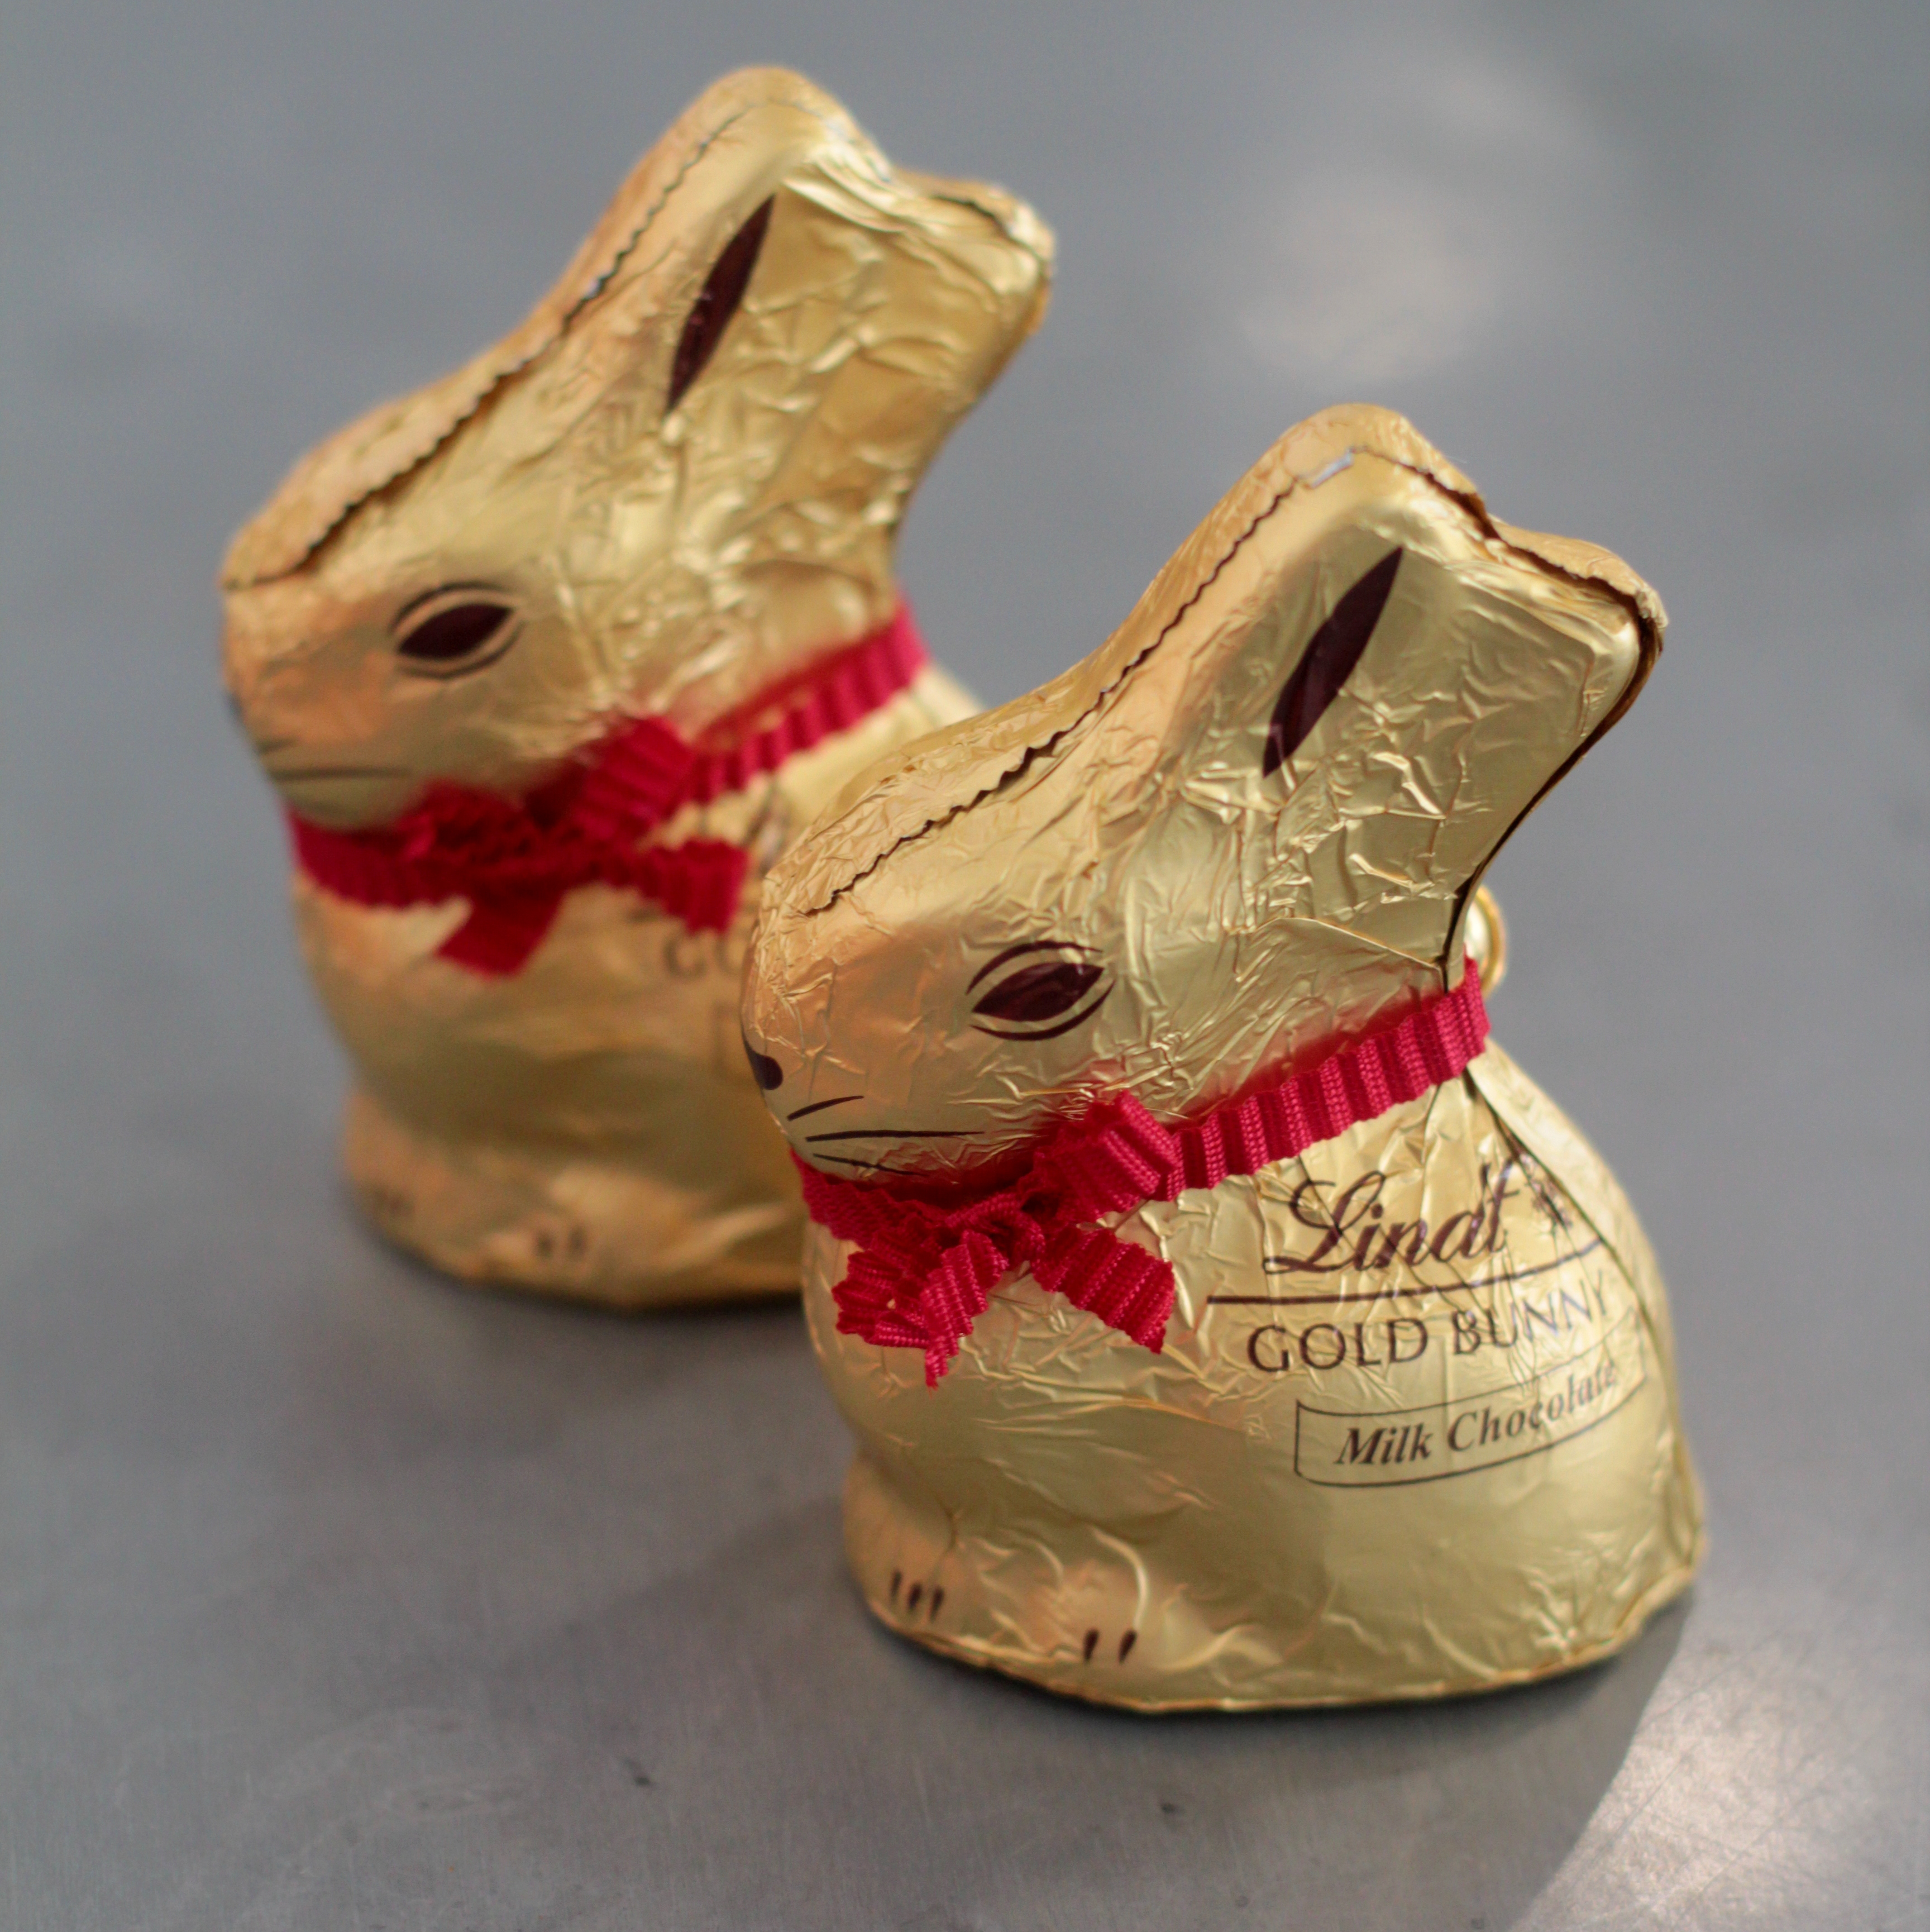
Last week we were invited to go and meet the Easter bunny for breakfast! We were greeted by Alice (of Alice in Wonderland) and sat down to a table decorated with Easter goodies. After a full breakfast, we decorated Easter biscuits and then the Easter bunny arrived with a fluffy rabbit and chocolate for the Buttons. Thank you to Wyevale Garden Centre for having us – we can’t wait to come back and meet Father Christmas!

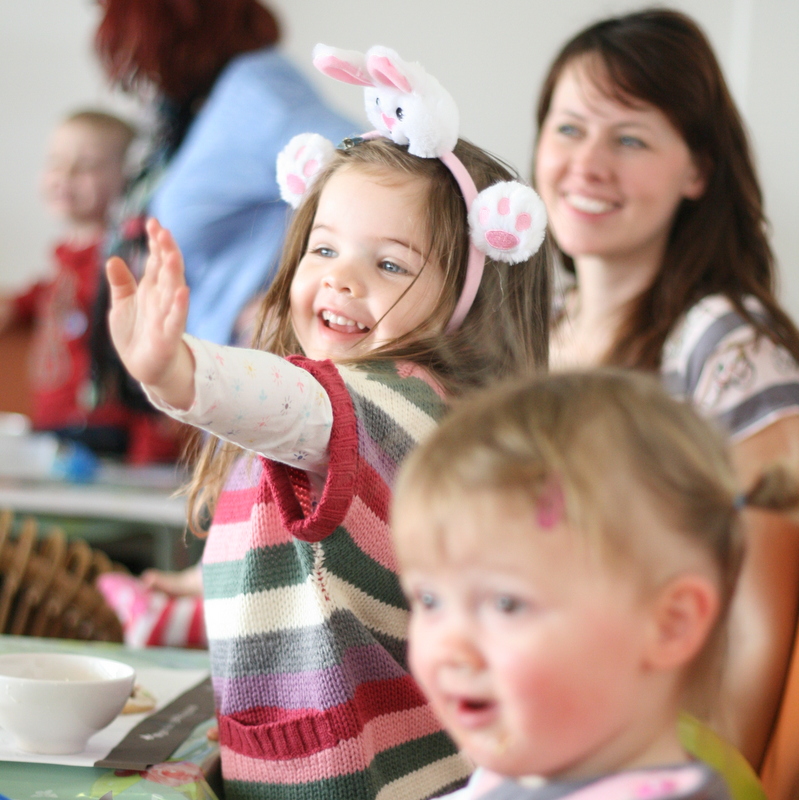


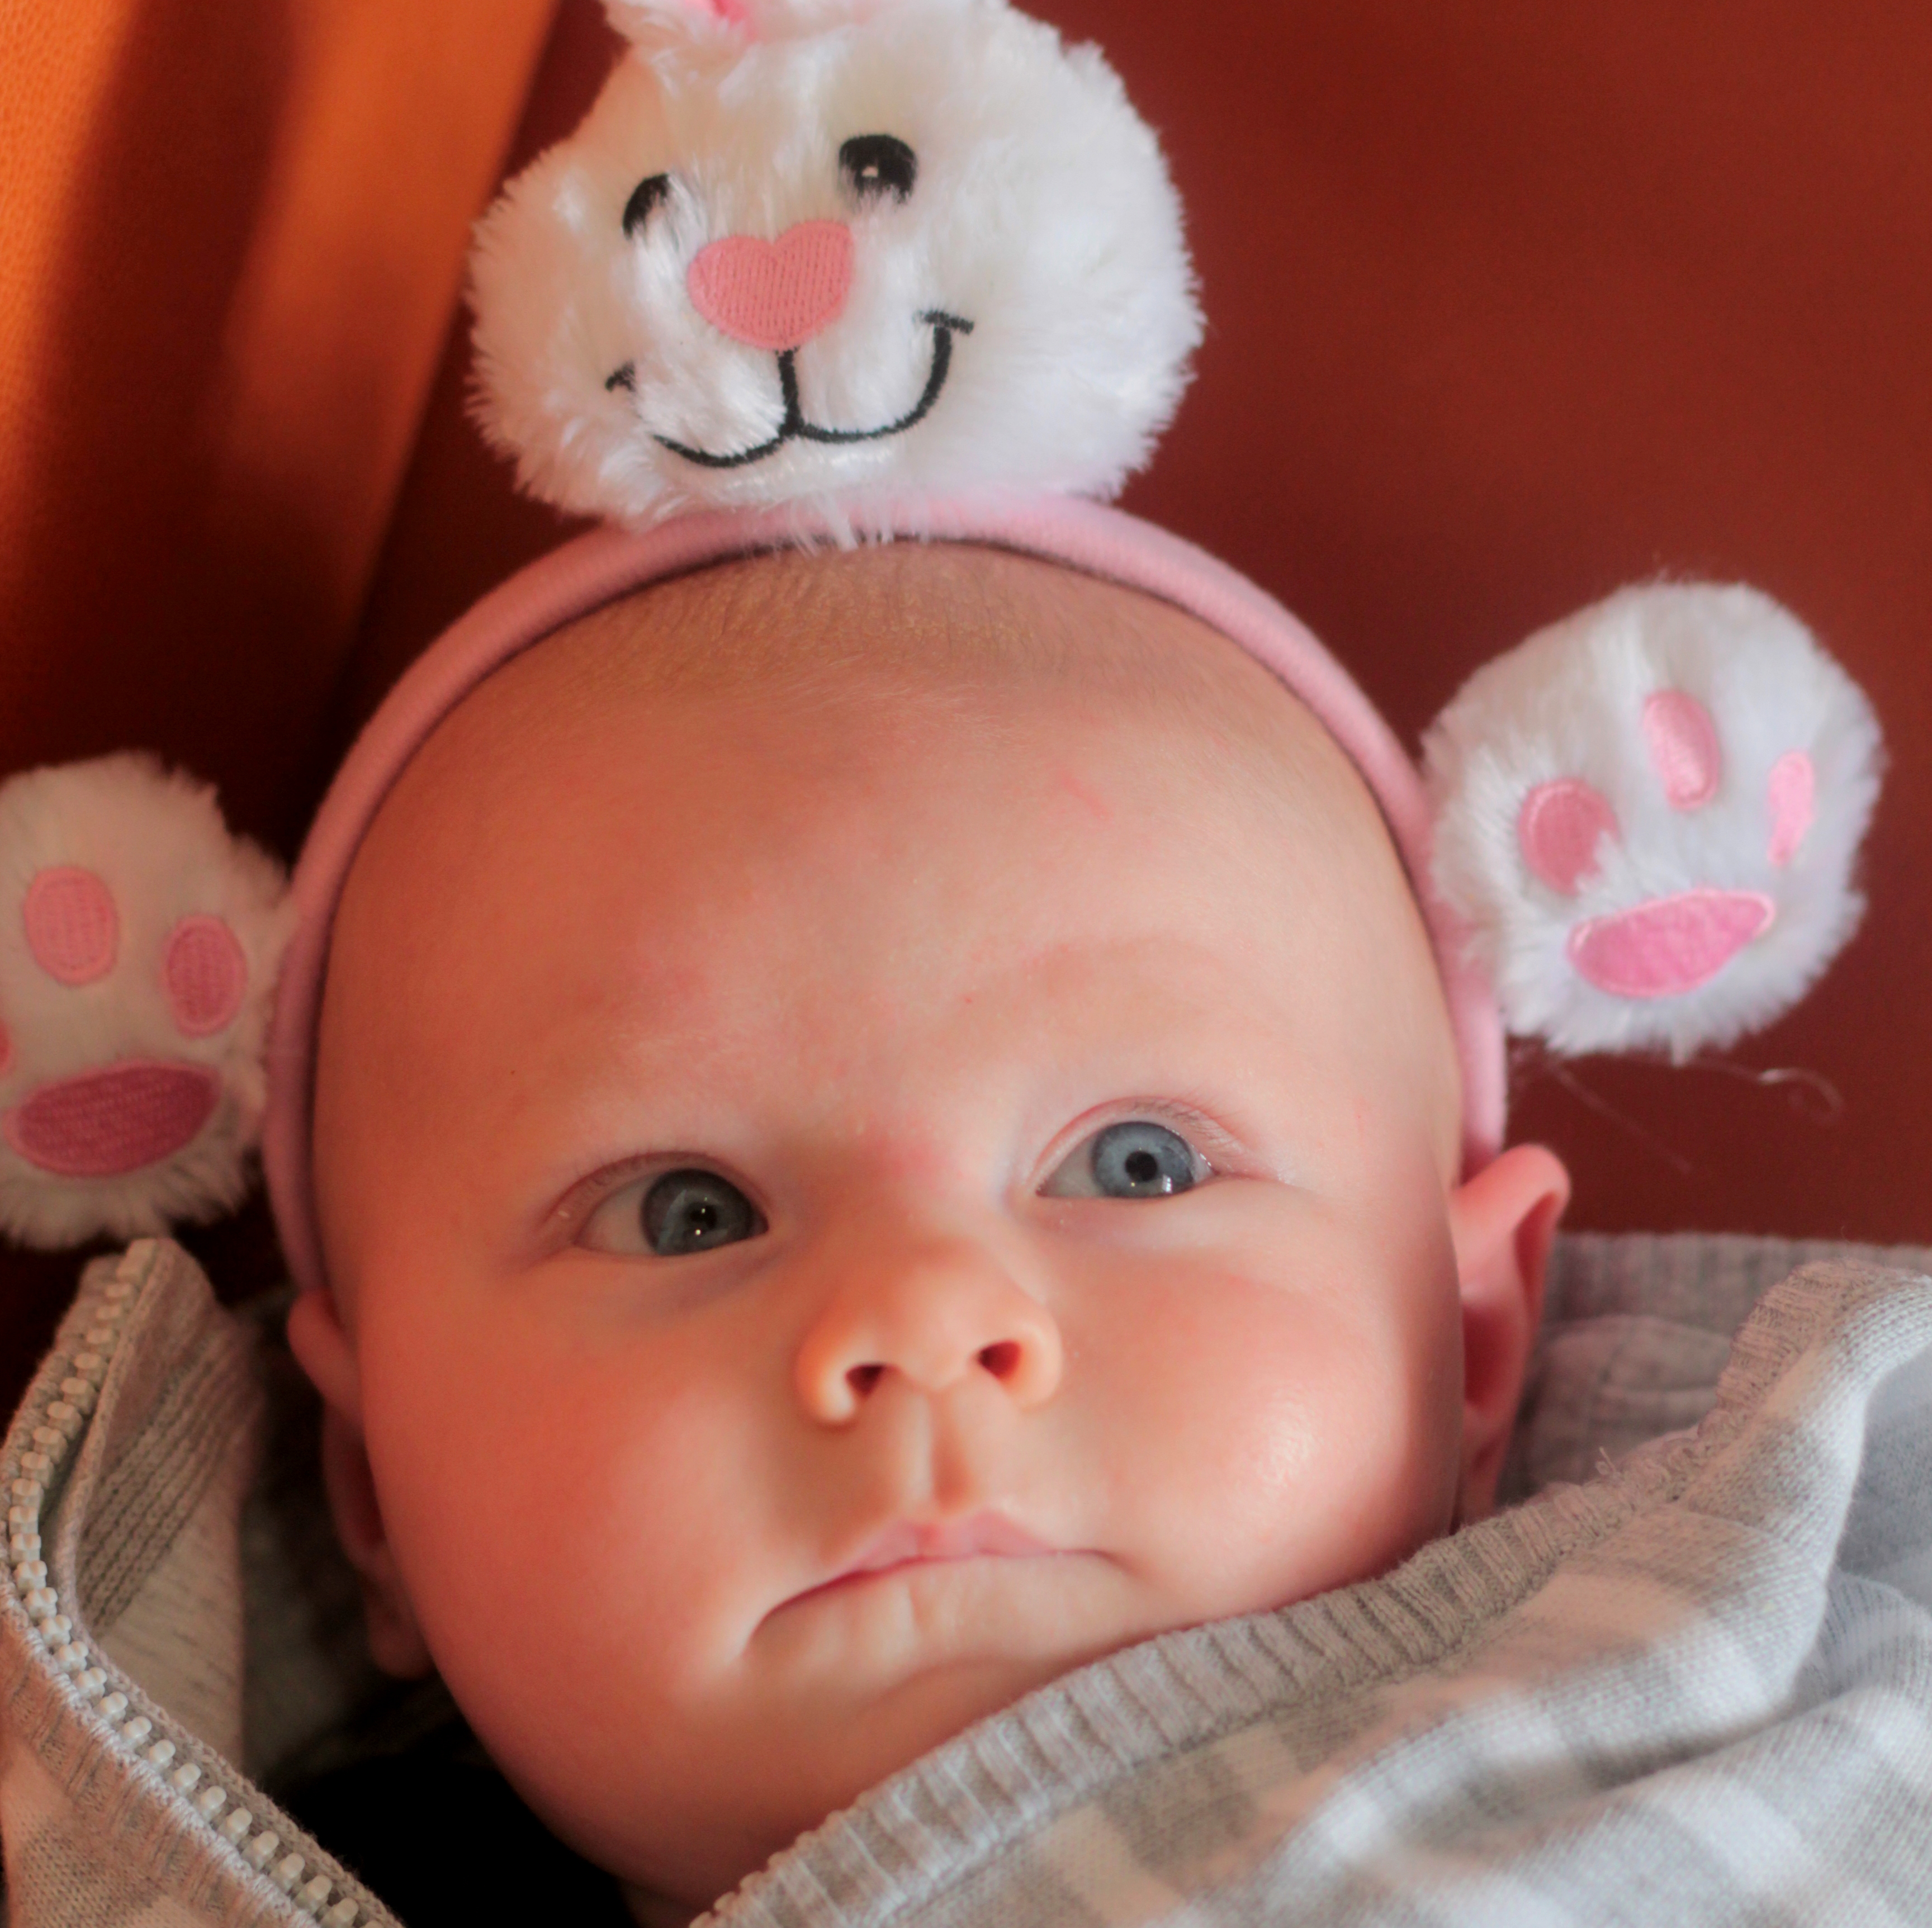


~ Laura & Tia xx ~
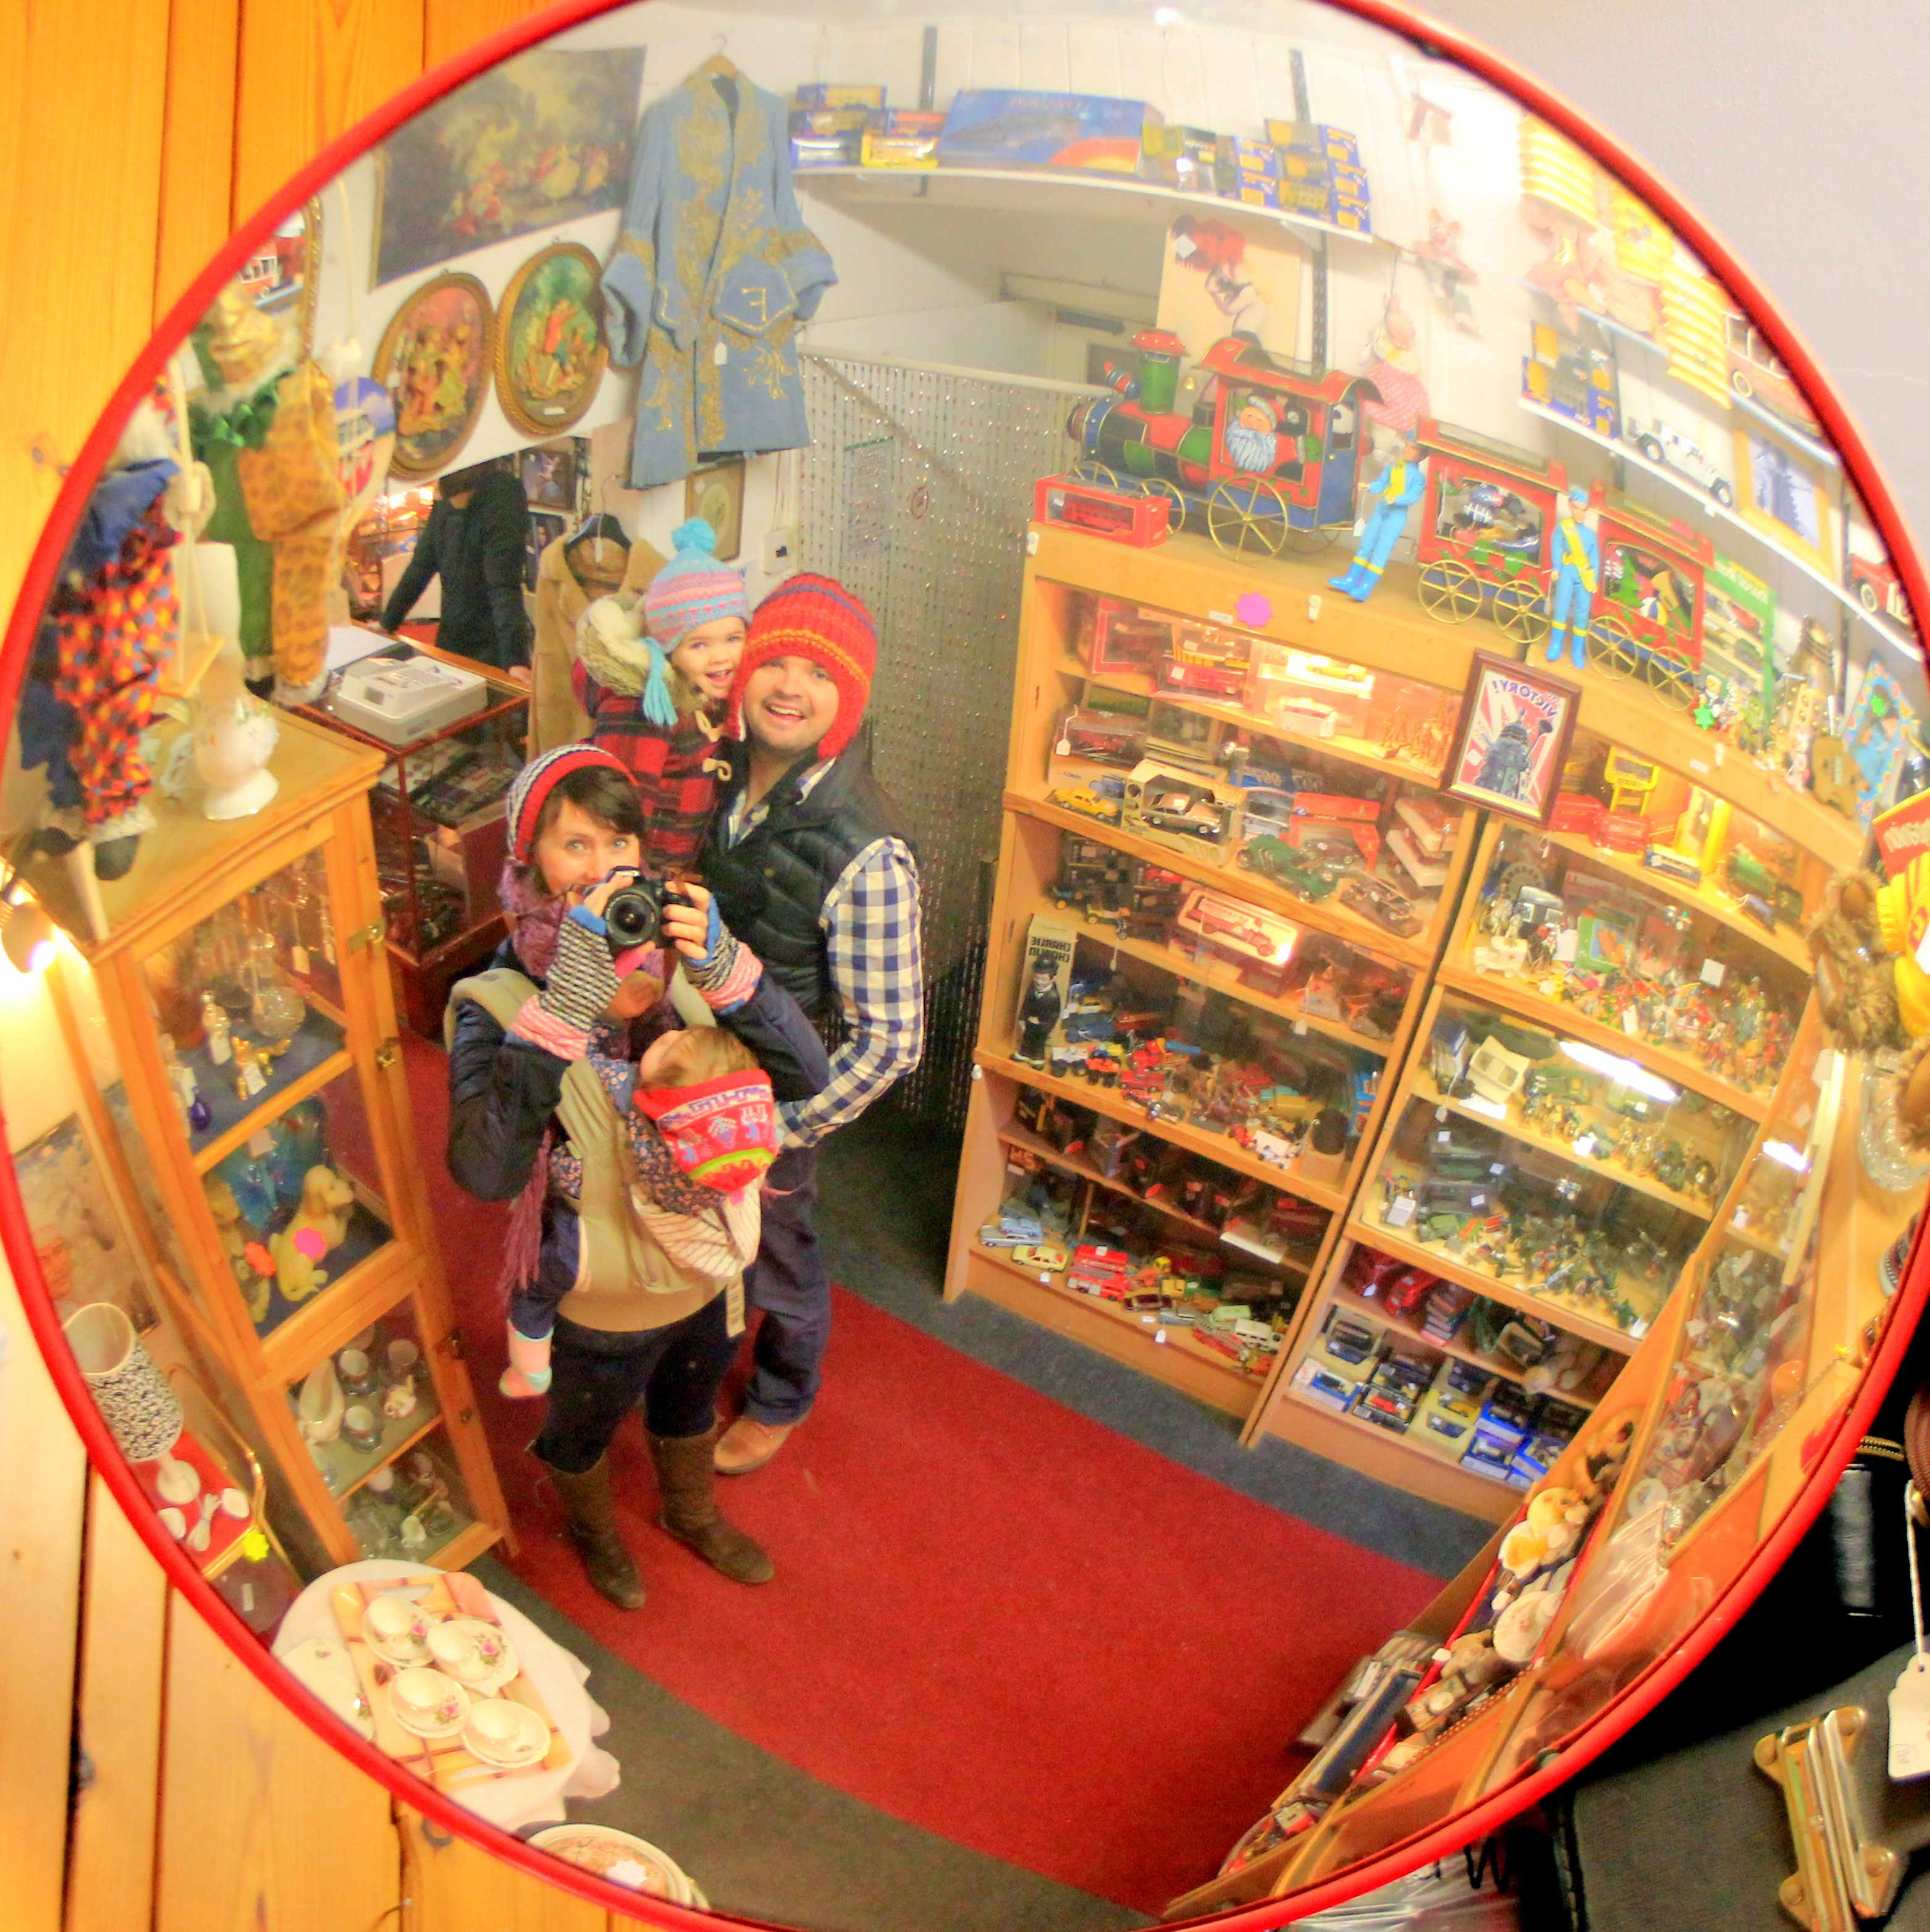
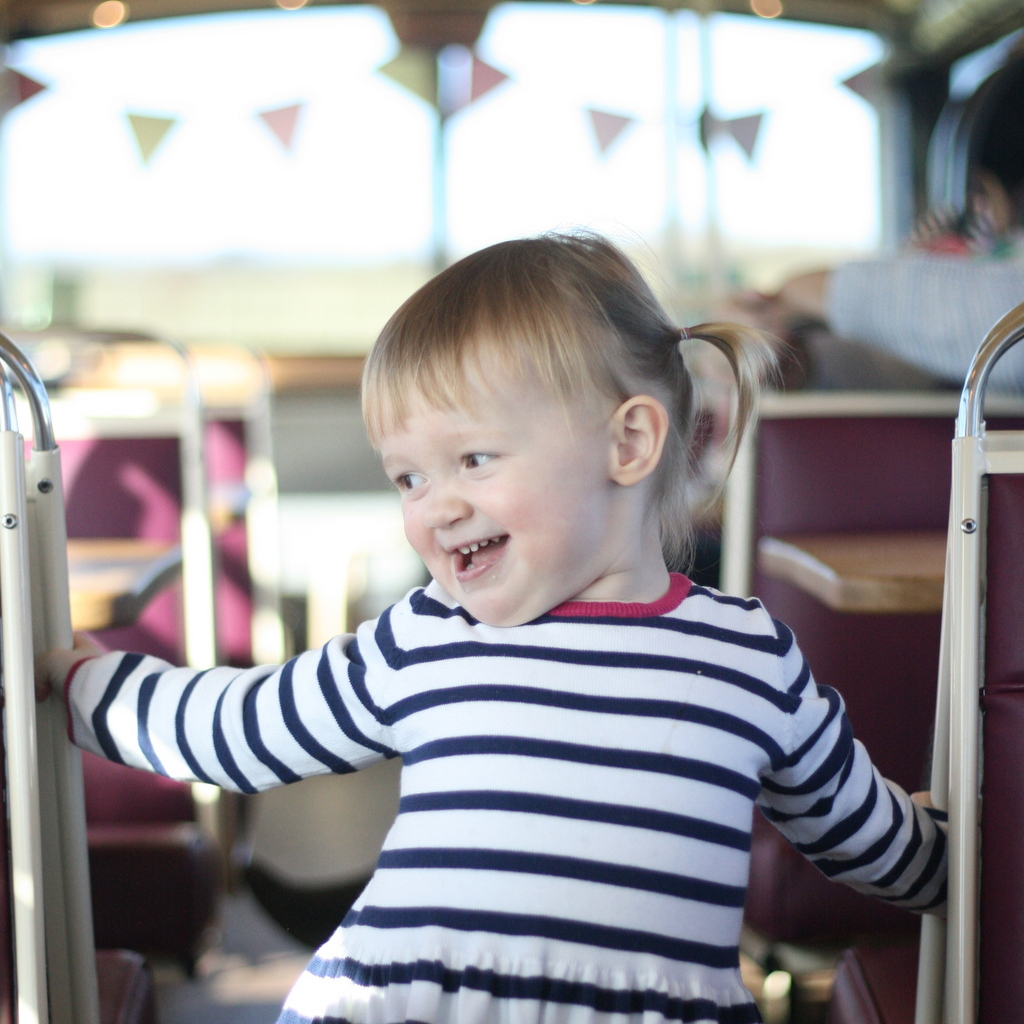
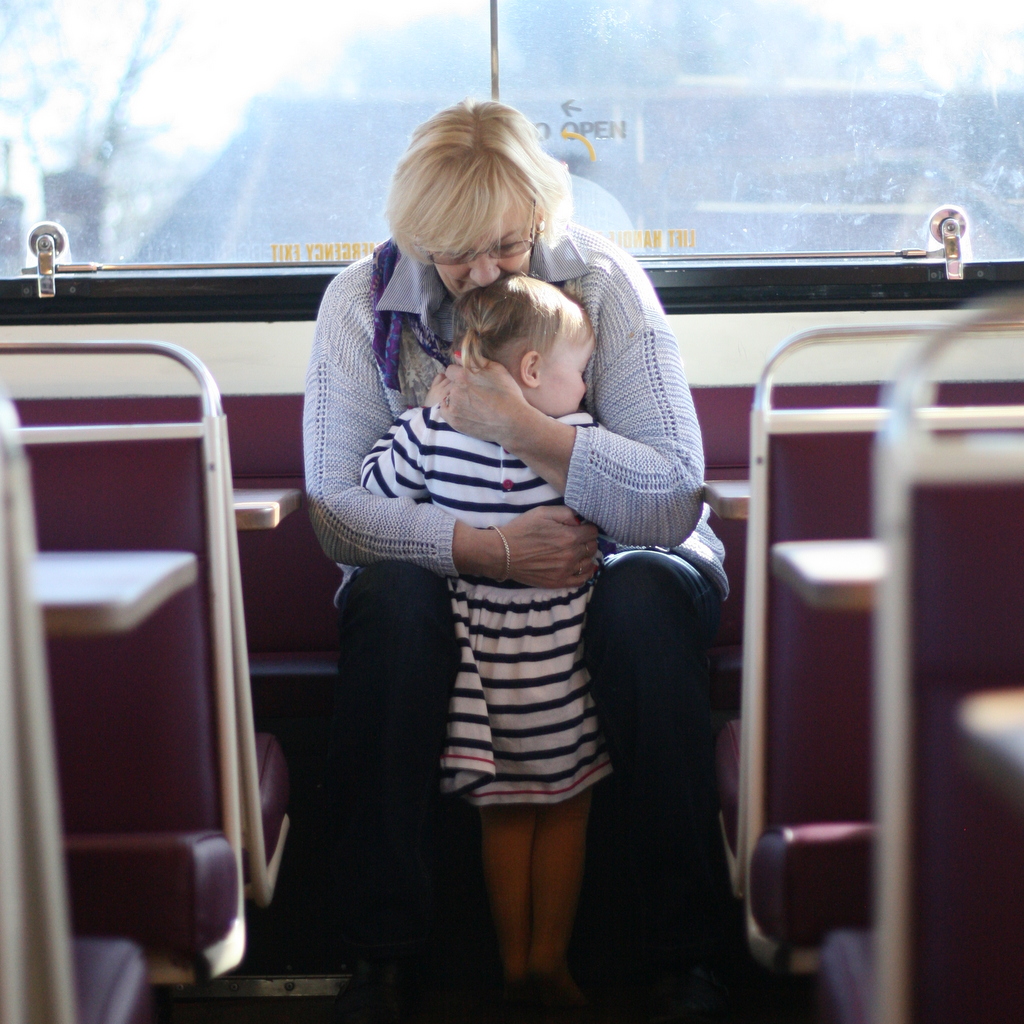
Life in Pictures is our weekly mini-gallery of what our Little Buttons have been up to over the past seven days.


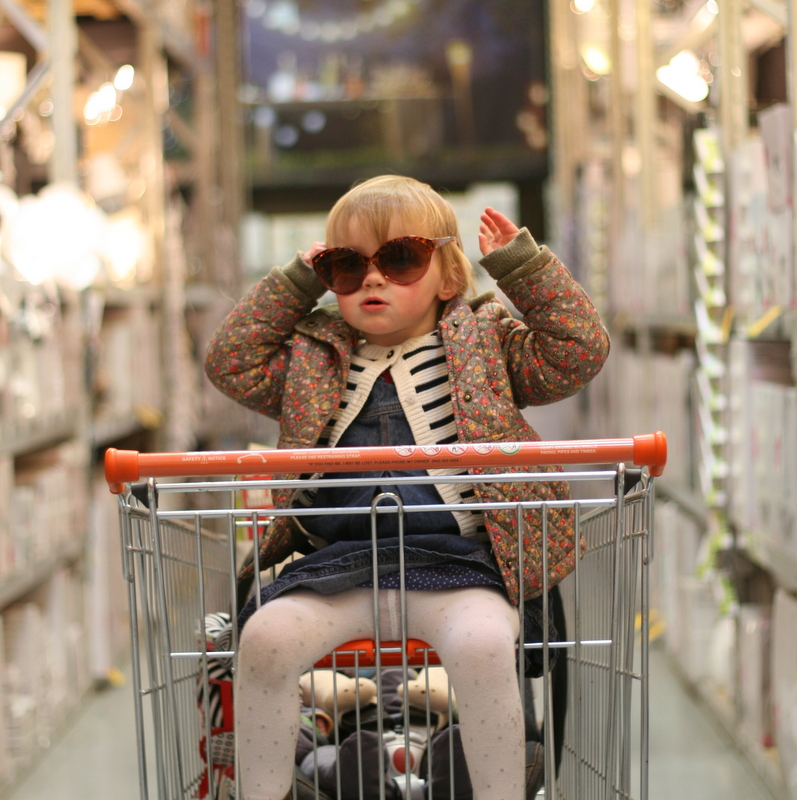
Life in Pictures is our weekly mini-gallery of what our Little Buttons have been up to over the past seven days.


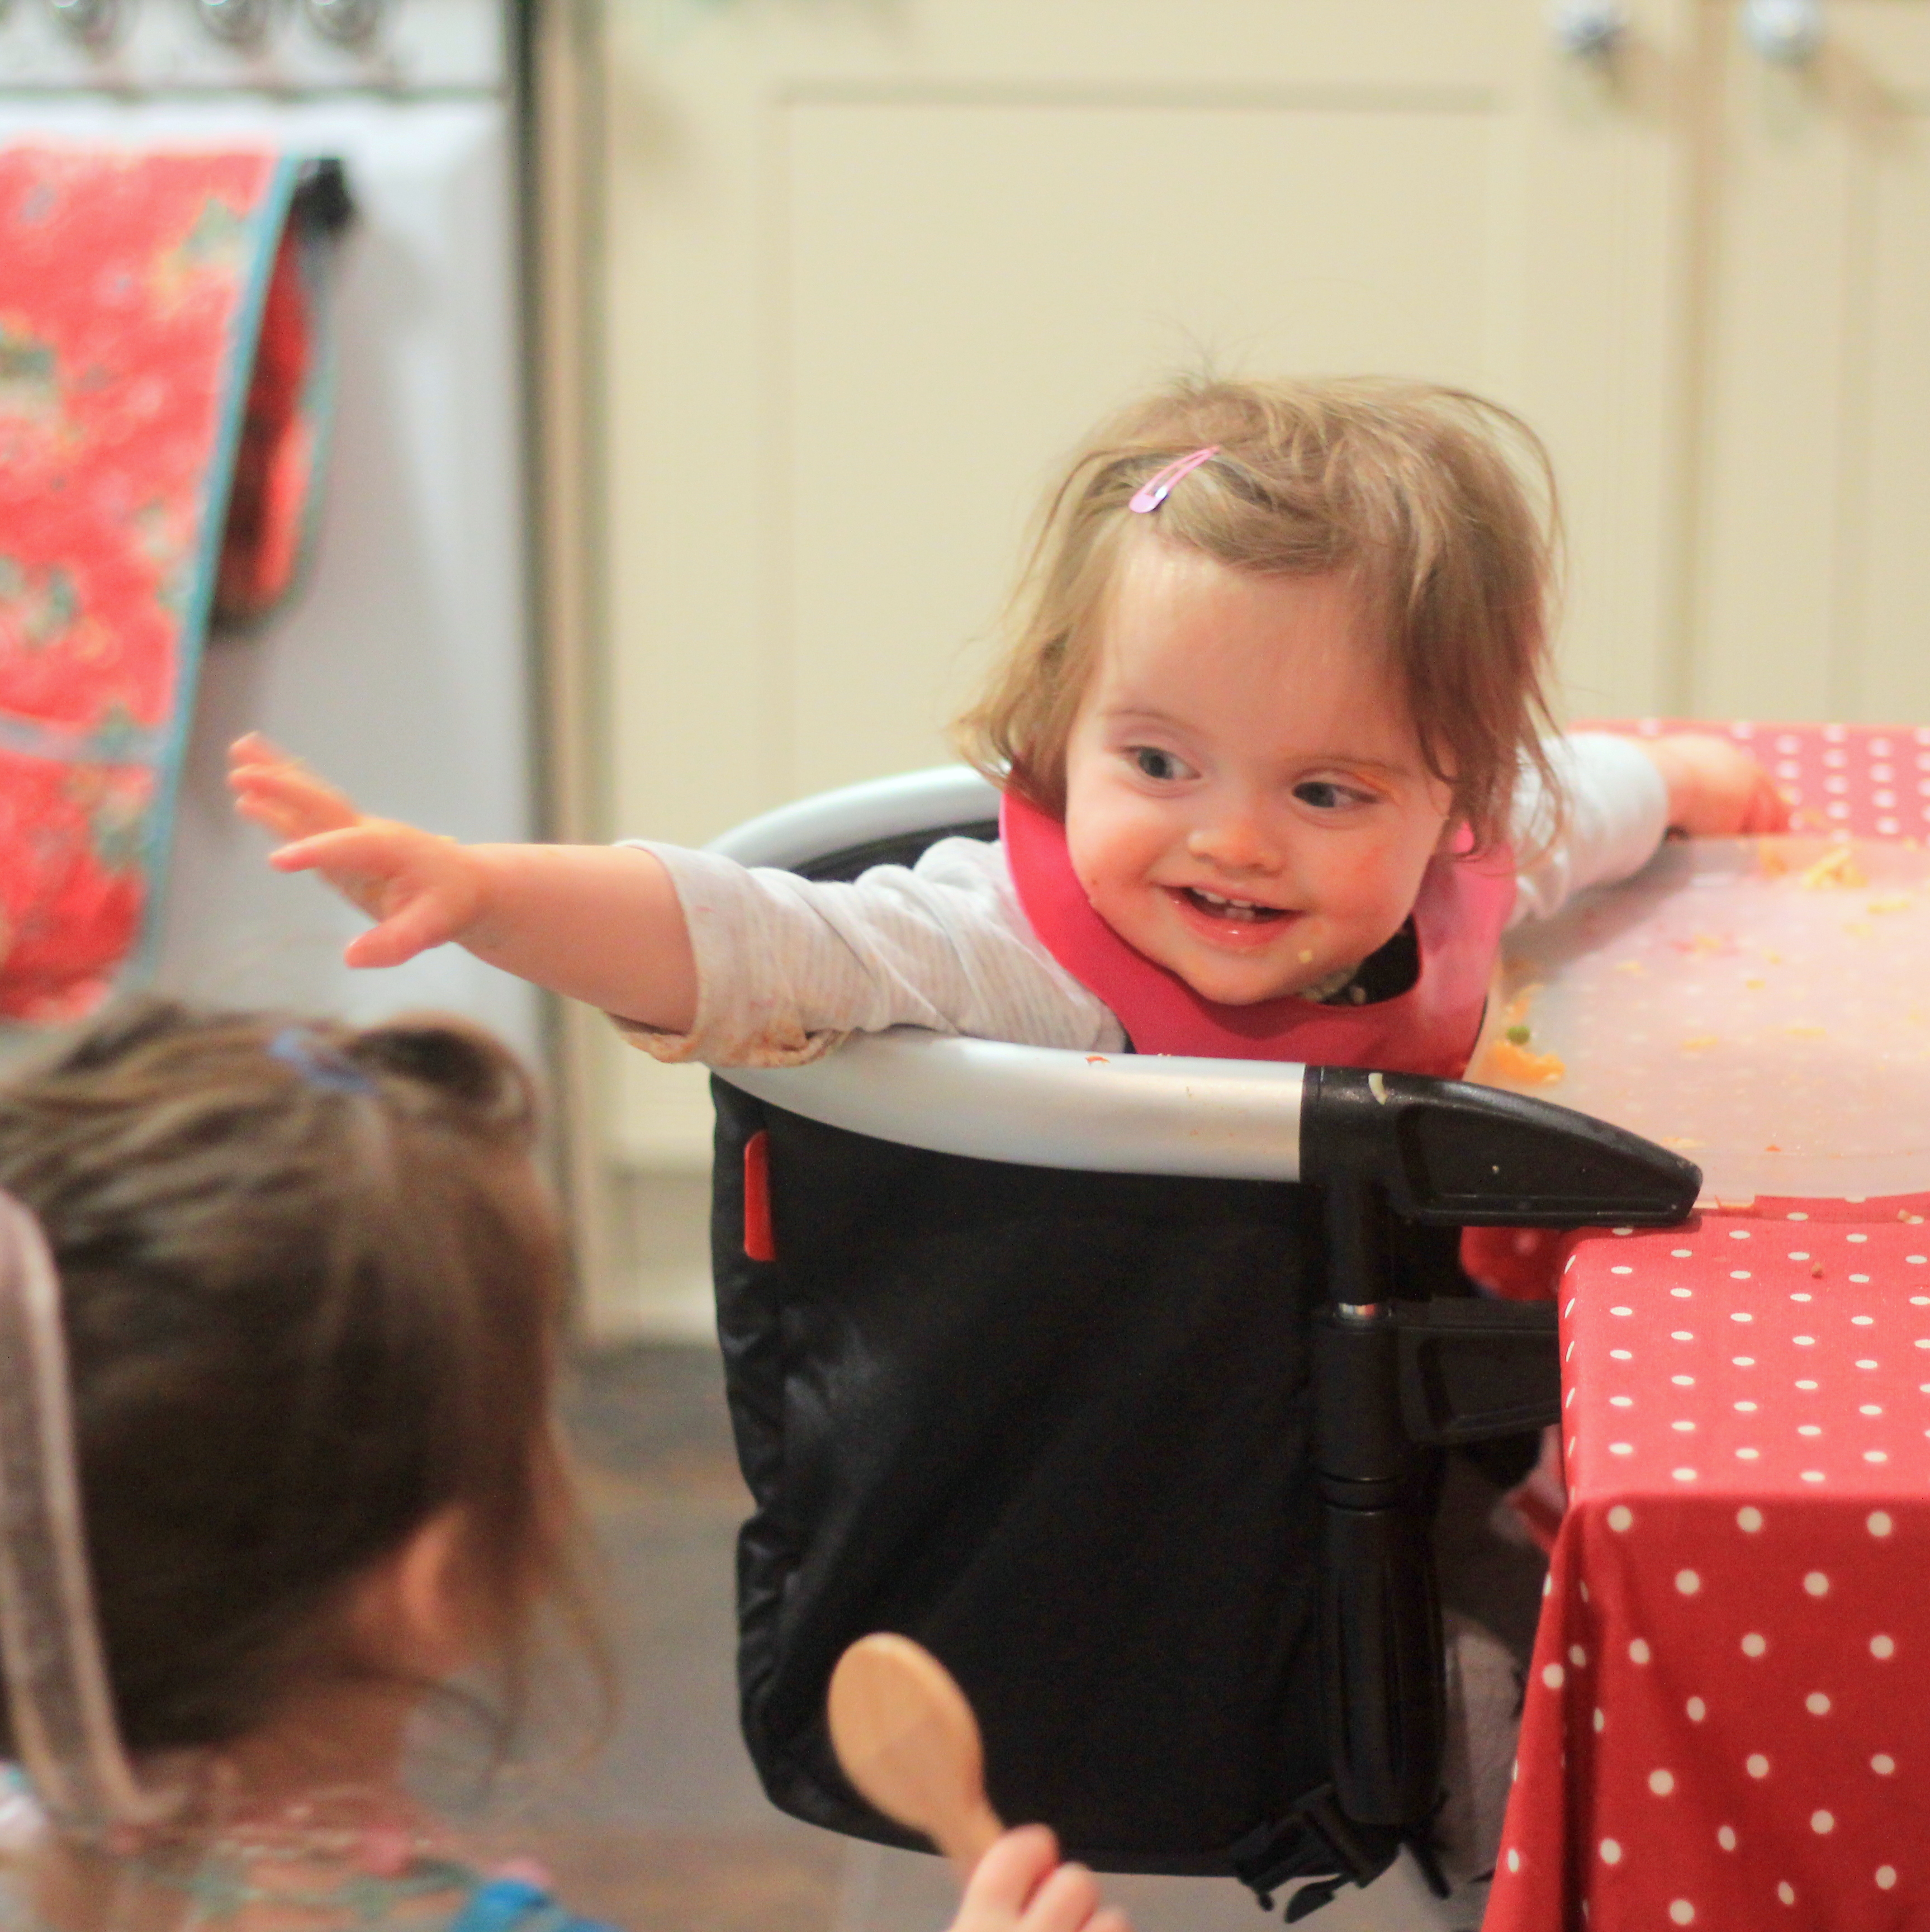


Life in Pictures is our weekly mini-gallery of what our Little Buttons have been up to over the past seven days.


I don’t have Photoshop, so when it comes to making fancy edits of my photographs, well, I’m stuck. All I have is good old (and free) Picasa. Recently, I’ve become obsessed with looking at clever double exposures, I love how they can be beautiful, ghostly images. I really wanted to create some of my own and the other day I discovered you can create a multiple exposed image in Picasa, so I thought I’d share with you how to do it, as there don’t seem to be any good tutorials out there (that I could find anyway!).
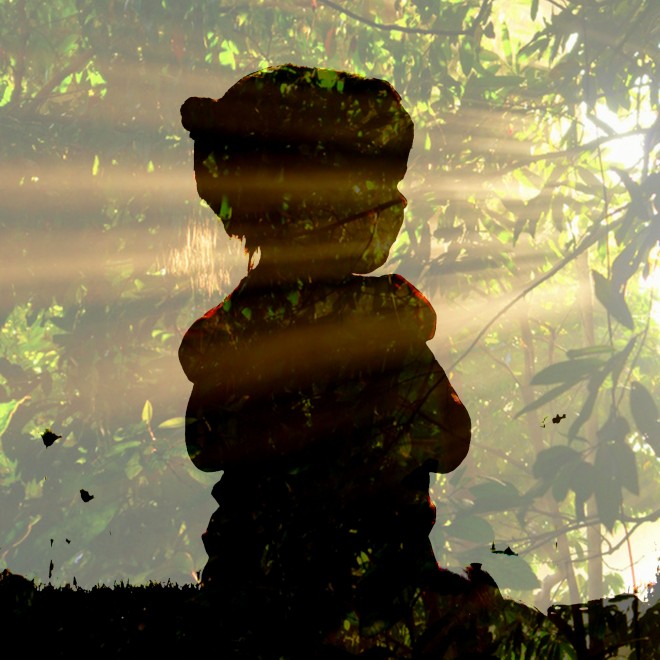
The image above was created by layering two photographs (a silhouette of my little girl and an image of light through trees) over one another. Heres how you do it in Picasa:
1. First select your base image. You need to select one that has high contrast – so lots of heavy dark and light – like a silhouette. Now up the contrast so that this is even more so (pull the highlights & shadows bar up to the right).
2. Now select another image to go over the top of this. Sunsets, flowers or something with not a lot of detail or contrast works well here.
3. With your first image open in Picasa:
4. To add the second image:
5. To save the image click “create Collage” or to undo…. well, I haven’t quite worked this out yet. But you can click “reset” to start again (anyone?!).
Here are a couple more of the ones I created:


Hope that was useful and not too much of a boring technical post!
Tia x
