Whilst the weather drizzles outside, why not host your own indoor olympics? These medals are super simple to make from gold, silver and bronze fimo and our the perfect craft antidote to the Great British weather. For our tutorial on how to make them, visit the Hobbycraft blog.
Tag Archives: kids
Birdbox Nightlight DIY
I’ve been looking for a nice night light for Amelie’s room and it seems to me that there isn’t a huge range of nice lamps out there if you’re on a budget. So I thought I’d have a go at bashing my own one together…using a bird box, light bulb, and my dad – to tell me what to do. He tried to show me how to wire a plug (I really should know by now). But I wasn’t really listening because my brain was thinking how to break a birdbox in two in order to get a light bulb inside, so I still don’t know.
Heres what you need:
- Plain bird box
- low energy light bulb, fixture & lead*
- Acrylic Paint
- Strong Glue (like araldite)
- 4 screws
- drill
*If you don’t have my dad to hand, your local electrical shop will be able to point you in the right direction for the bits you’ll need.
1) First, take the base off the box. You should be able to snap this off, they’re not usually that strong, but if you can’t get a little hacksaw on it. Then take your light fitting (do make sure its low energy, a standard bulb would get too hot) and align it in the centre of the base and check the top of the box fits back on, then glue the fitting in place. NB…This was the moment I realised my light was too TALL for my box. Maybe do measuring BEFORE buying. But its okay, I made provisions (read on if you make the same mistake!).


2) Paint the box and the base


3) Glue on some warm-toned fabric to the inside of the box, behind the hole if you want a softer light.
4. Now you need to screw the top to the base so that the bulb is concealed but accessible so that you can change it. My images show a gap due to my error, but there shouldn’t be a gap! To cover the gap I cut some plastic (or lolly sticks) to size, glued in place and painted them.
5. Drill a hole in the back if you want the option of hanging the box

And you’re all done!! Fab. Much cheaper and, er, chirpier (sorry) than buying a fancy one.
I’m really happy with how this turns out. I originally made this light without the fabric lining – but I think it makes a real difference. Plus Amelie spent a good half an hour stuffing pom poms and hair clips into it when I put it on her shelf. Not ideal!
Tia x
Life In Pictures
Life In Pictures
Life in Pictures
Nap Time Crafts: Simple glitter card
Want a simple and super (super) quick card? This one takes about 10 minutes to make (plus drying time). When Harper turned 1 we decided to make her a little card from her best buddy Amelie. Kids love to get involved with a bit of glittler and glue.
You will need:
Card stock
Pencil
Glue
glitter
To create the glitter card simply sketch out a word, message or picture in pencil, then go over the pencil lines in glue and tip glitter all over, shake to spread the glue and then set to dry.
Tia x
Scribble Top Table
I love any project that involves upcycling furniture. When I was recently given an old table and chair I decided to give them a make-over and turn them into a scribble top table with a chalkboard top for Little Button to get creative on, with a matching chair. She’s now at the age where not everything goes straight into her mouth, so this table is a nice way to introduce drawing.
For this project you will need:
- A table and chair in need of love
- A sander or sandpaper
- Undercoat and primer
- Chalkboard paint
- Bright gloss paint
Begin by sanding down your chair and table, making sure to wipe away any old paint remnants with a cloth when you’re finished.
Apply the primer and undercoat. I used an all-in-one to save a bit of time.
Once the undercoat has dried apply two coats of your bright gloss to the legs and side of the table and the chair. When dry, apply the chalkboard paint to the top of the table. This paint dries quickly, but will need a few layers for a nice even finish.
Finally, I drilled a hole in a plastic cup and attached that to the table leg, to use as a chalk pot.
Now all I need to do is find a few more chairs to upcycle for Little Button’s chums to use. Let the scribbling commence!
For more furniture upcycling ideas see here, here and here!
We’re so lucky to have made the finals of the MAD Blog Awards for Best Craft Blog. If you have time, please could you vote for us here.
~ Laura xx ~
Life in Pictures
Life in Pictures
Life in Pictures
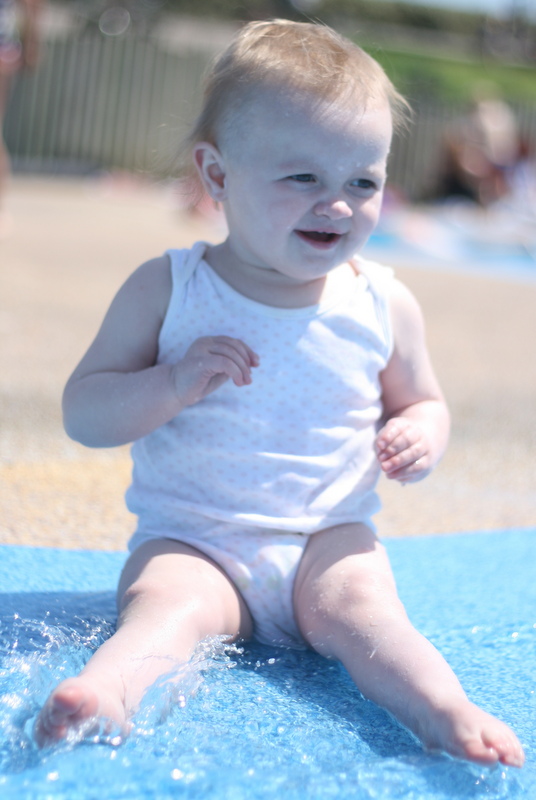
Life in Pictures is our weekly mini-gallery of what our Little Buttons have been up to over the last seven days.


We’re linking up with the Katie at Mummy Daddy and Me Makes Three, Hannah at Make, Do and Push & Jaime at The Oliver’s Madness this week.
~ Laura & Tia xx~


