Life in Pictures: The best Plaice in town!

Englishs brighton 11

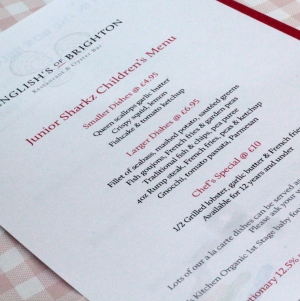
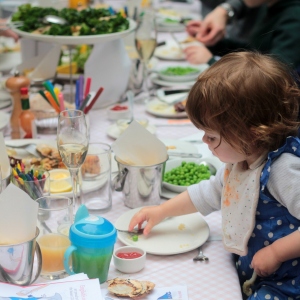
Sorry about the rubbish fish pun. I couldn’t help it. Yesterday we were very excited to go and sample the food at English’s Seafood Restaurant in Brighton. It’s such a lovely old Seafood restaurant (the oldest in Brighton actually) and they’ve just brought out an adventurous new children’s menu.

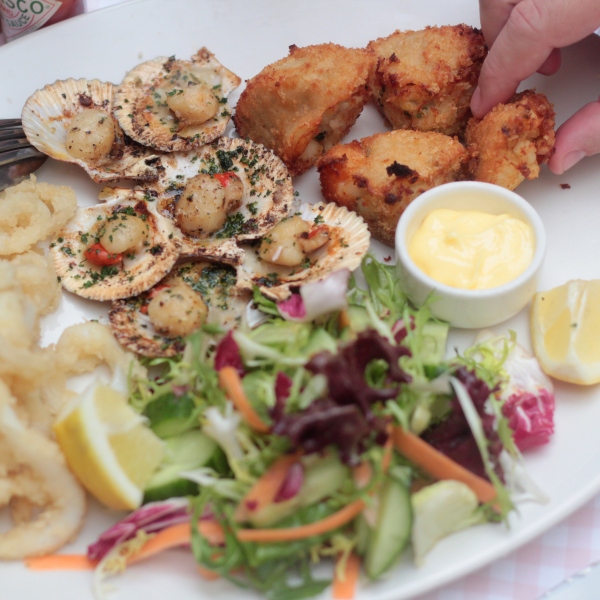
The food is so delicious and it isn’t full of your usual boring fishfingers and beans. Kids can have scallops and squid as well as the more usual goujons and fishcakes. The battered plaice was totally delicious, I don’t think I’ve ever had better. Plus I had my first ever oyster which was…. well, I’m sure it was a very good oyster, everyone else thought so, but I don’t think I’m an oyster person. Sorry. I tried.

If you’re local, or popping to Brighton for the day with kids, we would really recommend this place.

Englishs brighton 19 Englishs brighton 13 Englishs brighton 18 Englishs brighton 12 Englishs brighton 15 Englishs brighton 9 Englishs brighton 10 Englishs brighton 8 Englishs brighton 17

Thanks to English’s of Brighton, 29-31 East Street, Brighton, BN1 1HL


Felt Scrap Alphabet and Drawstring Bag

bag alphabet and drawstring bag DIY

I have a tremendous amount of scrap bits of felt and fabric that lie in a box waiting to be used. After having a Spring clean I decided to use up my scrap felt to make an alphabet for my Little Button, along with its own fabric bag.

To make the alphabet you will need:

  • Enough scrap felt to make 52 letters
  • White thread
  • Pins

To make the bag you will need:

  • Scrap fabric measuring 16 inches x 12 inches
  • 30 inches cotton tape
  • Safety pin

1. Begin by deciding what size and font you want your letters to be, and printing them out. My letters measured 3 inches high. I used Arial bold font in Microsoft Word and printed out a template.

felt alphabet diy

2. Next, pin each letter onto two pieces of felt and cut them out.

felt alphabet diy

3. Pin them together and sew. Trim the excess threads and neaten up the edges.

felt alphabet and drawstring bag tutorial

4. To make the bag you will need 2 pieces of fabric cut to 8 inches x 12 inches. Begin by placing your fabric right sides together.

felt alphabet and drawstring bag tutorial

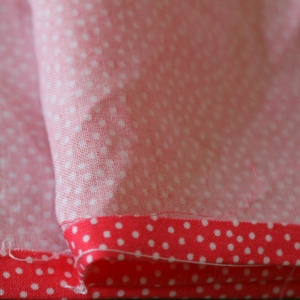
5. Sew the fabric together. Begin down one side starting 2 ½ inches from the top. Sew and backstitch at the start and sew down one side, along the bottom and up the other side, stopping 2 ½ inches from the top on the other side. Backstitch to secure.

felt alphabet and drawstring bag tutorial

6. To make the drawstring part, iron your seam closed and sew. Repeat on the other side.

 felt alphabet and drawstring bag tutorial felt alphabet and drawstring bag tutorial

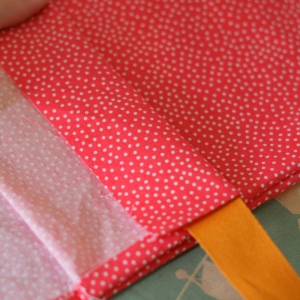
7. Next, fold the top over twice making sure the tie can easily fit through. Sew along the bottom of this section to secure it in place. Repeat on the other side of the bag.

 felt alphabet and drawstring bag tutorial felt alphabet and drawstring bag tutorial

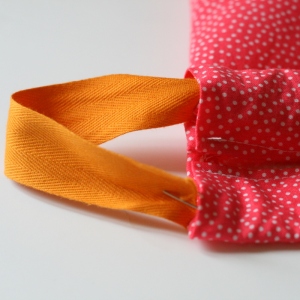
8. Using a safety pin, thread the cotton tape through the top and secure with a knot.

This project was as easy as…well A-B-C! The bag is also perfect for storing a few toys in.

felt alphabet and drawstring bag tutorialfelt alphabet and drawstring bag tutorial

If you like our blog, we would love you forever if you could take a tiny two seconds to nominate us for the Best Craft Blog at the 2015 BIB awards… click below to vote. Scroll to section 12 and select us. Thank you!

craft bibs 2015

 ~ Laura xx ~

How to make a Twirlywoo Soft Toy

twirlywoo toy tutorial little button diaries

I don’t know if you watch cbeebies. I mean… If you have a 2 year old, like me, you may feel like Mr Tumble is an old family friend and have a very slight crush on Mr Bloom (what!). If you don’t, you have no idea what I’m blathering on about and this post probably isn’t for you!

A new programme, called Twirlywoos, recently entered our lives and both my little ones are obsessed with it. Here they are:

twirlywoos-1

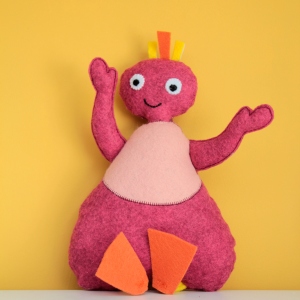
 You can’t buy twirlywoos yet, so I thought I’d make one for them. If you want to do the same, read on – its really easy.

You will need:

  • Felt – Maroon (2 sheets), pink, orange (1/2 sheet), yellow, white, black (scraps)
  • Soft toy stuffing
  • black & white embroidery thread
  • a little glue

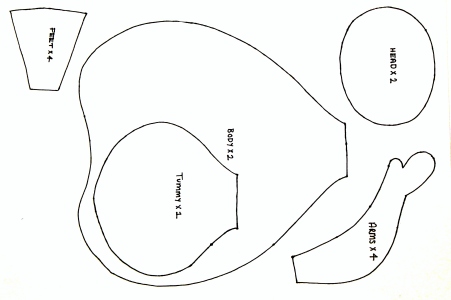
1. Begin by printing and cutting out the template below (scale the image to A4).
twirlywoo tutorial little button diaries 9

2. Pin the template to the felt and cut out.

From the maroon, cut 2 x body, 2 x head and 4 x arm pieces
From the pink cut 2 x tummy pieces
From the orange cut 4 x feet pieces
You will also need to cut 2 white circles and 2 tiny black circles for eyes, a 2 x 14cm strip of yellow that will become the legs and a few little strips of orange and yellow felt for the hair tufts.

twirlywoo tutorial little button diaries 8

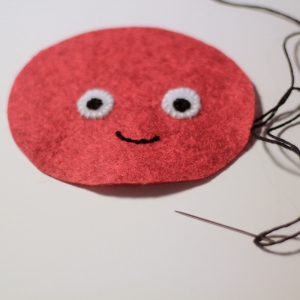
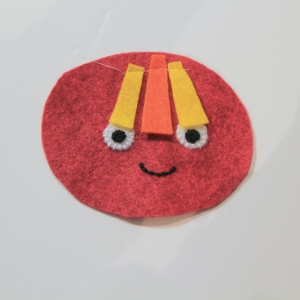
 3. line up the eyes and sew to the face with embroidery thread. Stitch on a little smile too.

twirlywoo tutorial little button diaries 7 twirlywoo tutorial little button diaries 6

4. Place the hair pieces on top, pointing inwards. Stitch along the top to secure, then sew the head pieces right sides together, with a 5mm seam allowance. Leave a 3cm gap at the bottom to turn. Snip all the way around the edge.
twirlywoo tutorial little button diaries 5 twirlywoo tutorial little button diaries 4

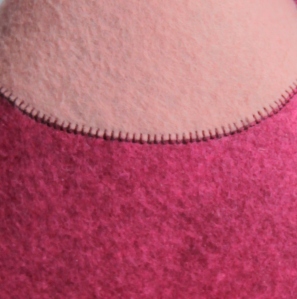
 5. Place the tummy piece on the body and blanket stitch together along the edge of the fabric.
twirlywoo toy tutorial little button diaries 14

6. Sew the arm pieces together with a gap at the end to stuff – as it is felt these will not need to be turned out. Poke some stuffing into the arms then pin, facing in, on the sides of the body piece. Roll the strip of yellow felt lengthways, pin and sew along the length of it to make the legs. Cut this in half and pin to the bottom of the body piece, again facing in.

7. Sew the body pieces together with a 4cm gap at the top. Turn out, then stuff the head and body pieces. Pin the head into the body piece and sew in place – I used a visible stitch to match the blanket stitch (although it wasn’t my neatest!).

twirlywoo tutorial little button diaries 1 twirlywoo tutorial little button diaries 2

Finally, glue the feet pieces together to strengthen them, then stitch the feet onto the bottom of the legs.

twirlywoo tutorial little button diaries 3

I think she looks a little bit like E.T. and she isn’t quite as rotund as the tv version, but she’s a Twirlywoo, right? Lilah was very happy with her new friend. I’ll make another one for Amelie at some point (maybe…).

Tia x

twirly woo 2twirlywoo tutorial little button diaries 12 twirlywoo tutorial little button diaries 11

Kids Project: 4 Simple Mother’s Day Cards

4 easy mothers day cards little button diaries

Hooray, its nearly Mother’s Day! We might get a lie in (8.15?) and everything. If your kids are looking for some easy card ideas (hint hint), why not see if they would like to make one of these super simple cards. Each one is suitable for beginners and take about an hour to complete. For the full tutorial with video, head over to our post on Hobbycraft.

And if you feel like making a little gift to go with it, why not have a go at this personalised cupcake flower frame also over on Hobbycraft.

mothers day floral art

Tia & Laura x

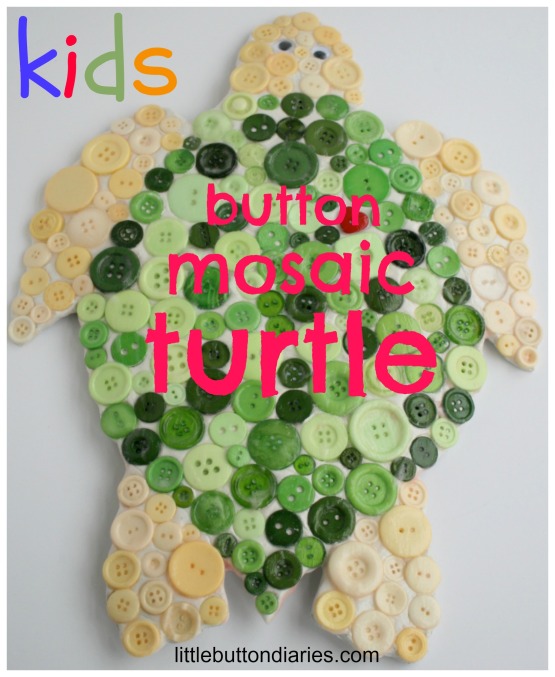
Kids Project: Button Mosaic Turtle

button mosaic turtle little button diaries

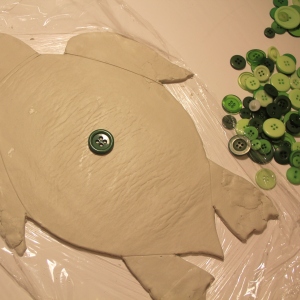
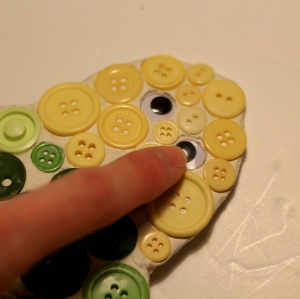
This little fella would be very happily hang in a little one’s bedroom. He’s super easy to make with the help of some air dry clay and a handful of coloured buttons. Hop over to Hobbycraft to see our blog post on how to make him. Complete with template and video tutorial!

HC Mosaic Turtle 7 HC Mosaic Turtle 11

Tia & laura x

Nap Time Crafts – Mini Market Shopping Bag

felt shopper

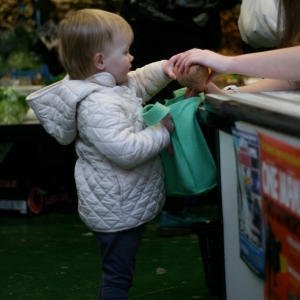
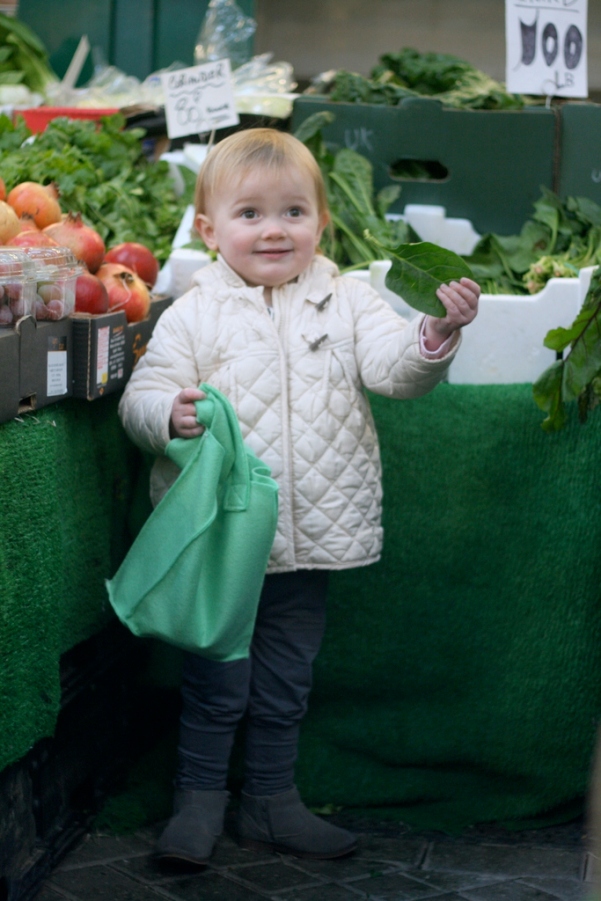
My Little Button is really into shopping at the moment. When she’s at home she likes to fill up little paper bags with objects and then show me what she ‘bought’ at the shops. So I decided to make her a personalised felt shopping bag in which to store all her ‘purchases’. I’m not sure it really counts as a ‘bag for life’ but it’s a step in the right direction, and it will definitely do her until she gets a new obsession!

For this project you will need:

  • 3 sheets of green felt
  • Scrap of contrasting coloured felt
  • Embroidery thread to match contrasting coloured felt
  • Sewing thread

IMG_4093

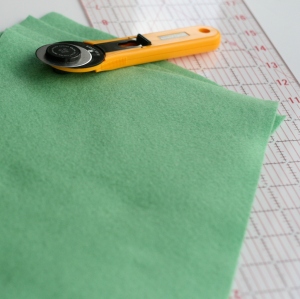
1. Begin by cutting your pieces out of felt. You will need to cut the following:

  • Front and back of bag – cut two rectangles measuring 7 x 9 inches
  • Base of bag – cut one rectangle measuring 3 x 7 inches
  • For the side panels – cut two rectangles measuring 7 x 3 inches
  • For the handles – cut four rectangles measuring 12 x 1 ½ inches

You do not need to incorporate any seam allowance.

felt toy shopping bag tutorial

2. Pin and sew the base piece of felt to the front and back piece (as above).

felt toy shopping bag tutorial

3. Pin the two side panels to the front, back and base of the bag and sew in place.

felt toy shopping bag tutorial

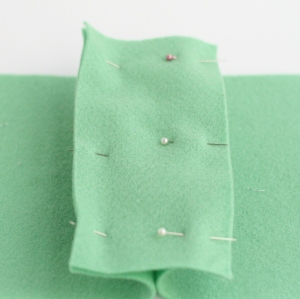
4. For the handles, pin and sew two of your rectangles together. Repeat with the other two rectangles. Pin the handles to the bag. One goes across the front and the other across the back. I positioned mine 1 inch in from the side of the bag and 1.5 inches down from the top. Sew in place by sewing a square and then a cross inside the square to reinforce the handle.

felt toy shopping bag tutorial

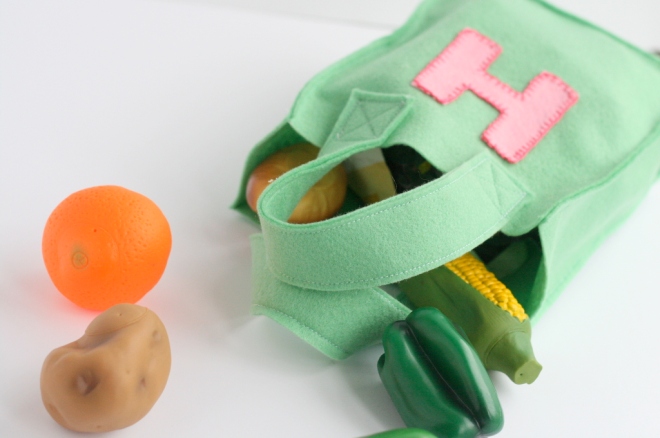
5. With your scrap piece of felt, cut your little one’s initial and pin it to the front of the bag. Then sew in place using embroidery thread and a blanket stitch.

IMG_4178

Finally, go shopping! My Little Button loves to take hers to our local fruit and veg market – now she just needs to realise someone needs to pay for her groceries before she sticks them in her bag!

felt shopping bag tutorial

felt toy shopping bag tutorial

felt shopper tutorial felt shopper tutorialfelt shopper tutorial

~ Laura xx ~

Kids Project: Sunshine Paper Plate Hat

Sunshine paper plate hat

Bring a little bit of sunshine indoors on a wet afternoon with this paper plate hat. It’s easy to make with your little ones and when finished it makes a lovely addition to any dressing-up box.

Our full tutorial on this is up on Hobbycraft’s site now!

~ Laura & Tia x ~