Mrs Flowerpot Lady

DIY flower pot tutorial

We love a challenge, especially a craft one! Hobbycraft set us the challenge of making something out of just a few items selected for us, and we decided to make a lovely little flower pot lady. Mrs. Pot is easy to make, takes very little time and is the perfect craft to do with little ones. For the full tutorial on how to make her visit Hobbycraft!

flower pot lady tutorial 7

 ~ Tia & Laura xx ~

Nap Time Crafts: Sun Print Notebook


sunprint card tutorial

Before the summer is out I wanted to try making something with sunography paper. This is paper that is bleached in the sun and leaves a print of what you placed on top. I decided to rope my Little Button and her Grandpa in for this craft project and turn the results into a ‘back to school’-style notebook that would remind me of summer.

sun printing tutorial

My Little Button and her Grandpa went on a nature walk around his garden looking for suitable flowers and leaves to place on the paper to make the print.

sun printing tutorialsun printing tutorial

Once they had collected the flowers we flattened them in between two books and then carefully arranged them onto the paper.

sun printing tutorial

We left the paper in direct sunlight for 10 minutes.  We then removed the leaves and rinsed the paper under a cold tap until the water ran clear, then left it to dry.

Here’s what I learnt from this type of printing:

  • Once you’ve picked your flowers/leaves, flatten them between two books. This will give a much clearer and more defined print on the sun paper.
  • Any trace of wind in the air will move the leaves and disrupt the printing process. I learnt this the hard way after leaving it alone and coming back to discover the leaves on the floor!
  • The longer you leave the print paper in the sun the stronger the image will be. The brand I used recommended 10 minutes.
  • Direct sunlight worked best, not shade.

To make a notebook

You will need:

  • Your sun print
  • Thick card for front cover
  • Neon embroidery thread
  • Paper for pages

sun notebook diy sun print notebook diy

1. Begin by cutting out your sun print panel. Fold your front cover card in half and position the panel on the front. Attach using a small amount of glue in the centre.

   sun print notebook diy

2. Stitch round the sun print panel in neon thread using a sewing machine.

sun print notebook diy

3. Arrange your paper for the pages and fold in half. Straighten up the edges with a craft knife and cut so the papers are 1cm smaller than the front cover on all sides.

 sun print notebook diy  sun print notebook diy

4. To bind the pages and front cover together, make three holes equal distance apart on the middle pages  through to the spine of the cover with a needle. Then start your thread from the middle hole on the middle pages and thread up to the top hole on the spine. Then thread back down to the middle hole on the inside and down to the lower hole on the outside. Keep repeating this process of sewing from the middle out to the spine and going up and down the spine. This will securely attach the spine to the pages. End with the thread on the inside and tie a knot in the thread.

 sun print notebook diy

sun print notebook diy

Fingers crossed for a sunny September!
~ Laura xx ~

Pina Colada Ice Lollies


pina colada ice lolly recipe

These pina colada ice lollies are our latest recipe for Brighton Mums. Made with fresh fruit, coconut milk and a touch of rum (if desired), they are the perfect accompaniment to the lovely sunny weather we’re having.

For the full recipe visit our post over at Brighton Mums.

pina colada ice lolly recipe

pina colada ice lolly recipe pina colada ice lolly recipe

~ Laura & Tia xx ~

A Baby Sunhat Tutorial

baby sunhat tutorial

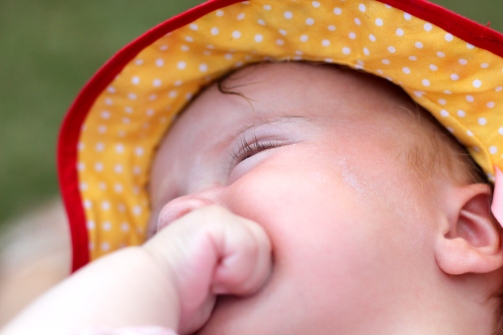
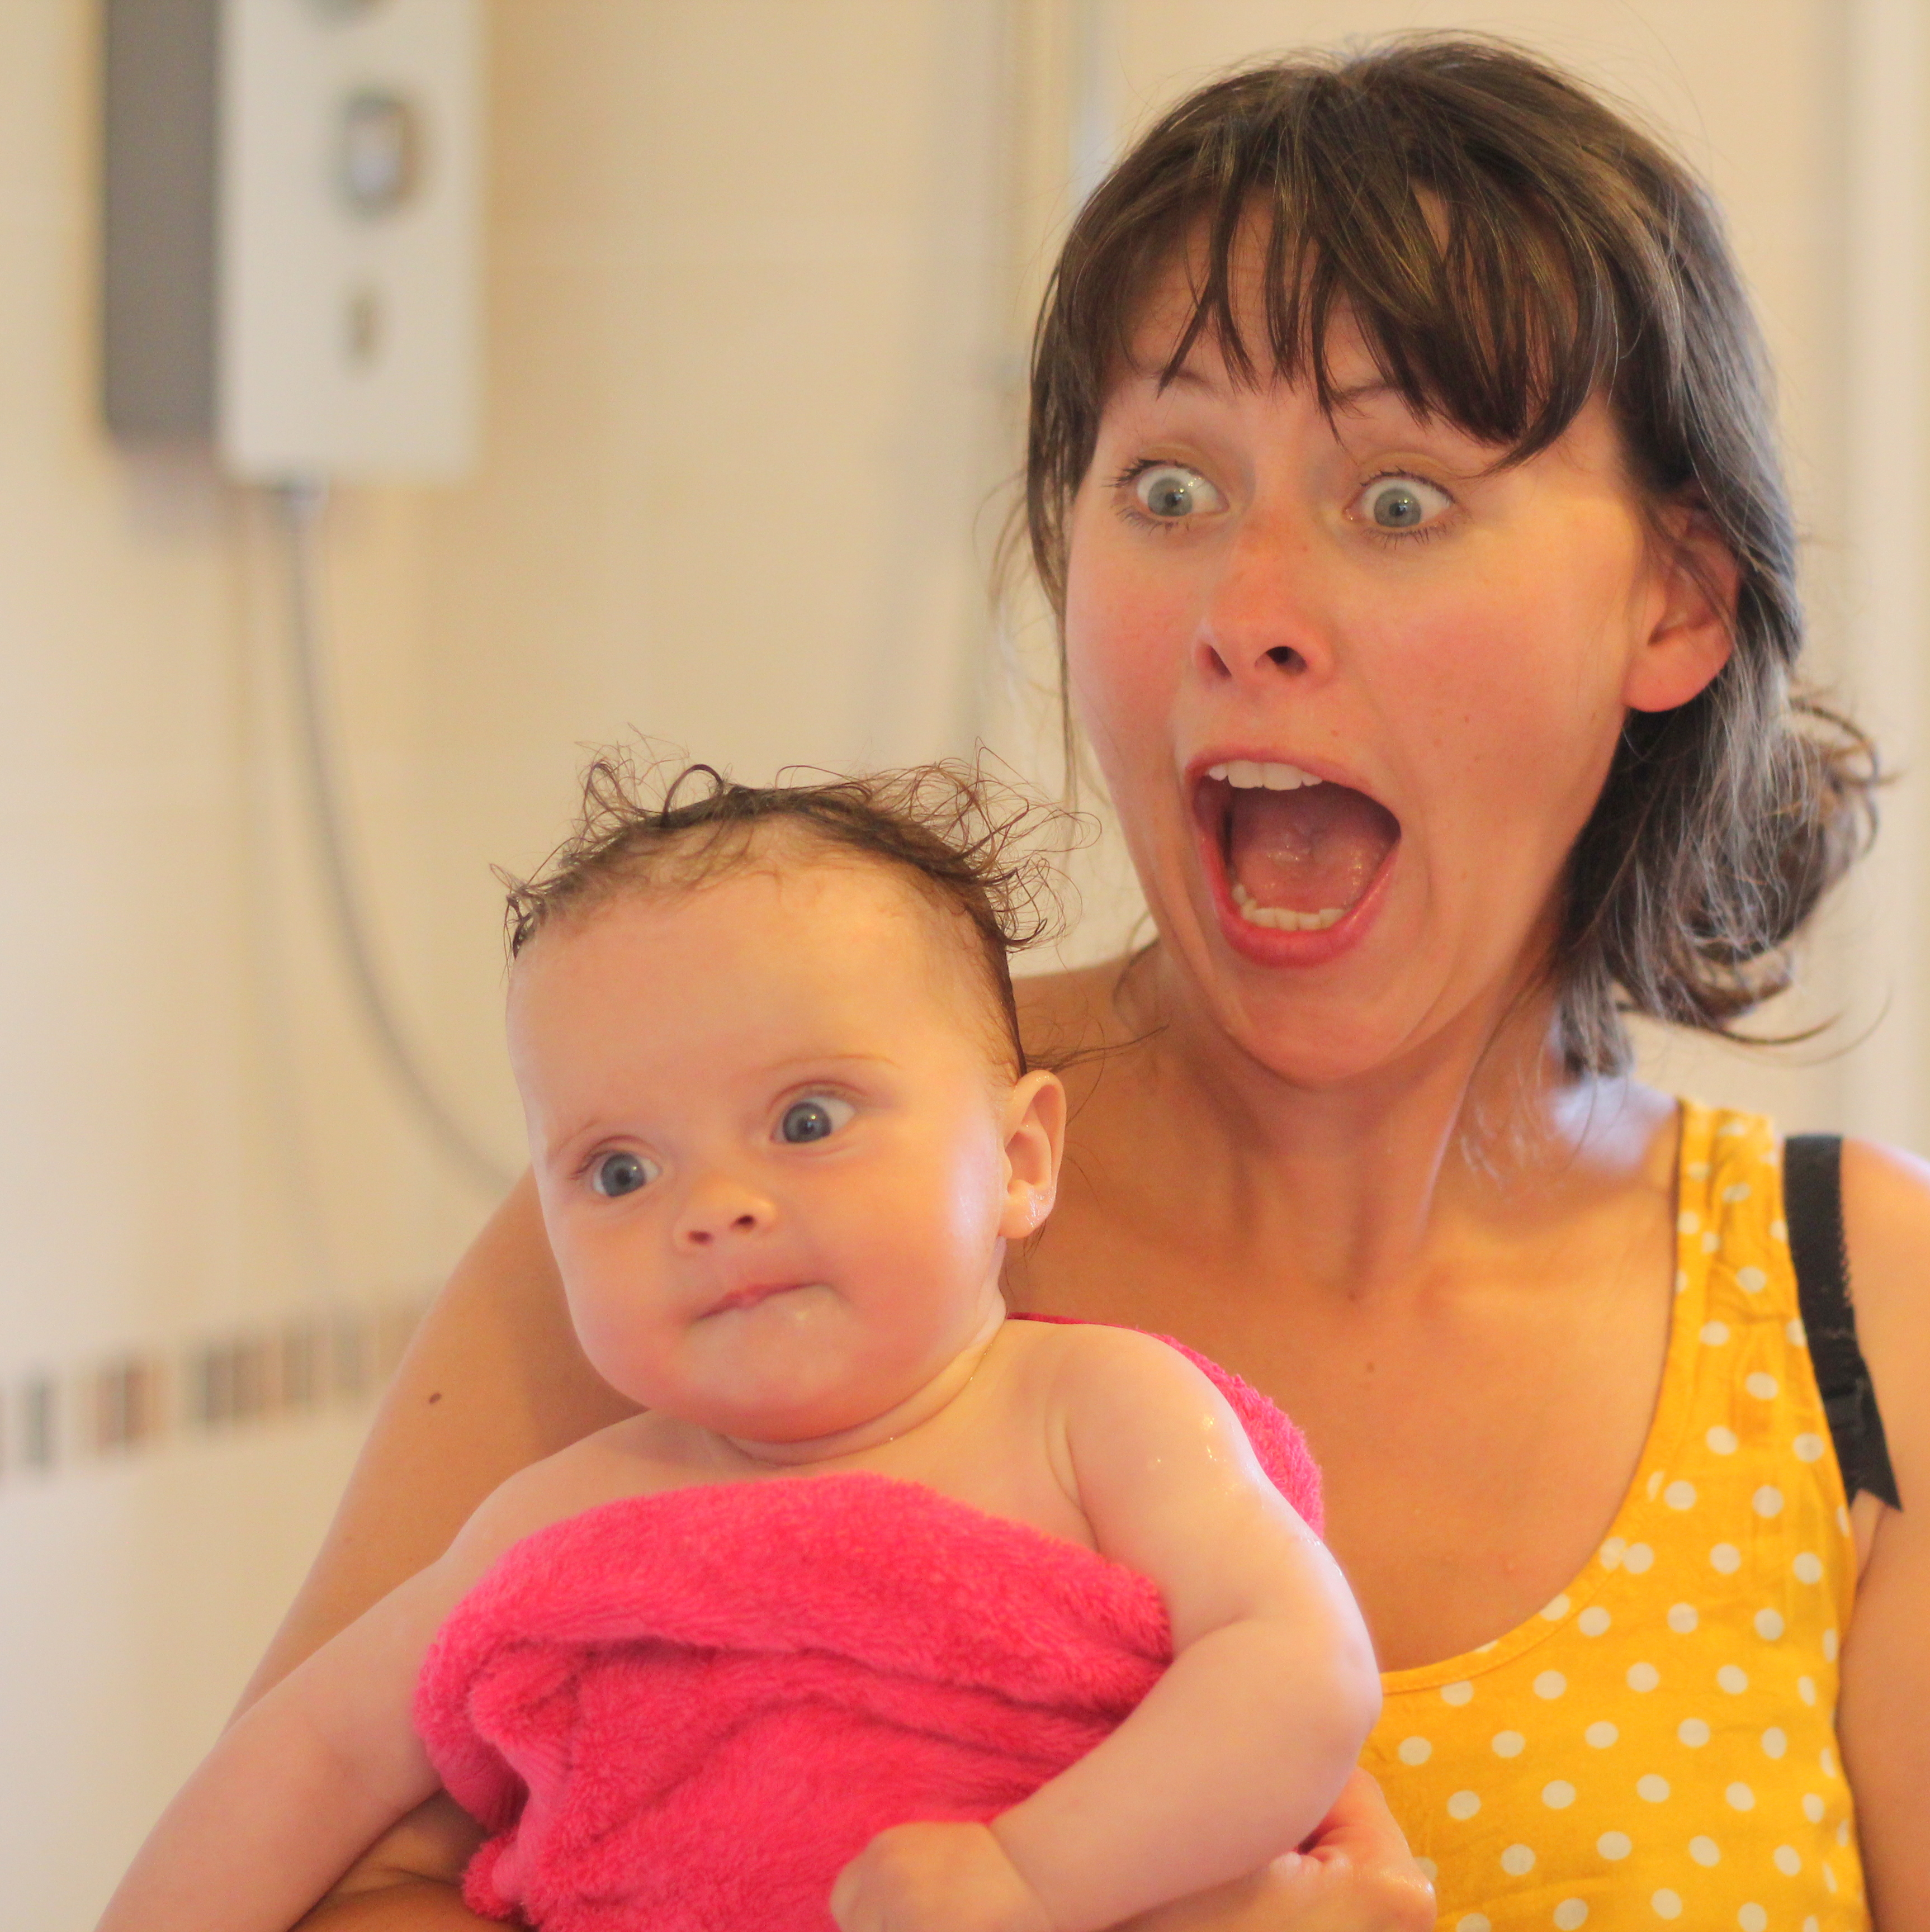
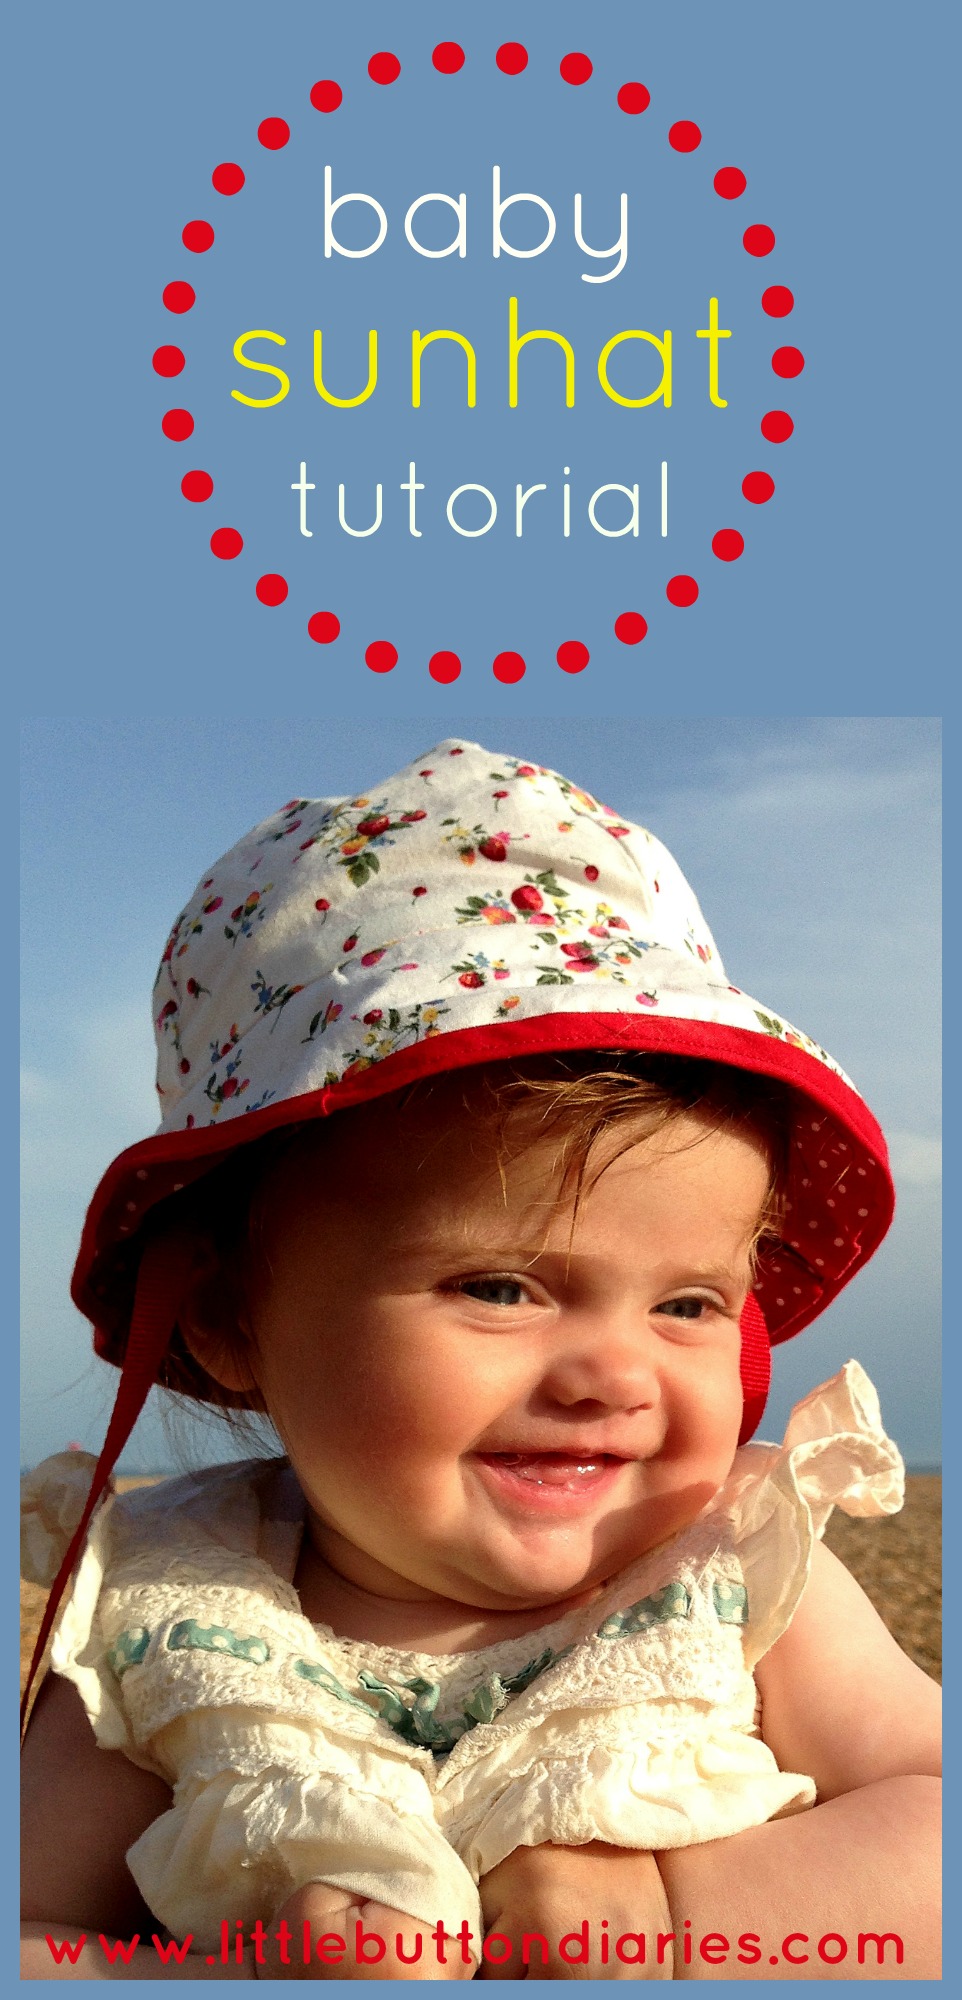
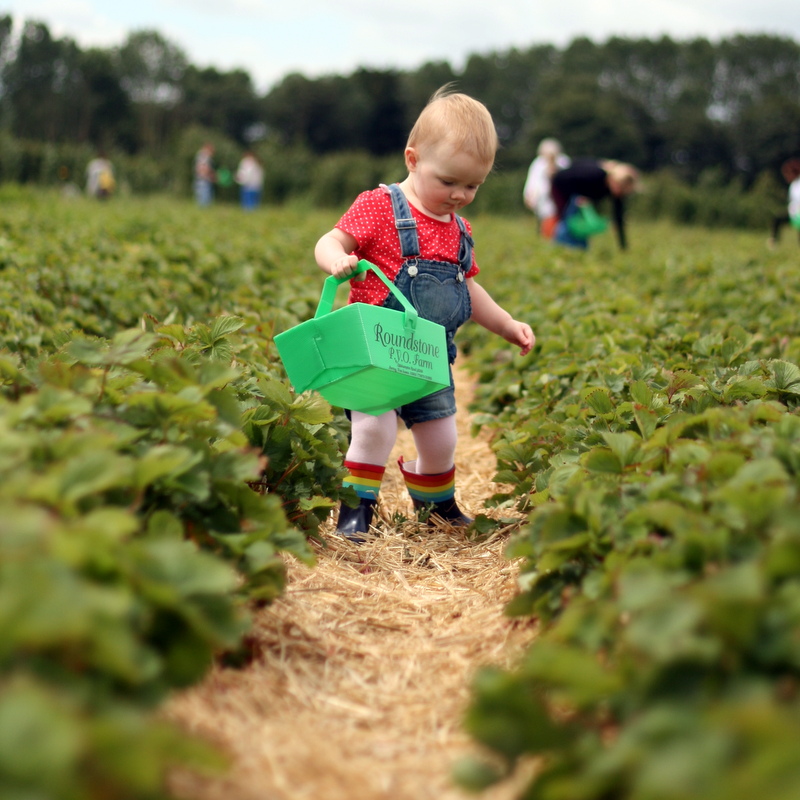
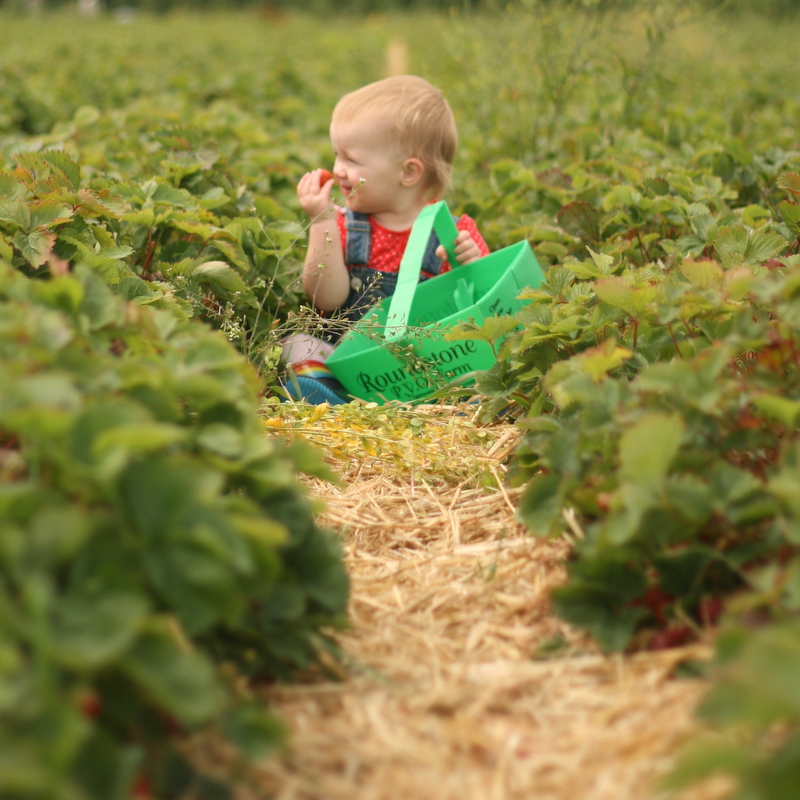
Oh dear me…I’m ashamed to say that my little one got a bit of a burnt head the other day! It was only a tiny bit… but I feel very guilty. So to make up for it, I decided to make her a nice new sunhat. I find the ones in the shops are all a bit samey and boring. This one is bright, reversible and SO easy to make (so easy in fact that I made two). I found a really lovely tutorial and template here on www.purlbee.com.

This hat is to fit a baby aged 0-3 months.

You will need:
2 contrasting pieces of fabric (about a fat 1/4 of each)
Iron on interfacing
Bias binding
Ribbon
Sewing machine

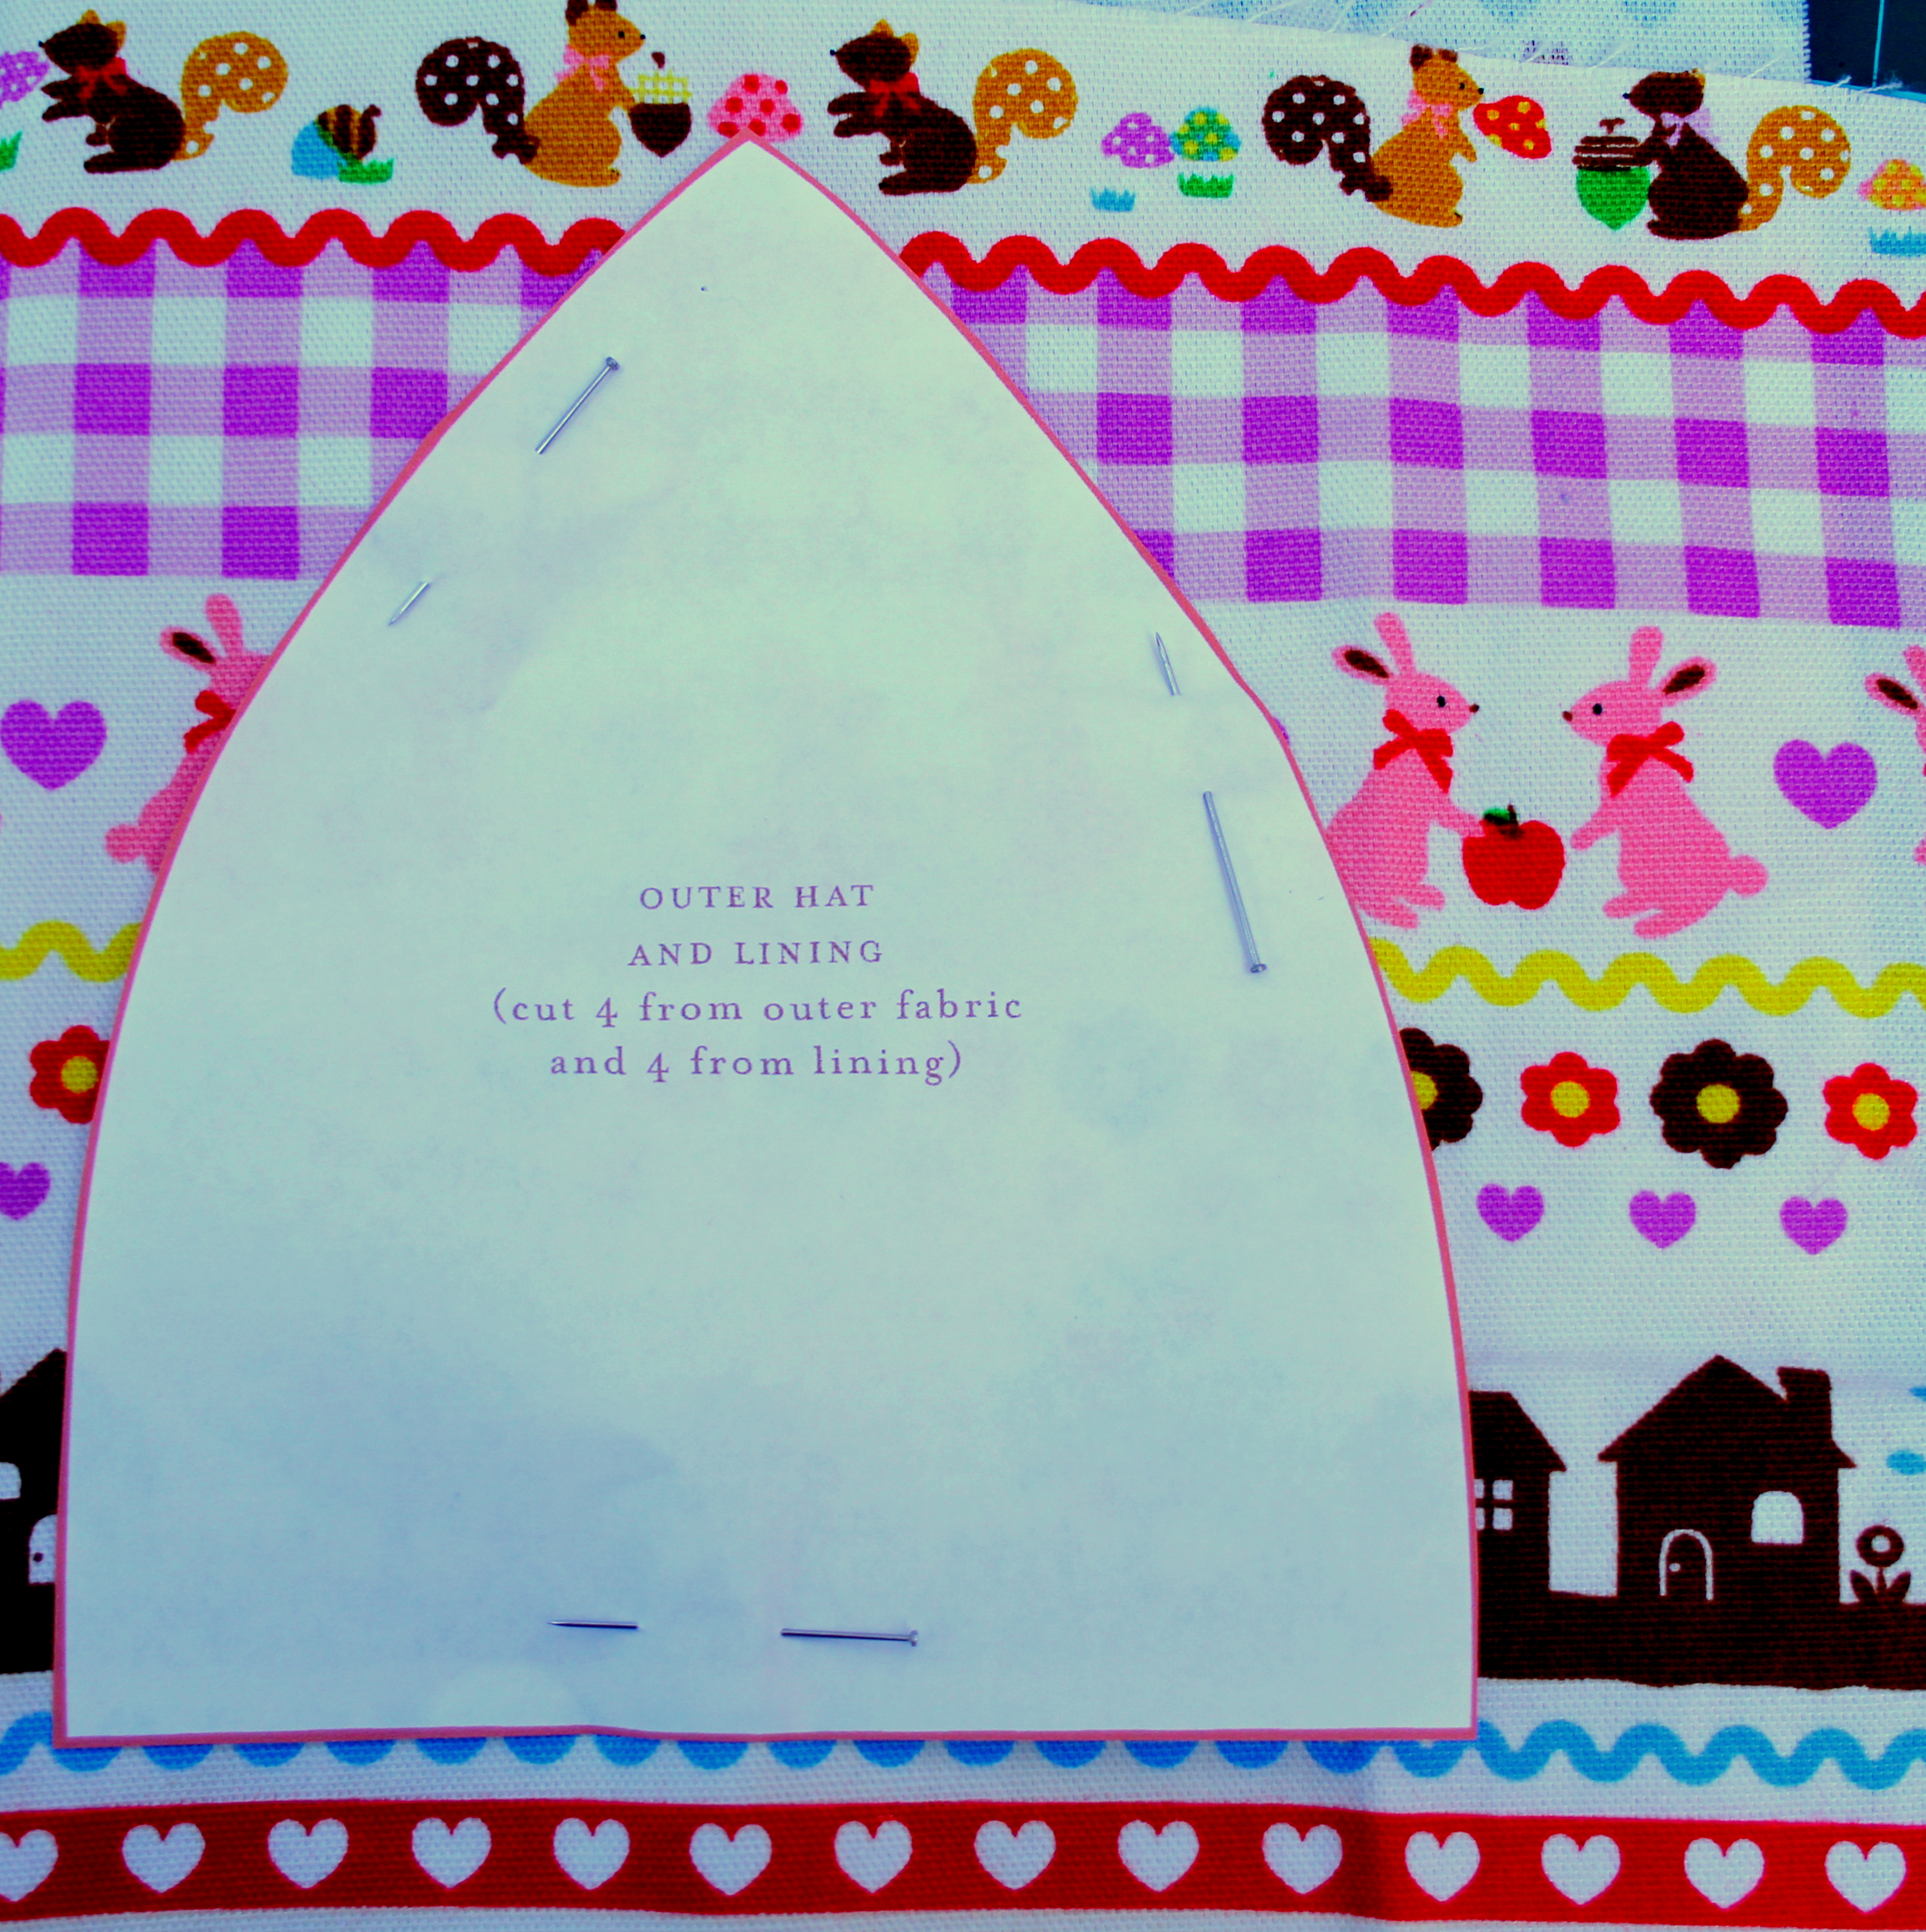
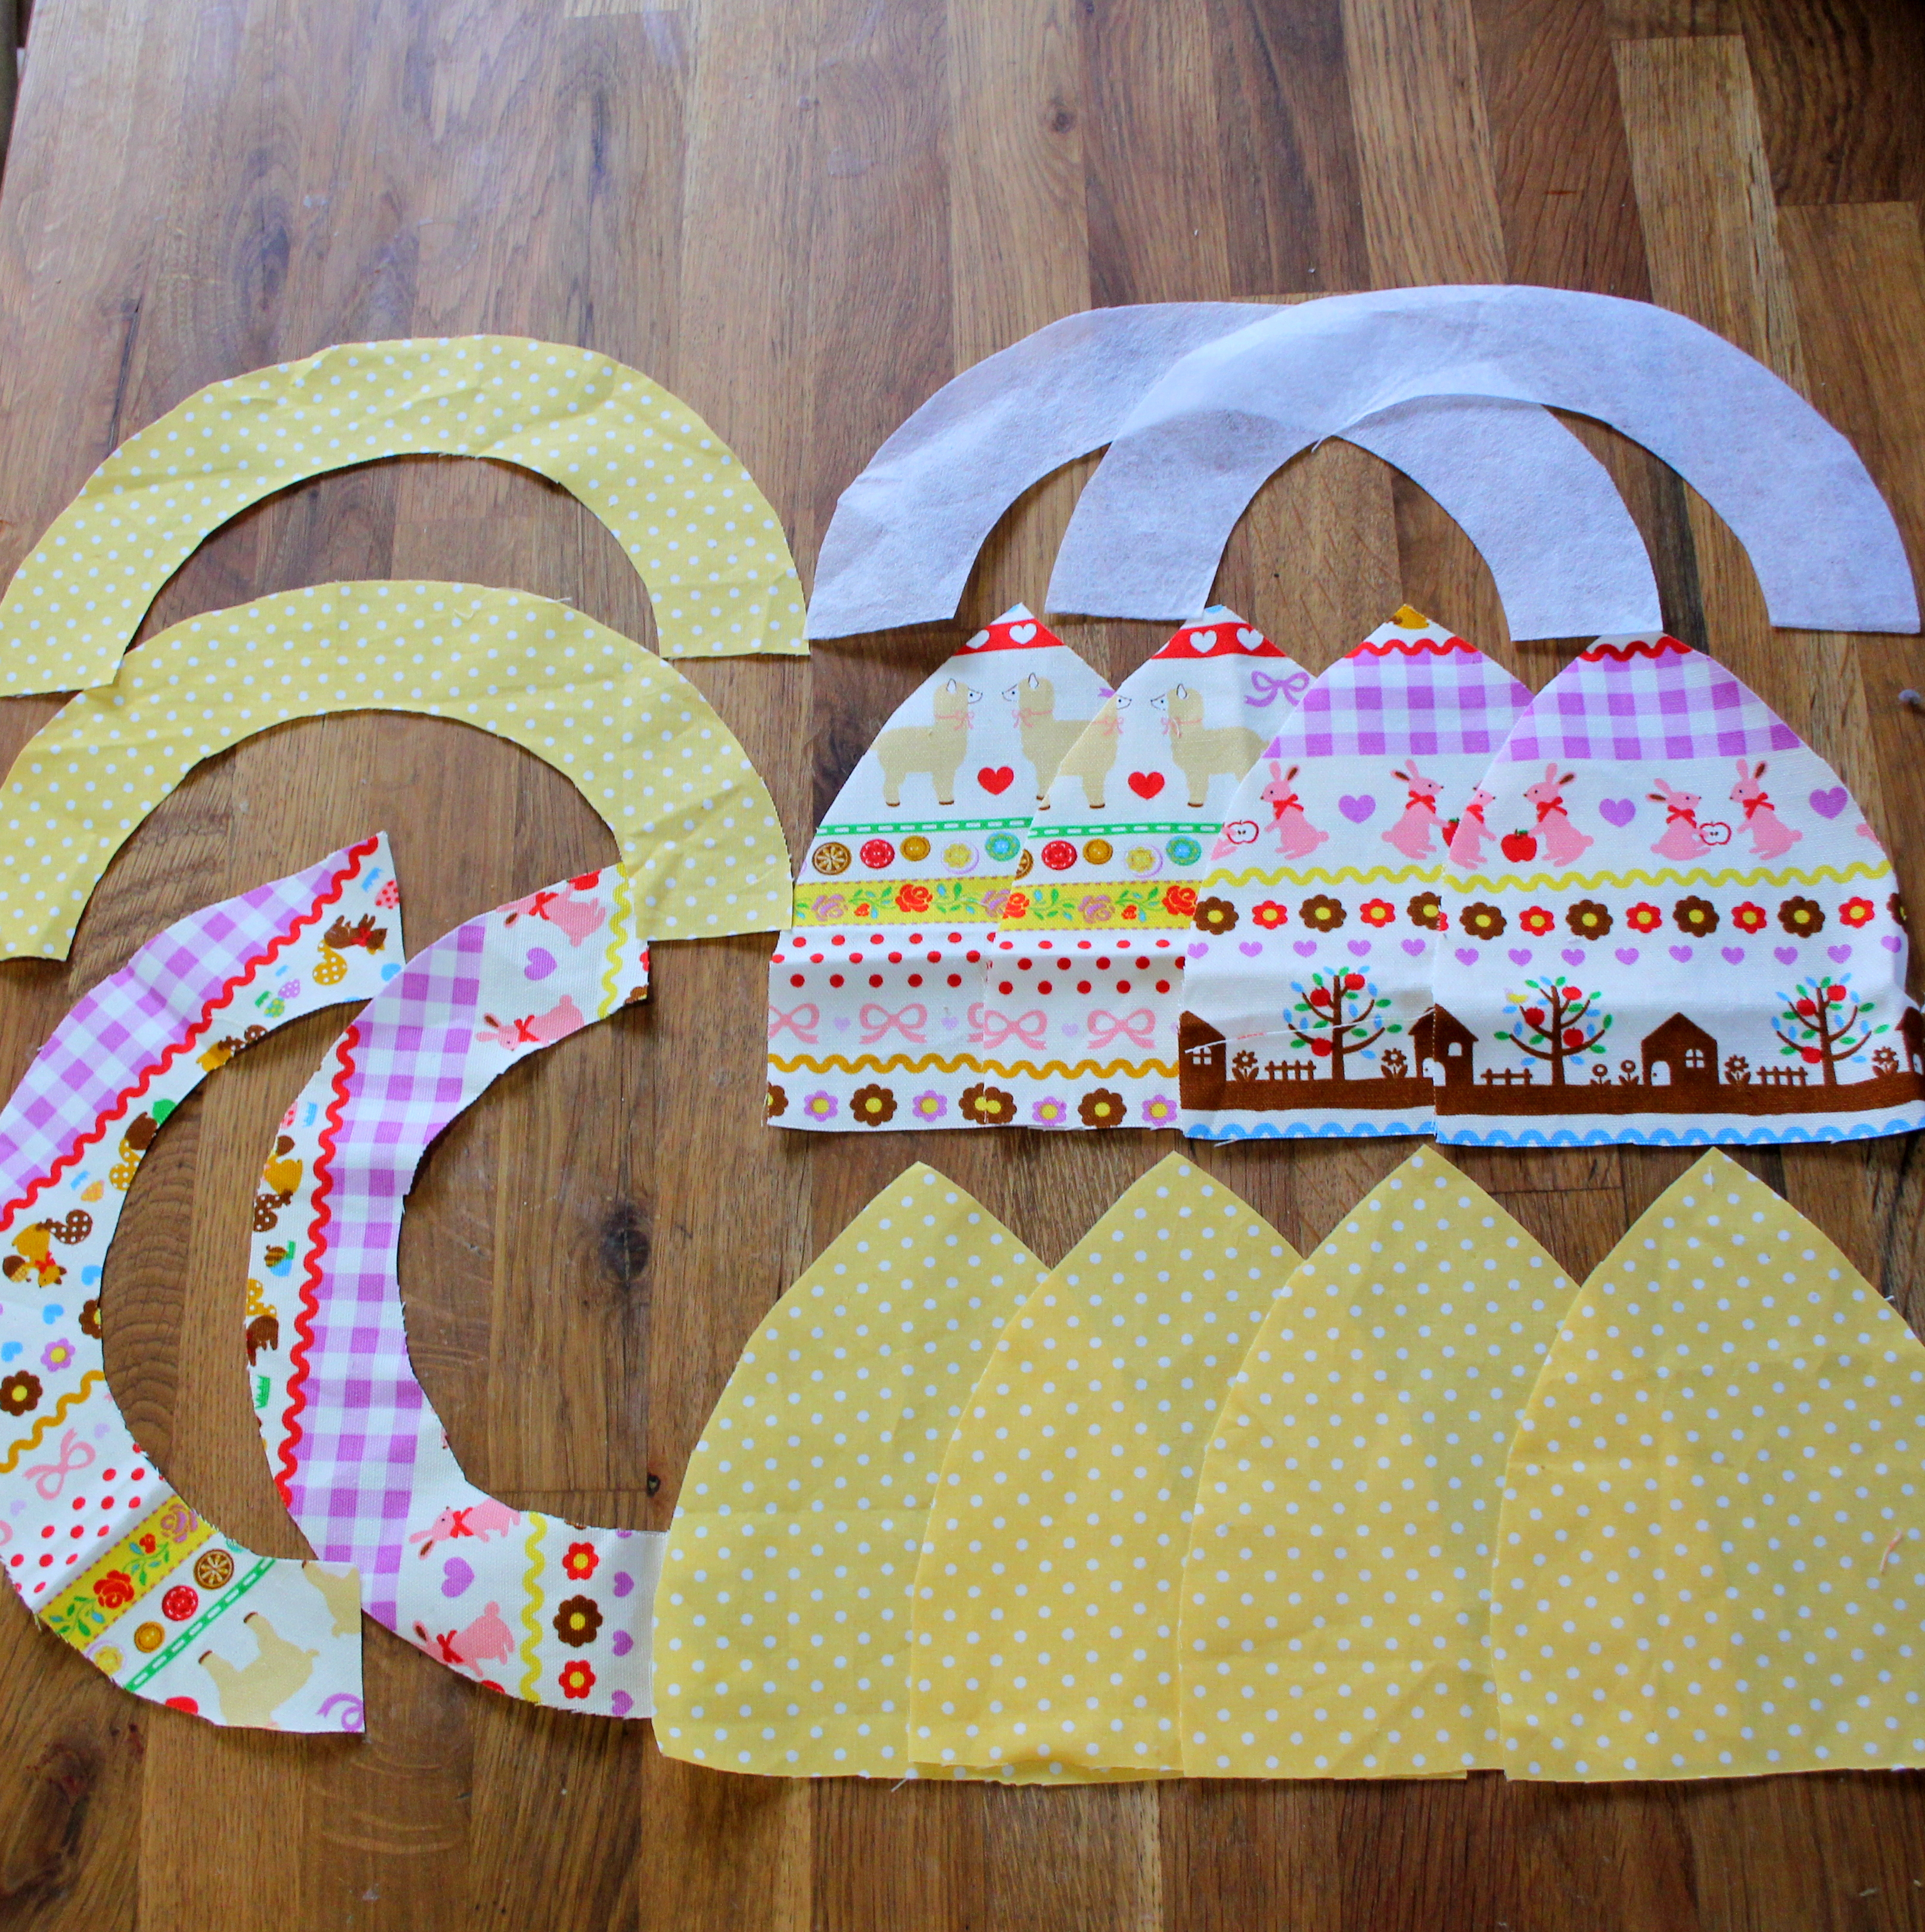
1) begin by printing out Purlbee’s brilliant template (available here). Cut 4 dome pieces from the outer fabric and 4 from the lining. Then cut the rim pieces – two of each from the outer fabric, lining and interfacing, as shown below.

sun hat 1 sun hat 2

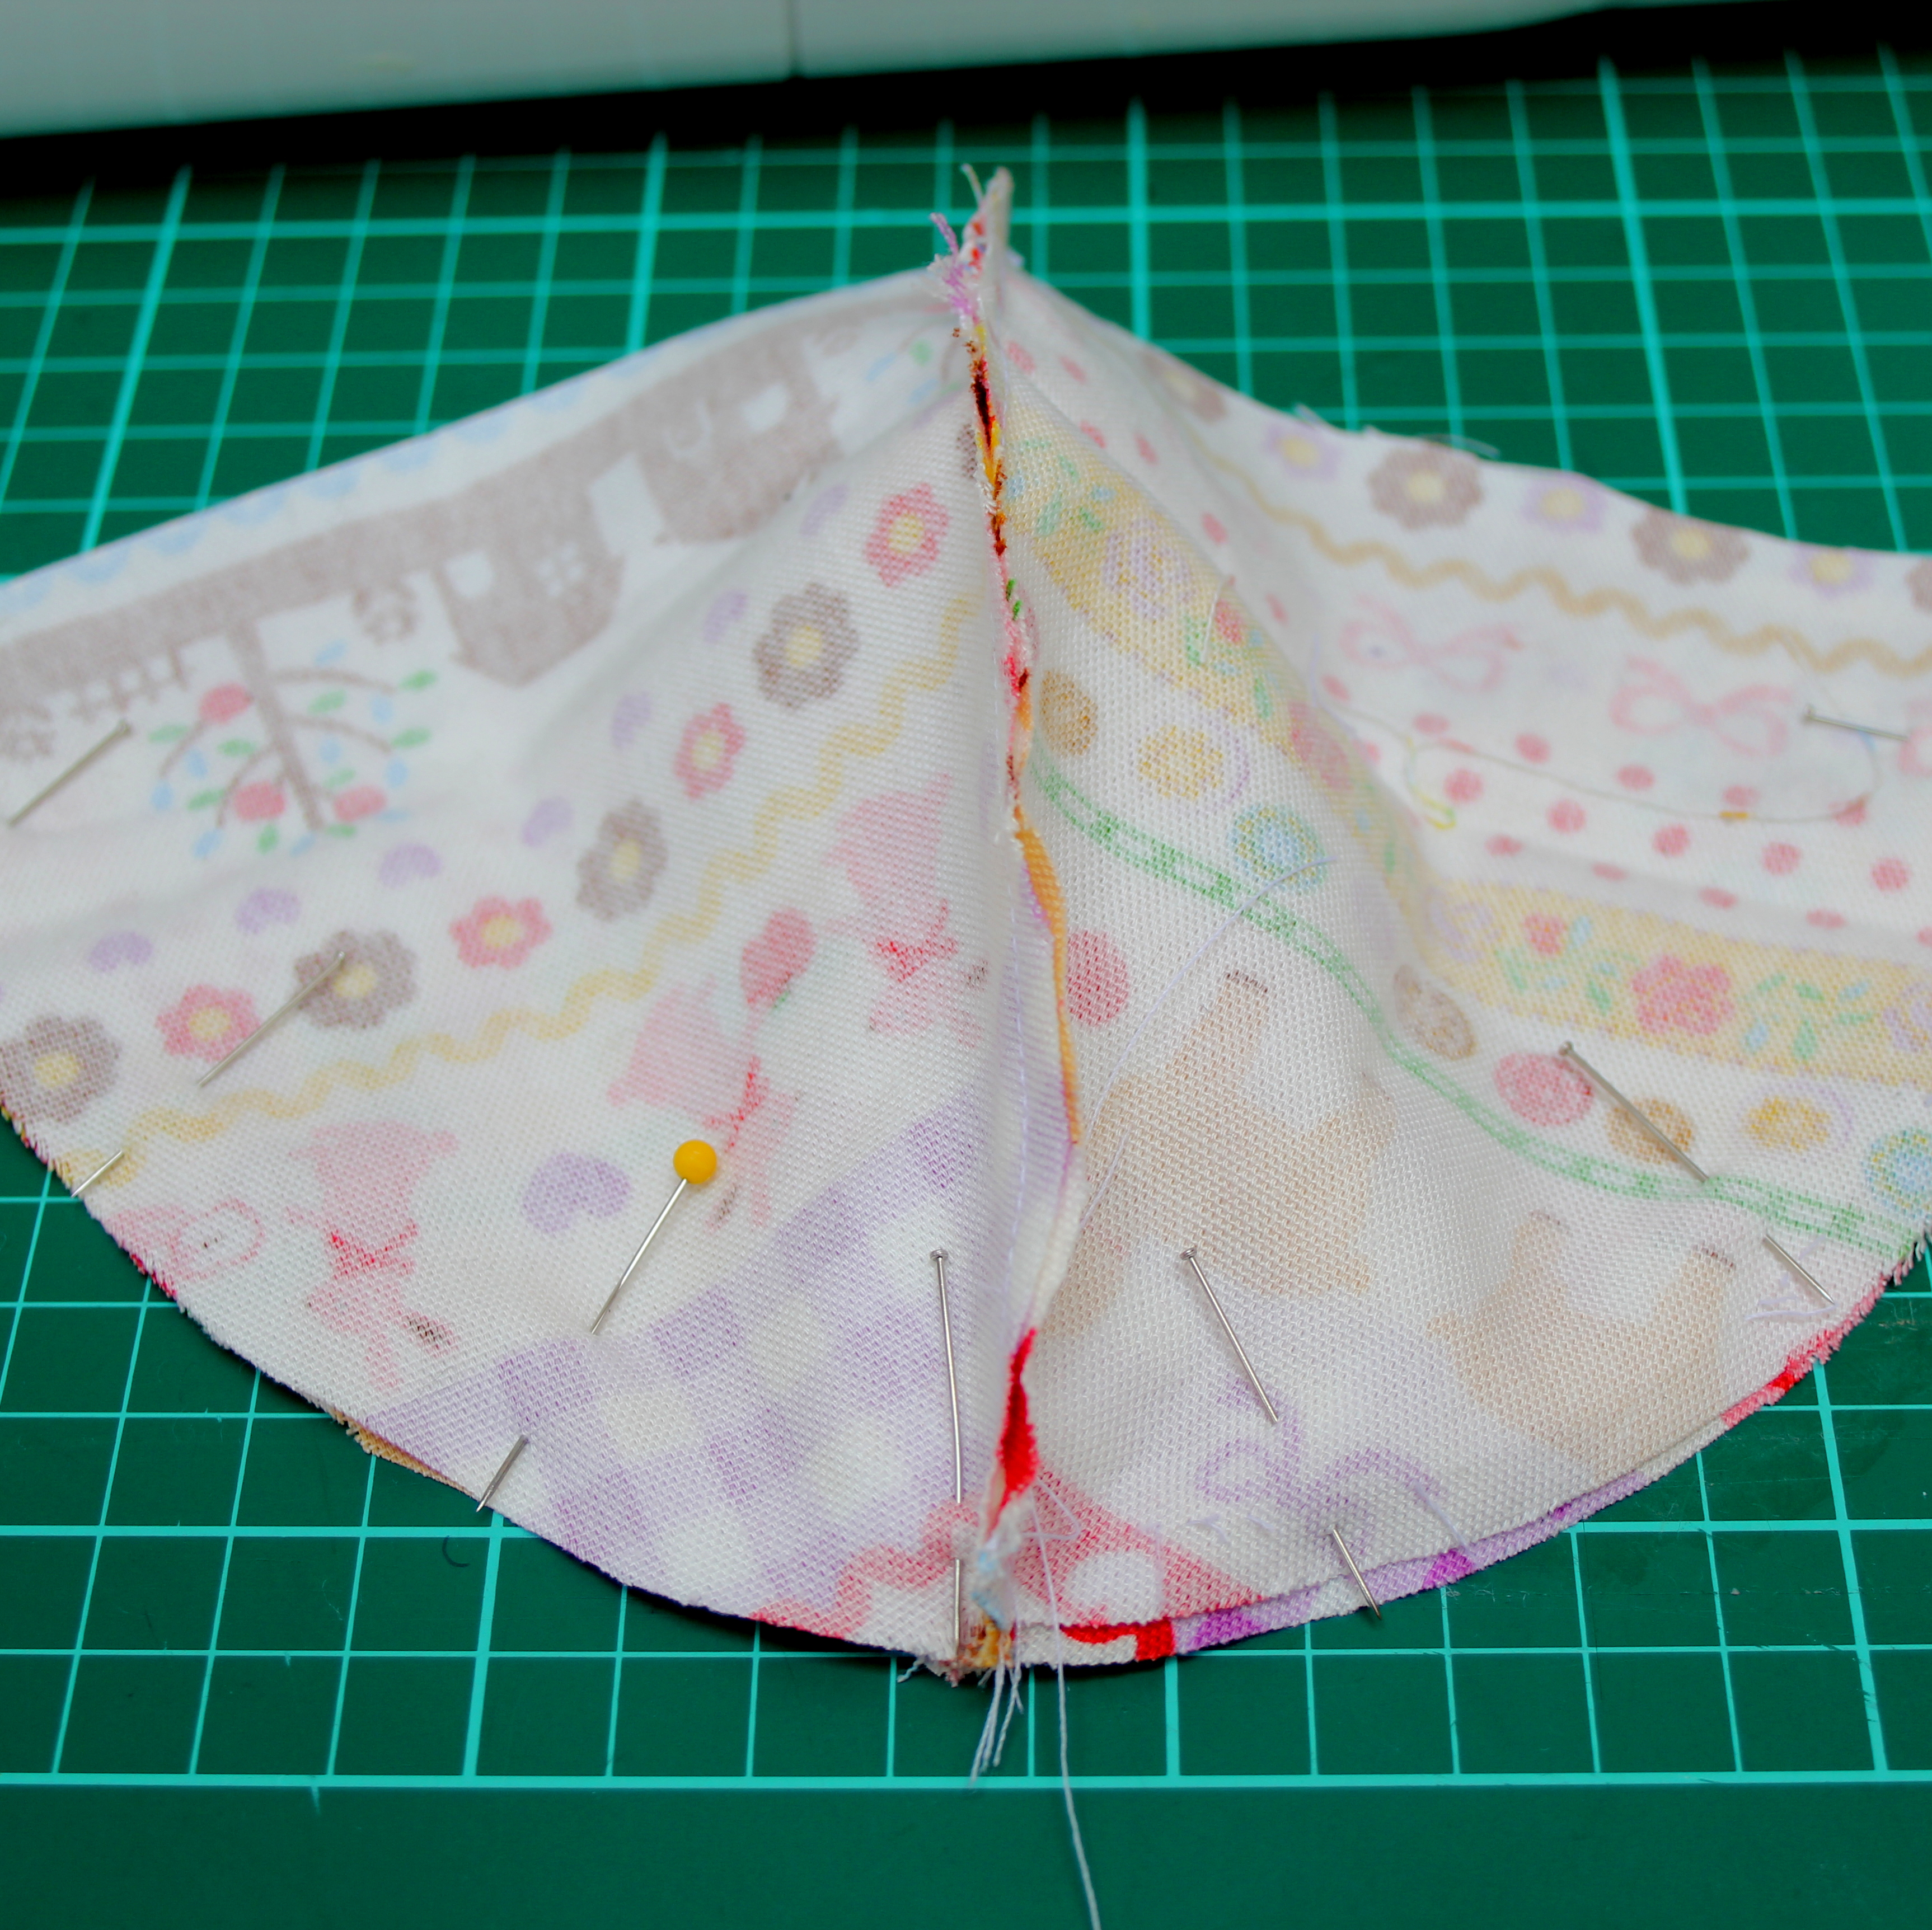
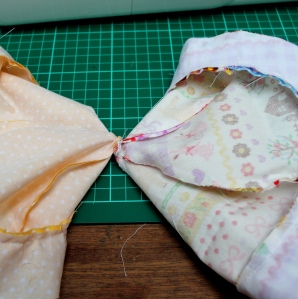
2) Put the outer pieces together in pairs, right sides together. Pin and sew along one side with a 1/4 inch seam allowance (which will be the allowance for the whole project). Open out and press with the iron. Pin the sewn pieces right sides together and sew all the way round the curved edge to create the basic hat shape. NB its a good idea to test this out on your child at this point, bearing in mind that the finished hat will be smaller still. But if it doesn’t fit now… you want to know NOW!

sun hat 5 sun hat 4

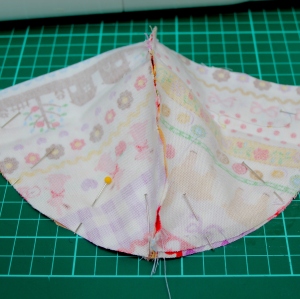
3) repeat the above process with the lining pieces, so that you have two domes.

sun hat 7

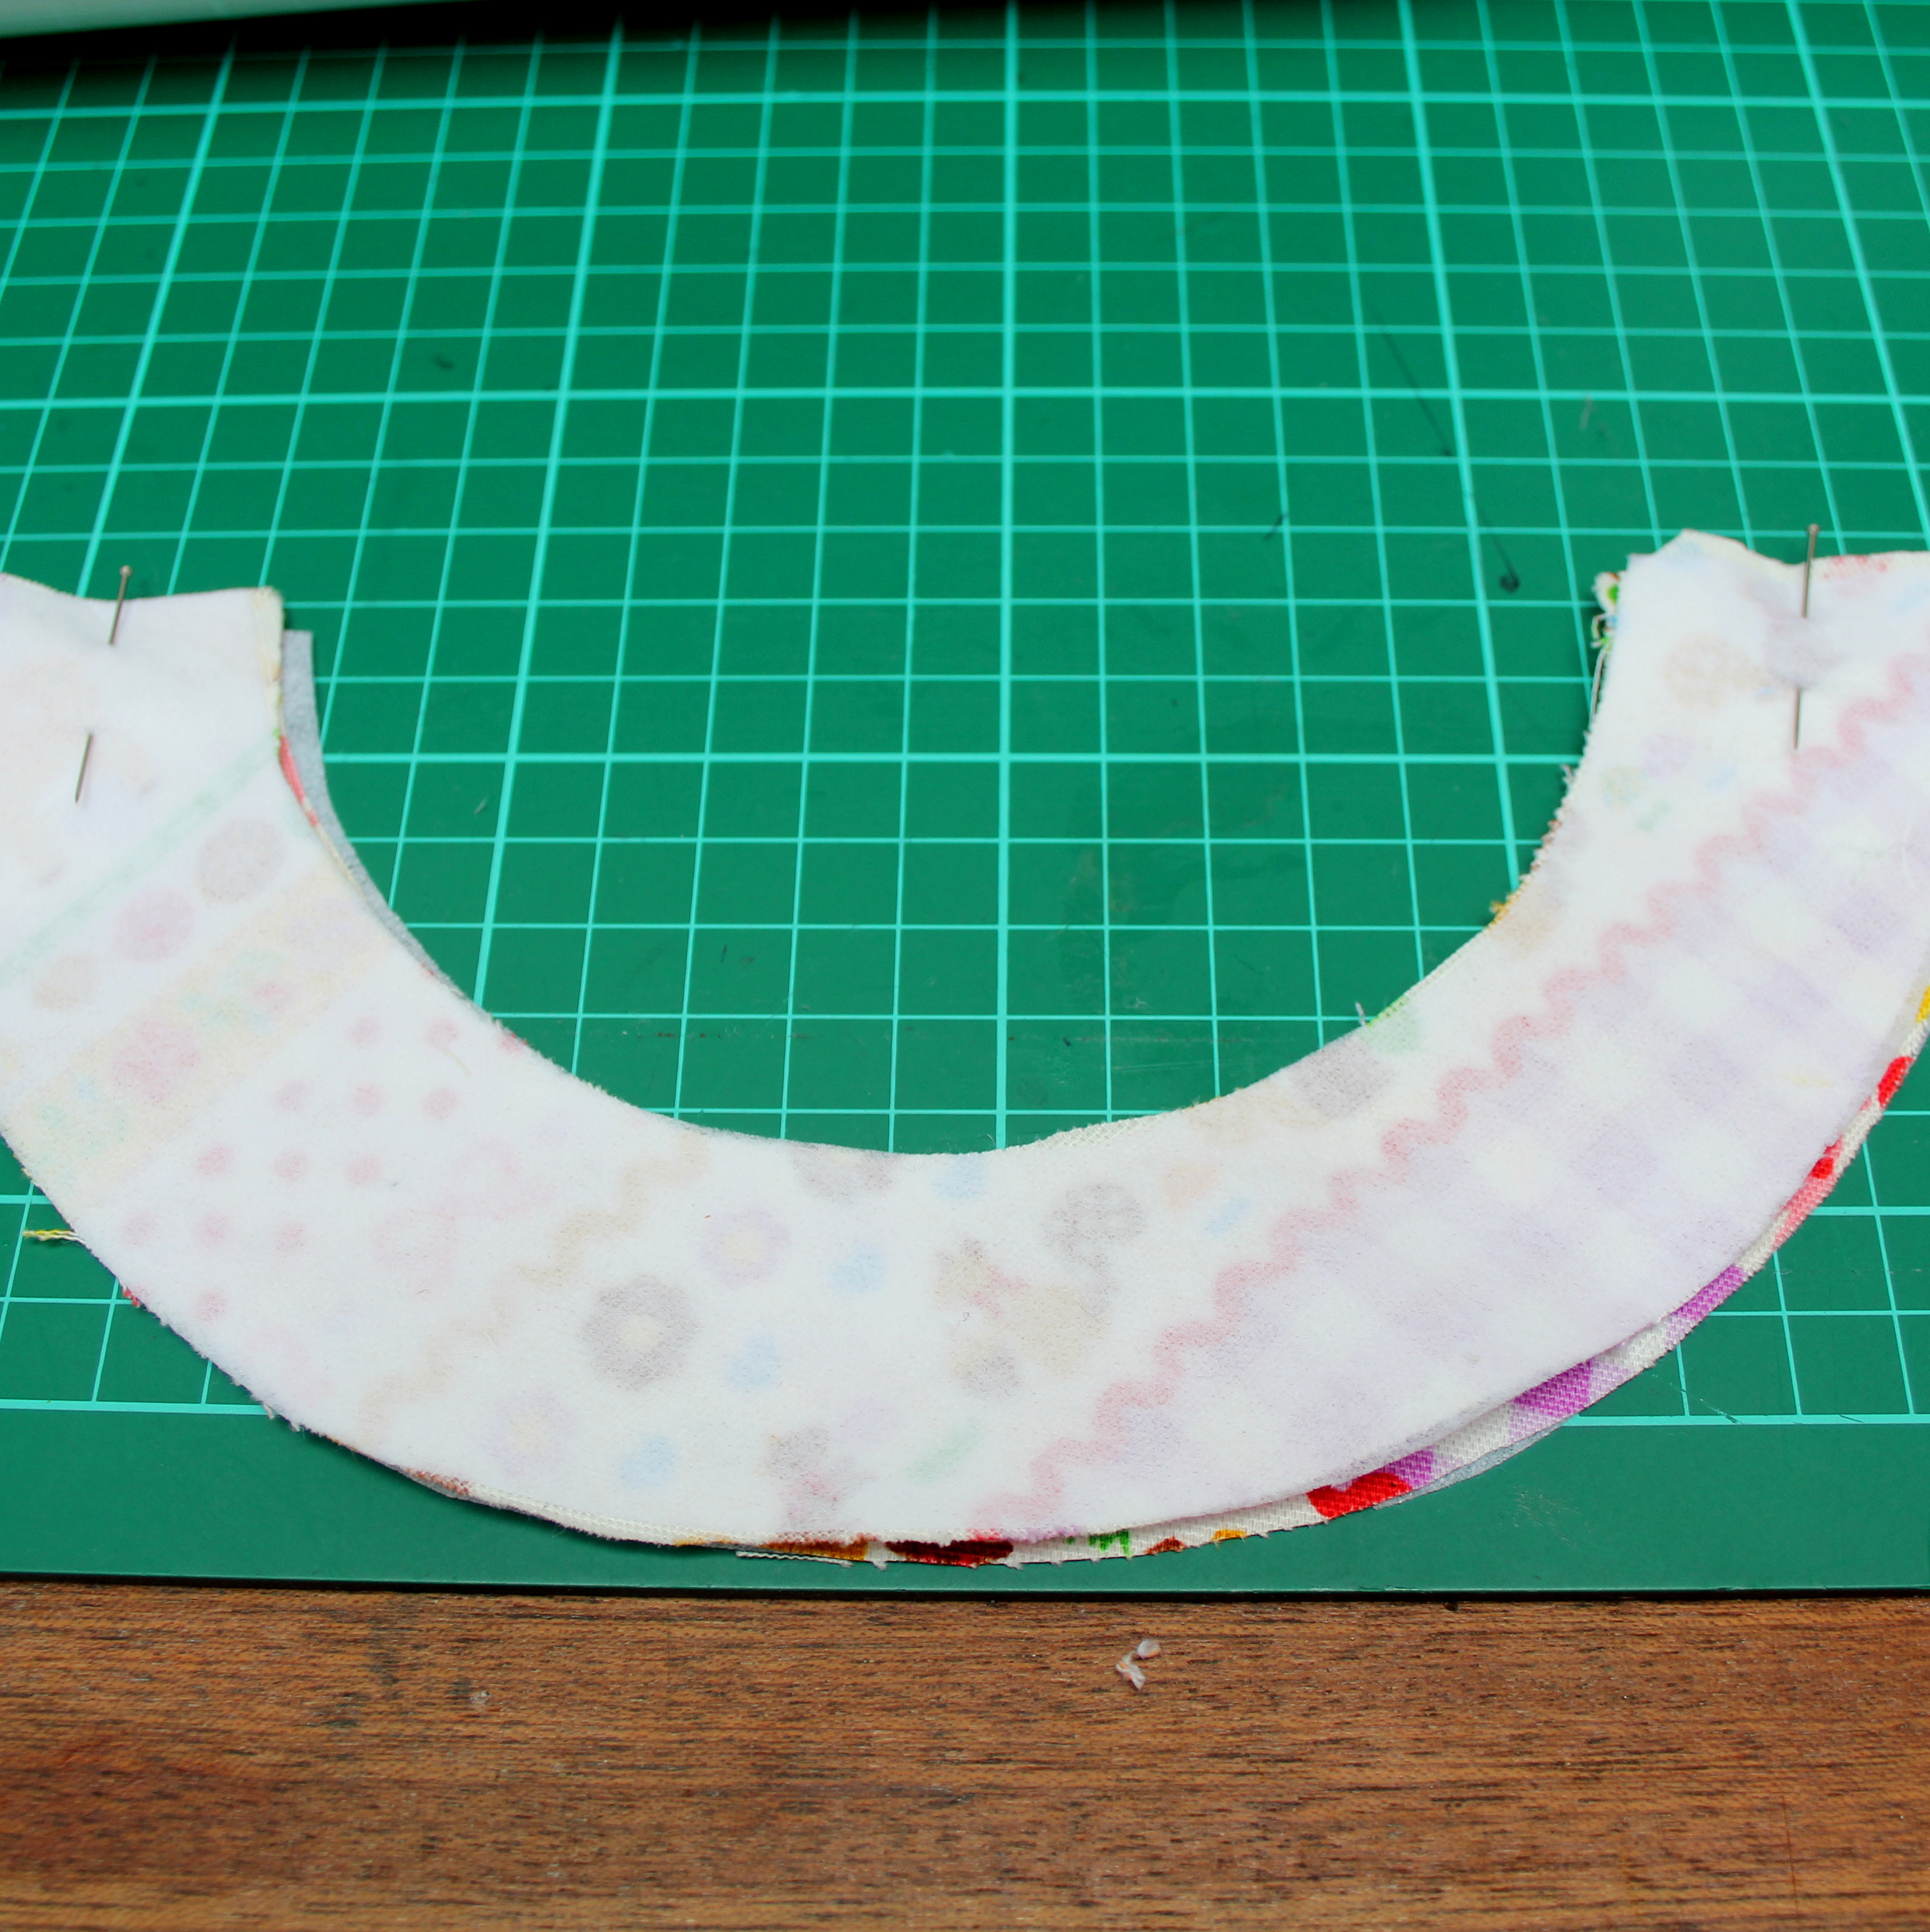
4) Attach the interfacing by pressing with the iron onto the outer rim pieces. Then pin these, right sides together, along the flat edges and sew. Press flat.

sun hat 8

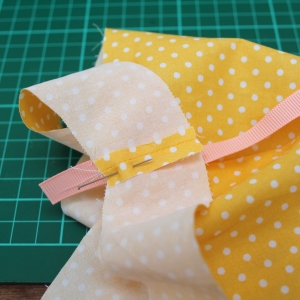
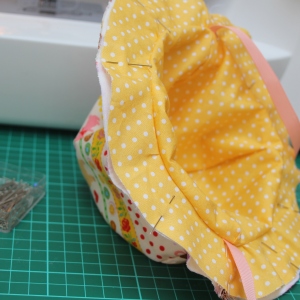
5) Attach to the hat by pinning the inside of the rim to the edge of the dome, right sides together (bit confusing… see the pic below!). Sew in place. Repeat the process with the lining BUT this time, attach the ribbons along the seam before sewing, as below.

sun hat 9 sun hat 10

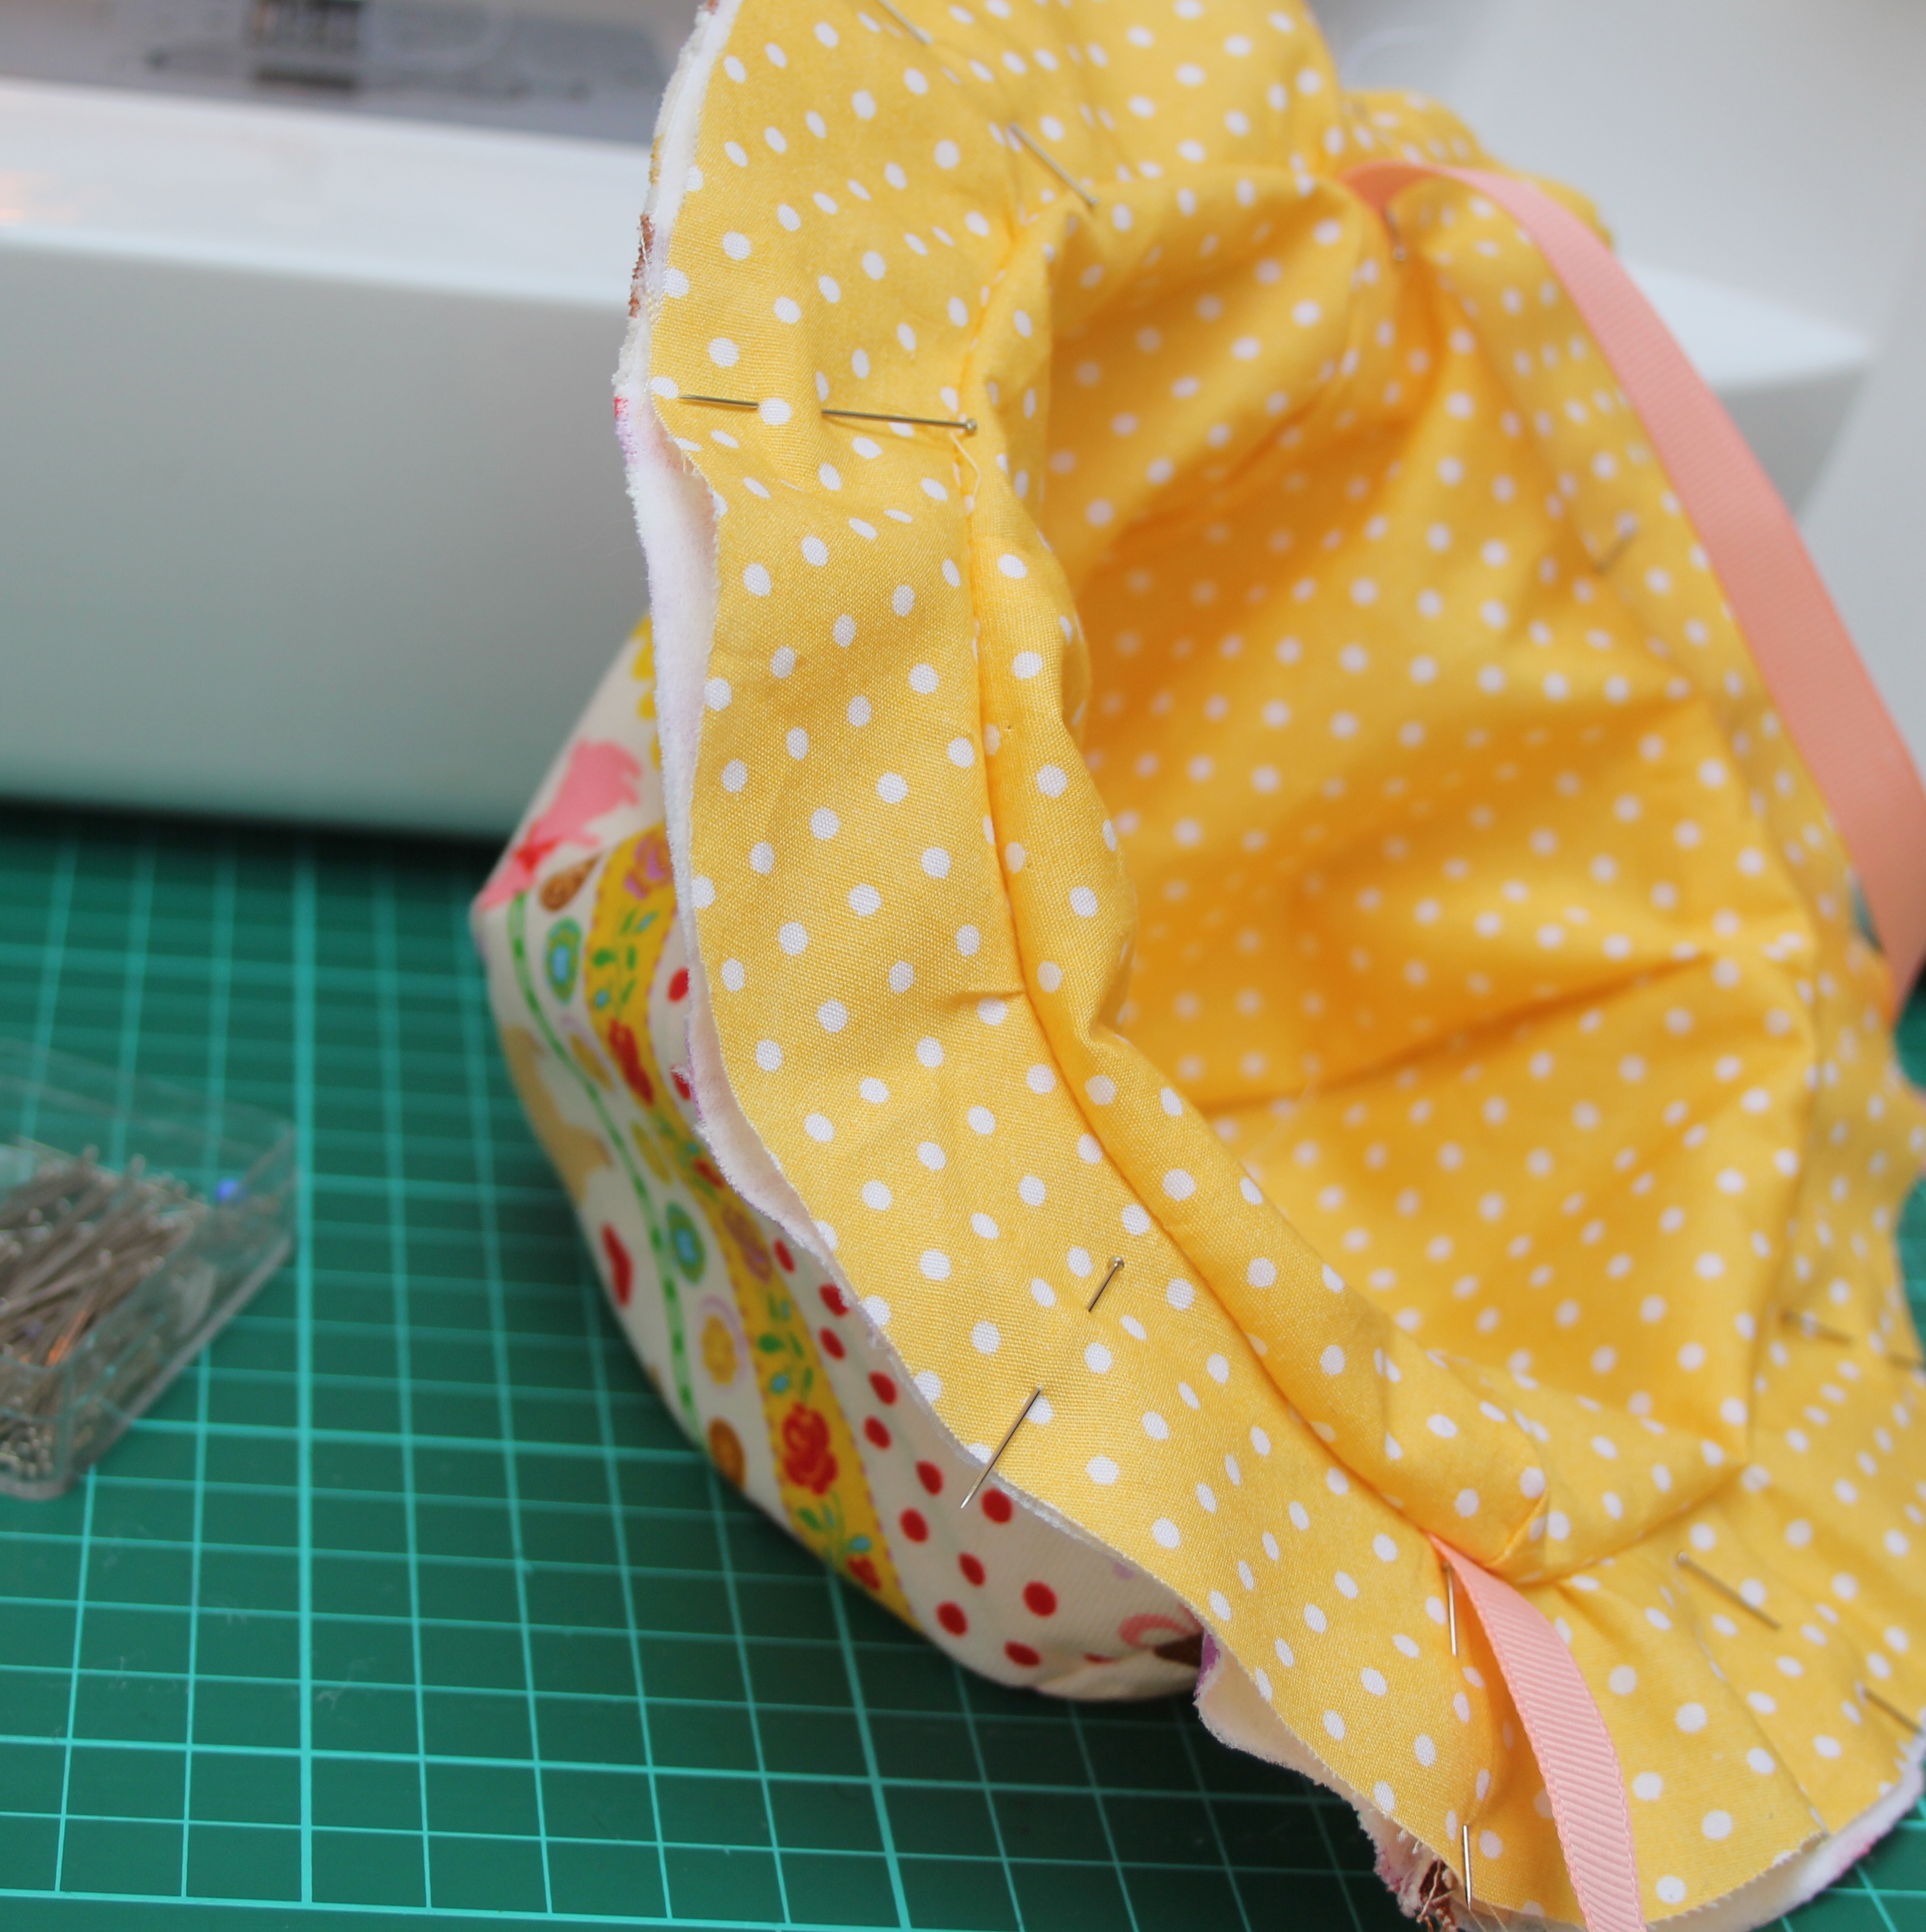
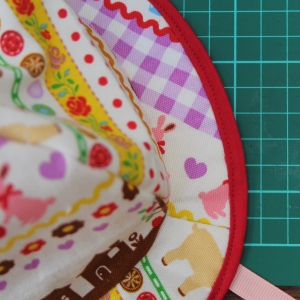
6) Now to attach the inner and outer pieces. Place each piece wrong side together and sew a small stitch at the very top centre of the hat to hold in place. Now, lining the seams up, pin the rim pieces together. Sew along the inside of the rim.

sun hat 11  sun hat 12

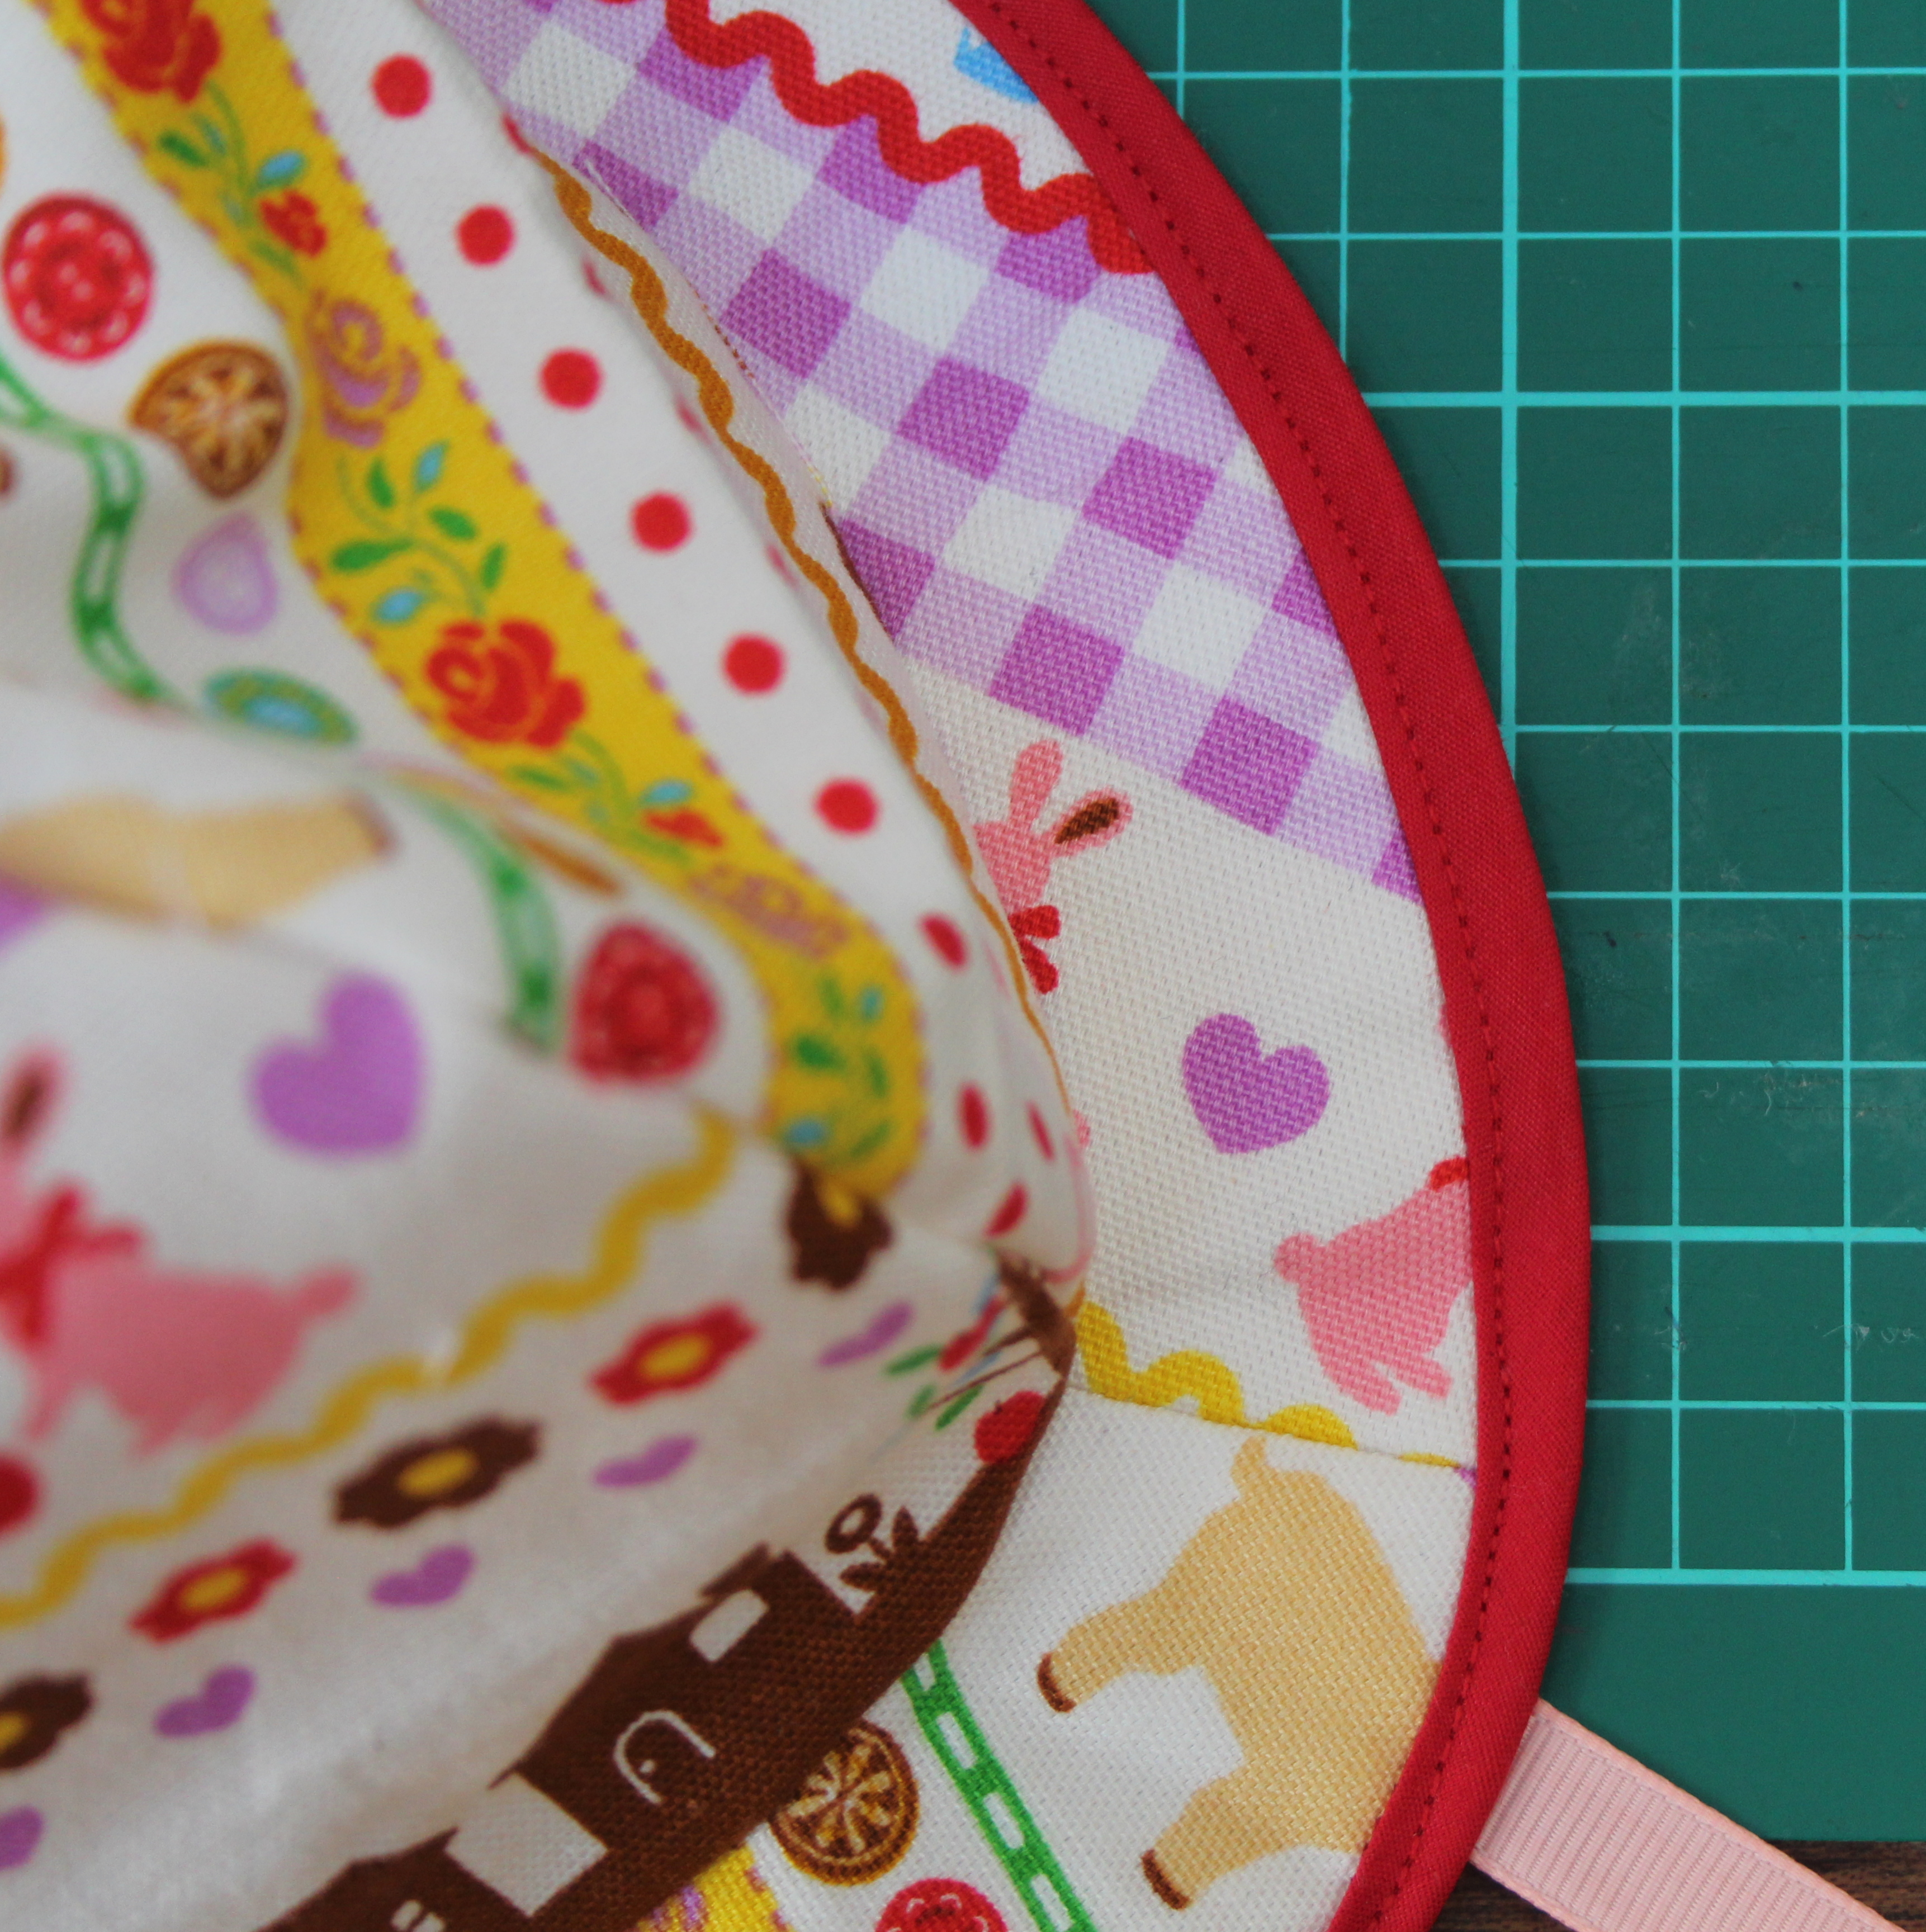
7) Finally, attach the bias binding by pinning all the way along the rim as  below. Sew, fold over and sew once more. If you haven’t used binding before there are some great Youtube tutorials that can explain the process way more clearly than my brain is capable!

sun hat 13 sun hat 14

sun hat 15 sun hat 17

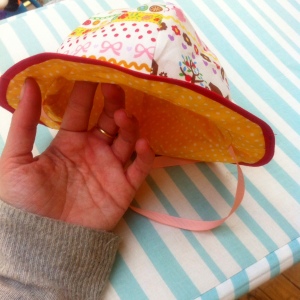
All finished! Whoop di doo, no more burning. And it looks more complicated to make than it actually IS, which is always a bonus.

sunhat tutorial b sunhat tutorial asunhat a
sun hat 19